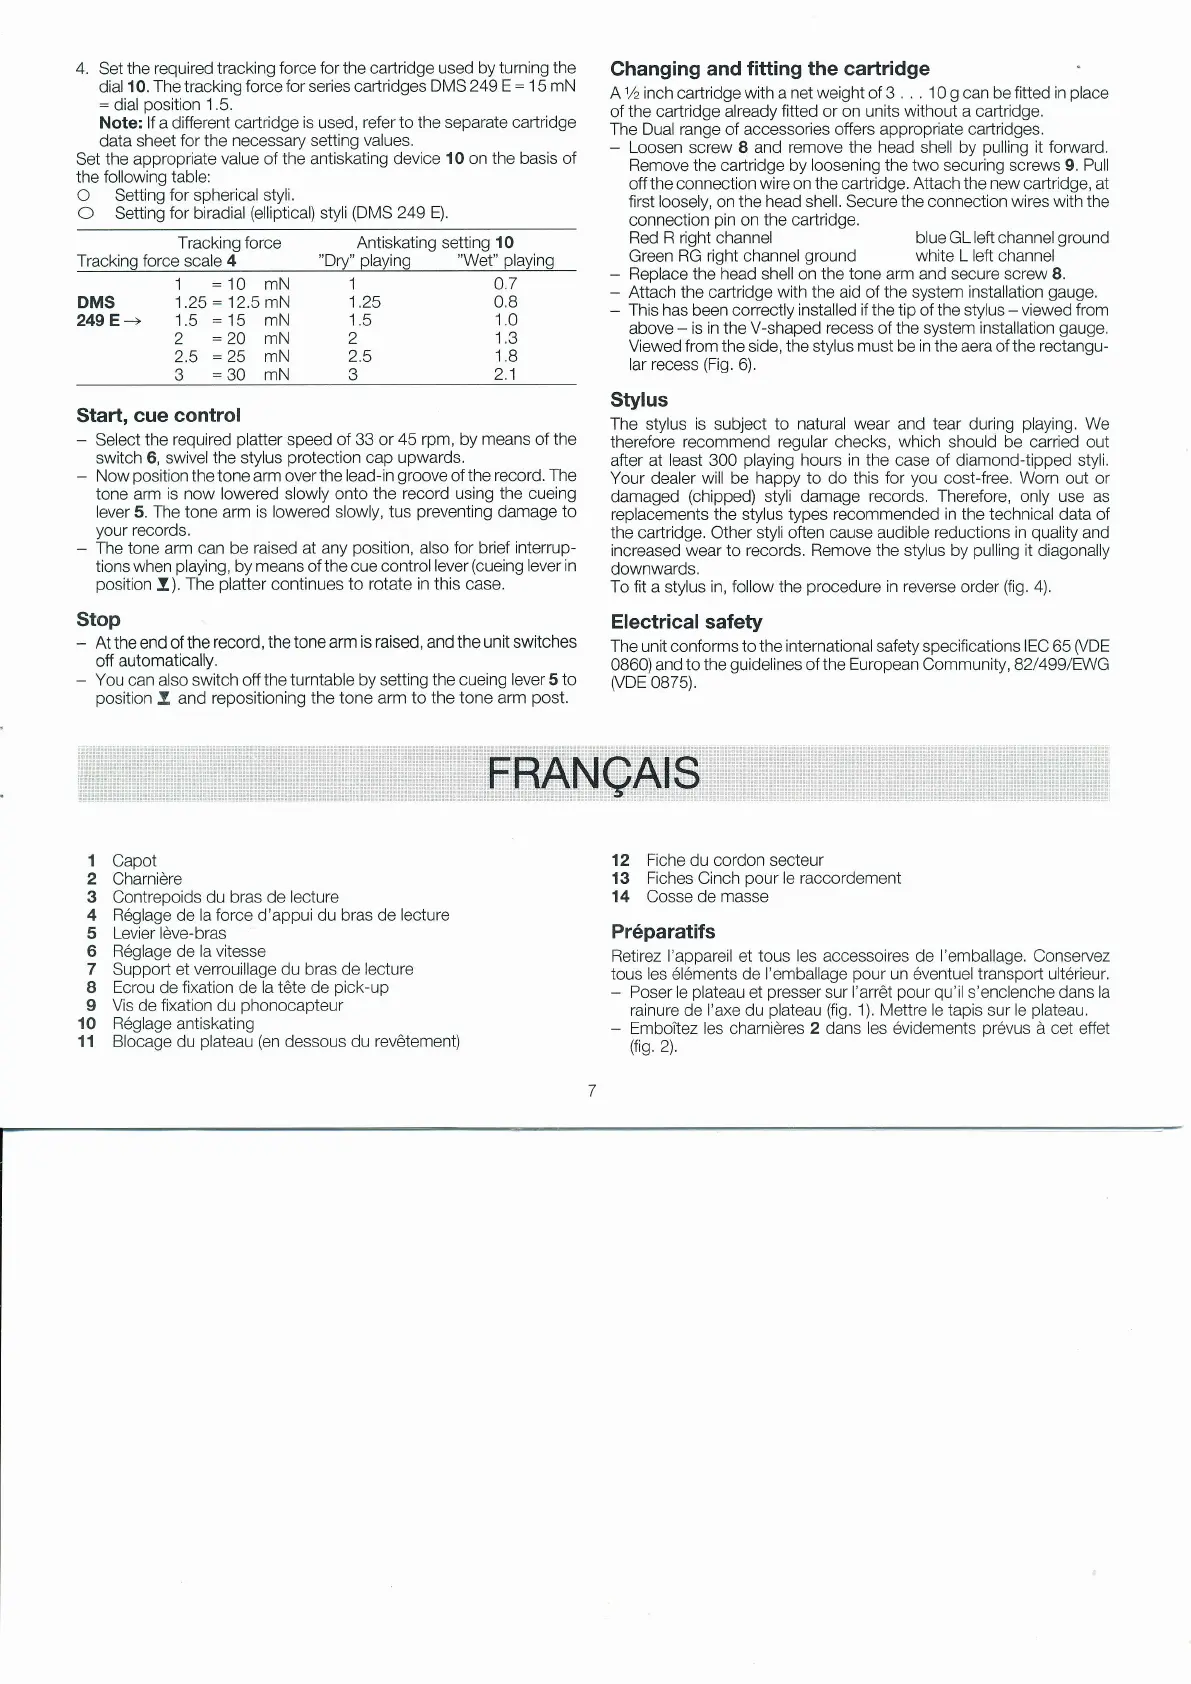
Tracking force scale 4
"Dry"
playing
"Wet"
playing
Red R right channel
Green
RG right
channel
ground
Tracking force Antiskating setting
10
4.
Set
the required tracking
force for the
cadridge
used by turning the
dial 10. The tracking
force for series cartridges
DMS 249 E
=
1
5
mN
:
dial
position
1.5.
Note: lf a different cartridge
is
used,
refer to the separate cartridge
data sheet for the
necessary setting values,
Set the appropriate
value of the antiskating device
1O on the basis of
the
following table:
O Setting for spherical styli.
O Setting for biradial
(elliptical)
styli
(DMS
249 E).
Changing
and fitting the cartridge
A1/zinch cartridge
with
a
net weight of 3 . . . 10
g
can be fitted in
place
of
the
cartridge
already fitted or on units without a cartridge.
The Dual range of accessories offers appropriate cartridges.
-
Loosen
screw
8 and remove the head shell by
pulling
it forward.
Remove the cartridge by loosening the two securing screws 9. Pull
off the connection wire on the cartridge.
Attach the new
caftridge, at
first loosely, on
the head
shell. Secure
the
connection
wires with the
connection
pin
on
the cartridge.
blue GL
left
channel
ground
white L left channel
-
Replace the head shell on the tone arm and secure screw 8,
-
Attach the cartridge with the aid of the system
installation
gauge.
-
This has been correctly
installed if the iip
of
the stylus
-
viewed from
above
-
is in the V-shaped recess of the system
installation
gauge,
Viewed from the side, the stylus
must
be
in
the aera of the
rectangu-
lar
recess
(Fig.
6).
Stylus
The stylus
is
subject
to natural wear and tear during
playing.
We
therefore recommend regular checks, which should be carried out
after at least 300
playing
hours
in
the case of diamond-tipped styli.
Your dealer will be
happy to
do
this for
you
cost-free.
Worn
out or
damaged
(chipped)
styli damage records. Therefore, only use
as
replacements the stylus types
recommended in
the technical data of
the cartridge. Other styli often cause audible
reductions in
quality
and
increased wear to records. Remove the stylus by
pulling
it diagonally
downwards.
To fit a stylus in, follow the
procedure
in reverse
order
(fig.
4).
Electrical
safety
The unit conforms to the international safety specifications IEC 65
(VDE
0860) and to the
guidelines
of
the European Community,
82/499/EWG
(vDE
0875).
12 Fiche du cordon secteur
13 Fiches Cinch
pour
le
raccordement
14 Cosse de masse
P16paratifs
Retirez l'appareil et tous
les
accessoires de
I'emballage.
Conservez
tous les
6l6ments
de l'emballage
pour
un
öventuel
transpon ultörieur.
-
Poser le
plateau
et
presser
sur l'arröt
pour qu'il
s'enclenche dans la
rainure de l'axe du
plateau (fig.
1). Mettre le tapis
sur
le
plateau.
-
Emboitez les
charniöres
2 dans les
övidements
pr6vus
ä cet
effet
(fis.
2).
1
:10
mN
DMS
1.25
:
12.5 mN
249E--> 1.5
:15
mN
2
:20
mN
2.5
=
25 mN
3
=30
mN
1 0.7
1,25 0.8
1A
1,0
I t.J
2.5
1.8
3
2.1
Start,
cue control
-
Select
the required
platter
speed of 33 or
45 rpm, by means of the
switch 6, swivel the stylus
protection
cap
upwards.
-
Now
position
the tone arm over
the lead-in
groove
of the
record. The
tone
arm
is now lowered slowly onto
the record using the cueing
lever 5. The tone arm is
lowered
slowly,
tus
preventing
damage to
your
records.
-
The tone
arm ean
be raised at any
position,
also
for brief interrup-
tions when
playing,
by means of the cue control
lever
(cueing
lever in
position
I).
The
platter
continues
to rotate in this case.
Stop
-
At the end of
the
record, the tone arm is raised, and the unit switches
off
automatically.
-
You can also switch off the turntable by setting
the cueing lever 5 to
position
t
and repositioning
the tone
arm
to the tone arm
post.
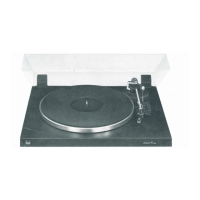
1
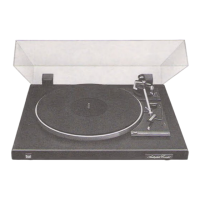
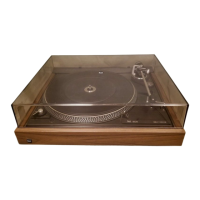
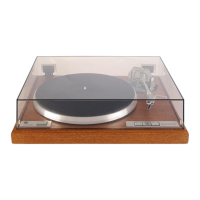
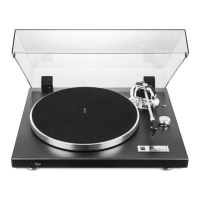
Capot
2
Charniöre
3
Contrepoids
du bras de lecture
4 R6glage de la
force
d'appui du bras de
lecture
5
Levier löve-bras
6 R6glage de la vitesse
7
Support et
verrouillage
du bras
de lecture
8 Ecrou
de
fixation
de
la töte de
pick-up
9 Vis de fixation du
phonocapteur
10 R6glage
antiskating
11 Blocage
du
plateau (en
dessous du revötement)
 Loading...