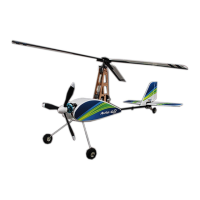
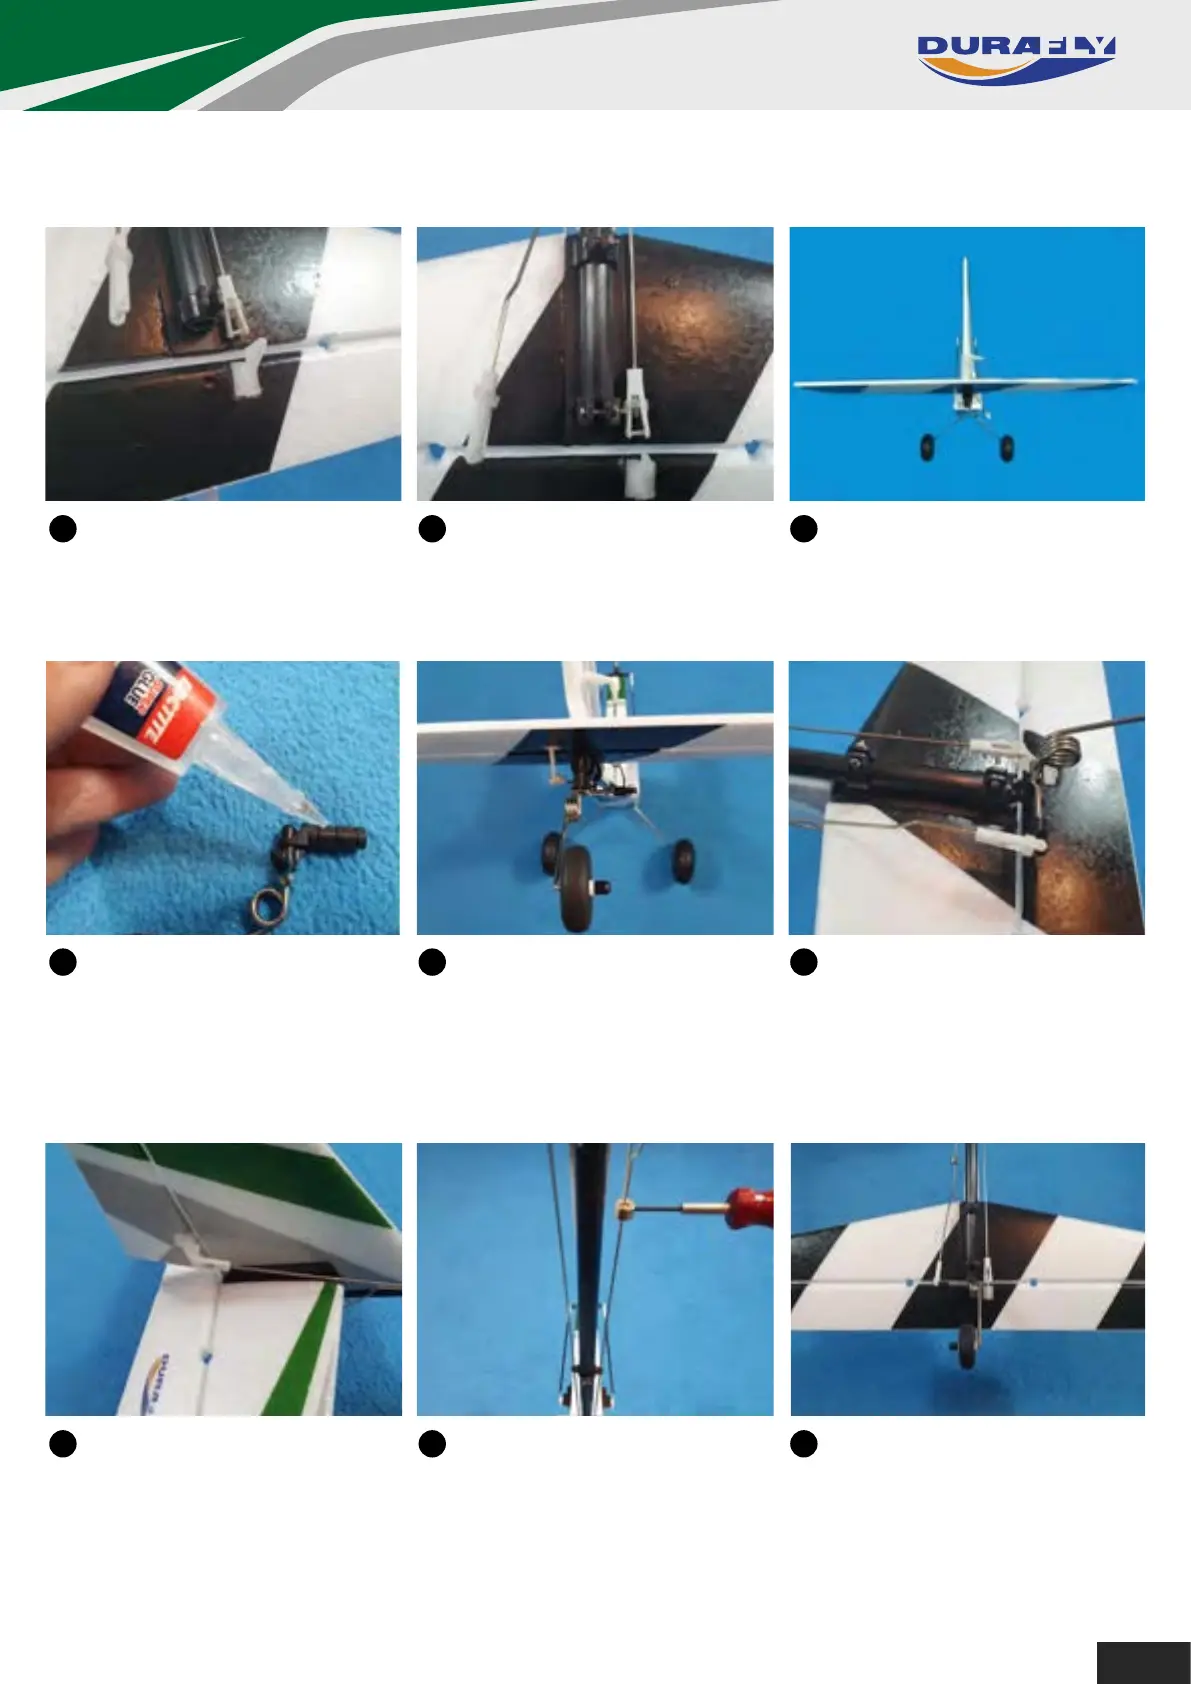
Slide the tail assembly onto
the tail boom, position the rear
clamp so that it is flush with the
end of the boom.
9
Using the M2 x 10mm nuts
and bolts provided, clamp the
tail assembly to the tail boom.
10
Check before fully tightening
the bolts that the assembly is in
alignment to the rotor mast.
11
3 Apply a spot of glue to the
spigot on the tail wheel assembly
then side it into the end of the tail
boom.
12
3 Check the alignment of the tail
wheel assembly as the glue sets,
ensure it remains perpendicular to
the tail assembly.
13
Connect the tail wheel and
elevator horns to the pushrod
clevises.
14
15
3 Connect the rudder pushrod
clevis the the rudder horn. Ensure
on all the clevises you slide the
rubber security keeper up as close
to the clevis pin as possible.
3 Centralize the rudder, then
slacken the grub-screw of the tail
wheel control rod collet, centralize
the tail wheel then re-tighten the
screw.
16
Make sure that the tail wheel is
in-line with the tail boom when the
rudder is central.
17
4