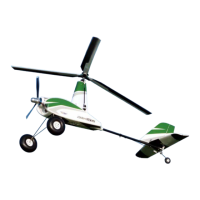
We highly recommend that
you balance the rotor-head as
shown with a good quality prop
balancer.
26
Before you fit the rotors, check
that the 2 nuts at the top of
the shaft are locked together.
27
Slide the rotor-head center plate
onto the main shaft until it touches
the two lock-nuts, rotor blades must
be on the top of the center-plate.
28
3 Screw the head button into
place to hold the rotor-head on.
29
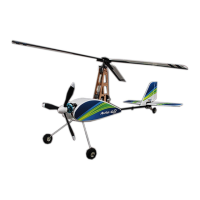
3 The basic assembly of your
Auto-G2 V2 is almost there.
30
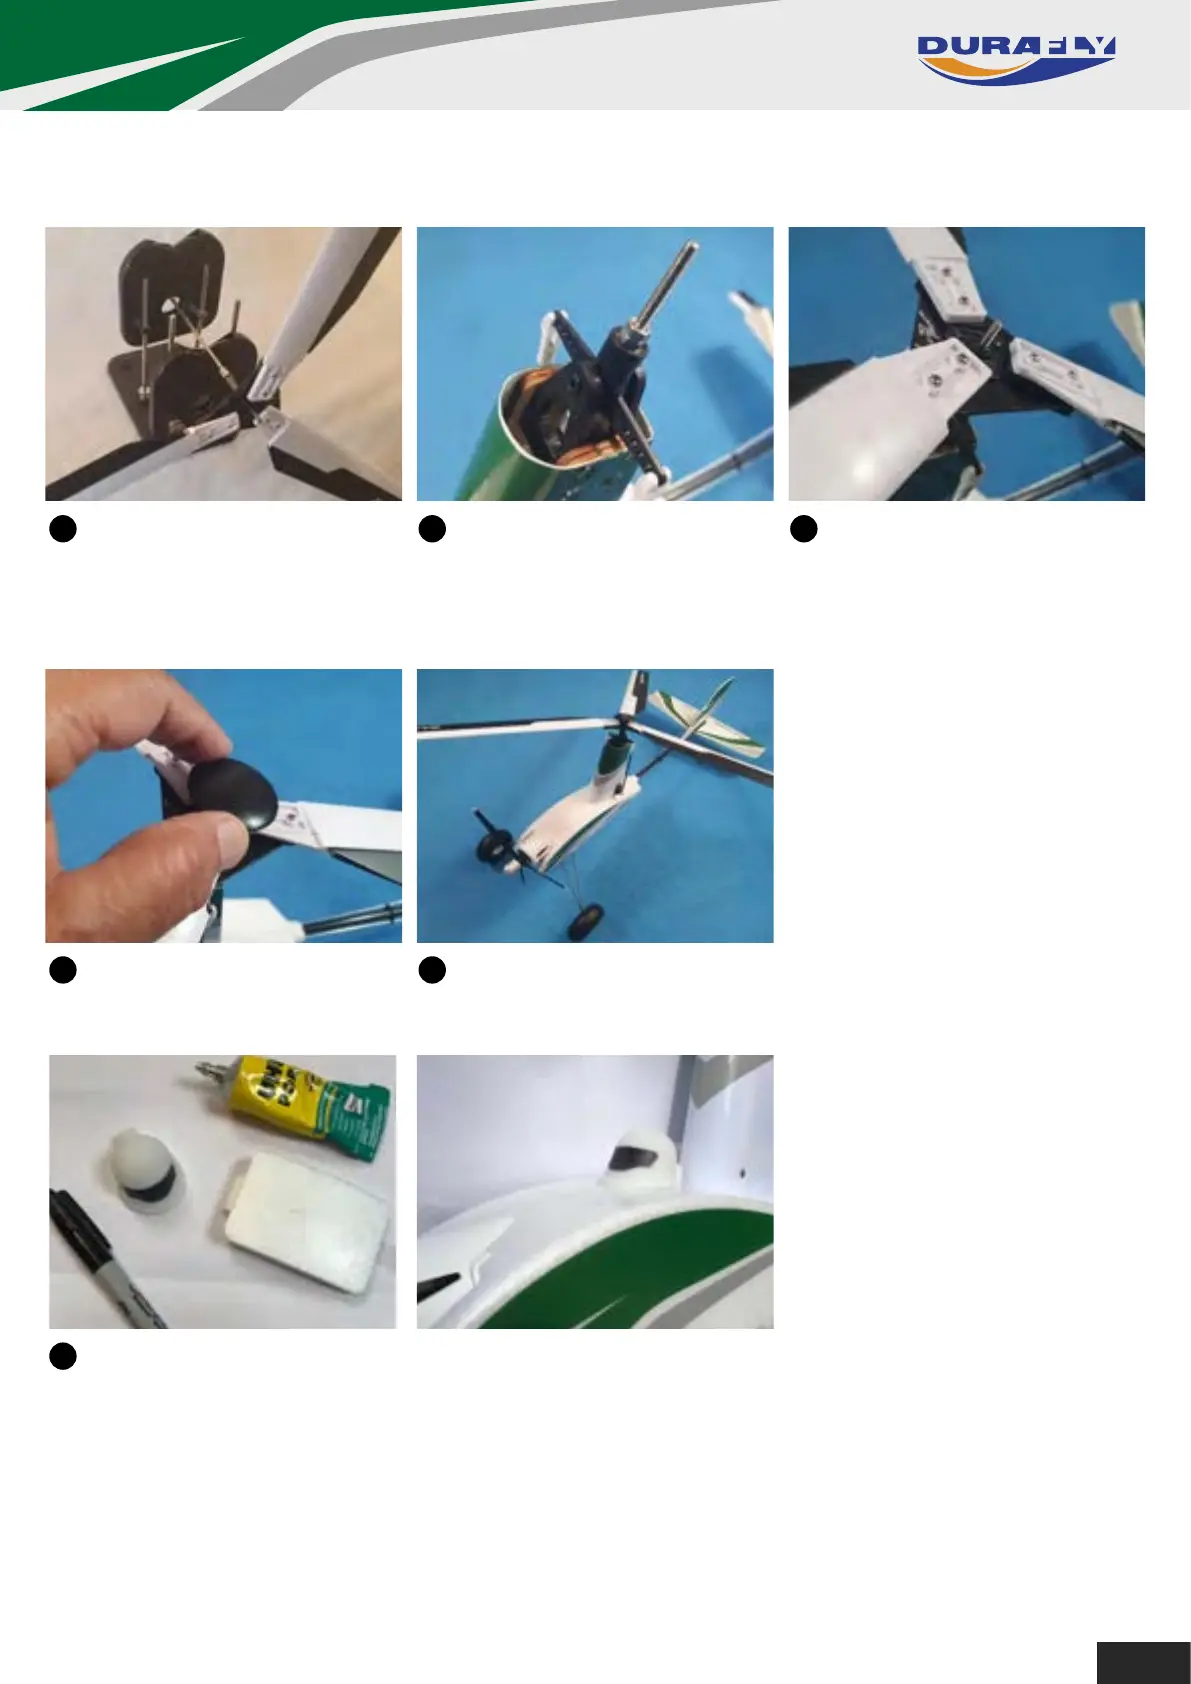
3 The Auto-G2 V2 comes with a 3D printed pilots head for gluing to the
battery hatch. This can be either painted, or colored in with marker pens.
30
6