Initial Start-up
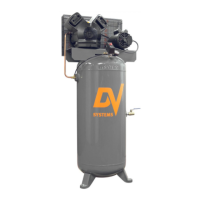
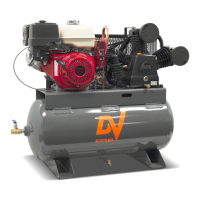
1) Remove the LH Front Access Panel, and ensure
that there is sufficient Oil in the Oil Reservoir.
Refer to the ‘Lubrication’ section (page 8) in this
manual for proper type and level of Oil.
2) Do a visual inspection of the Unit, and ensure
that all fasteners are sufficiently tightened. This
must be done, as some fasteners may become
loose in transit.
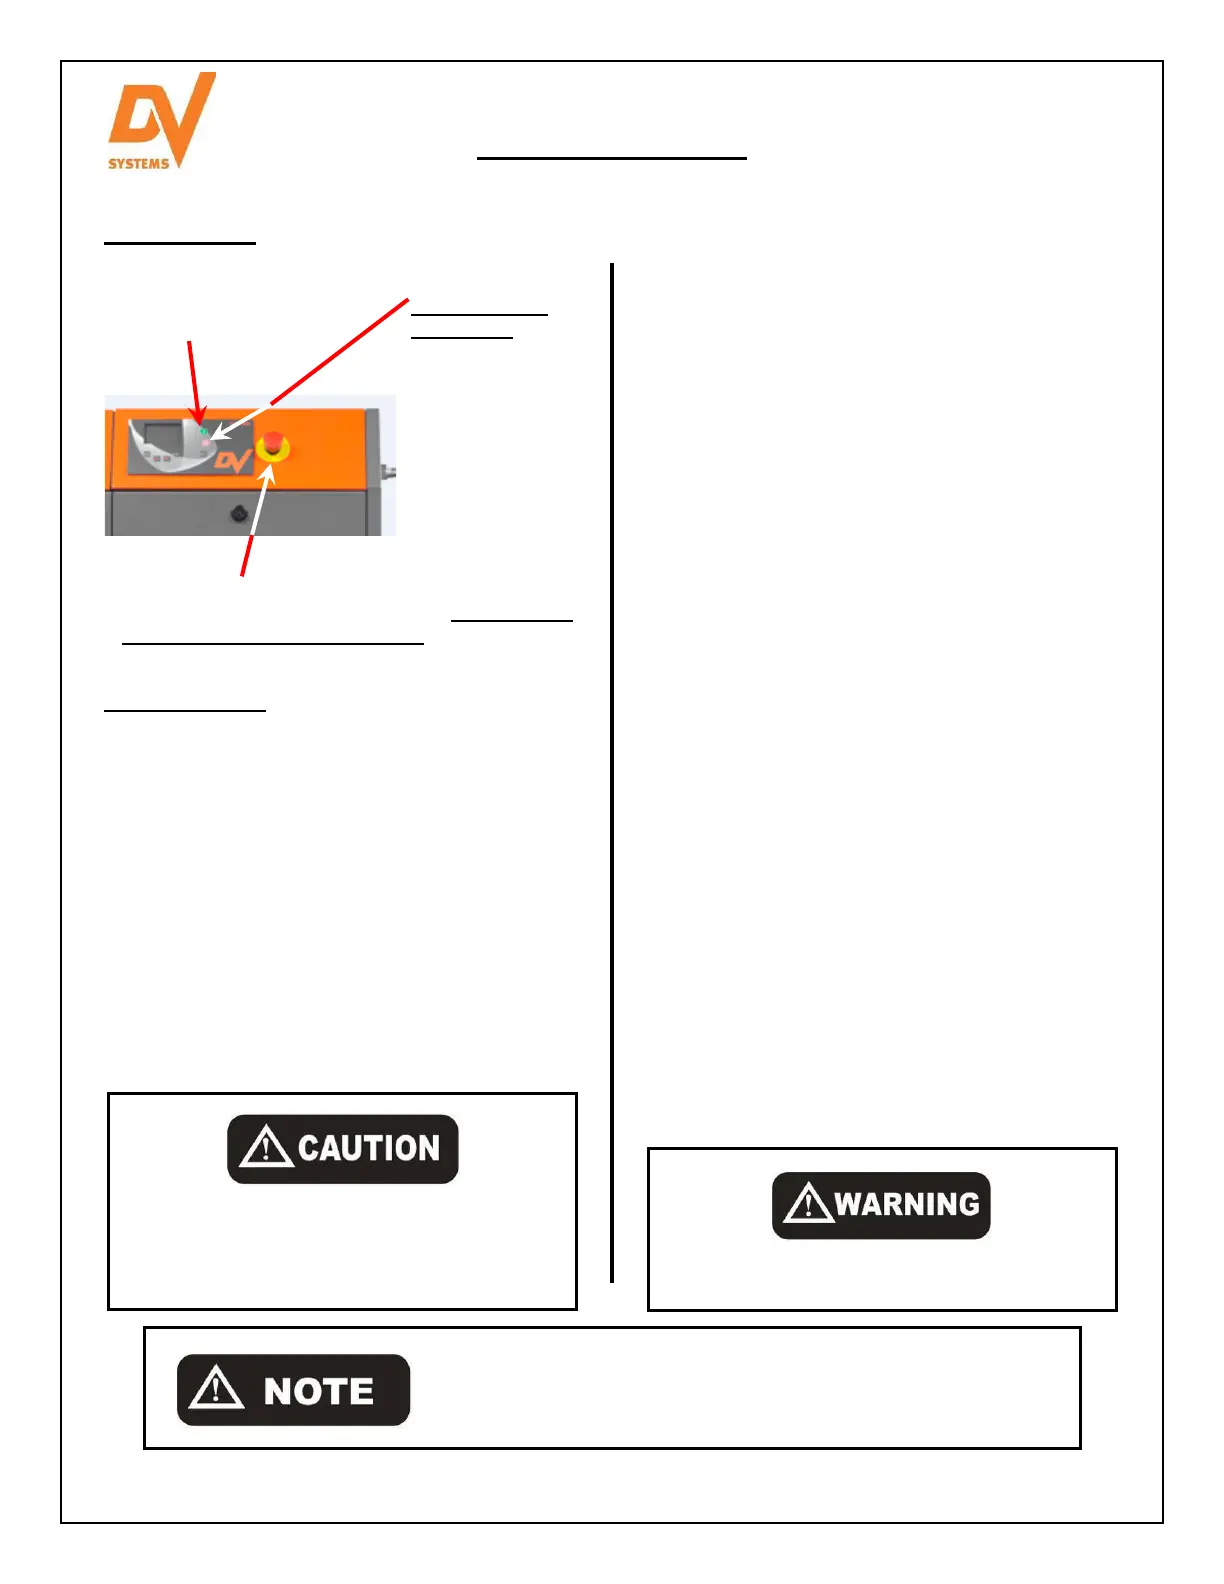
3) Place the Fused Disconnect / Breaker in the ‘On’
position. Check that there is power to the
Controller
4) During normal operation of the Unit, keep the
Access Panels closed at all times.
5) Ensure the Ball Valve on the Unit is closed, press
the ‘Start’ Button, and run the Unit up to
maximum pressure. The Unit will run up to
approx. 145 psi (10bar), at which point the Motor
will continue to run but not compress air.
6) Once the Unit reaches 145 psi (10bar), it will idle
for 5 minutes and shut off. For VSD units, the
unit will idle for 2 minutes and shut off.
7) Open the Ball Valve slightly and allow the air to
bleed from the Tank. Once the pressure reaches
approx 125 psi (8.6bar), the Unit will start and
begin to compress air after a short delay. For
VSD units, this pressure is 135 psi (9.3bar).
8) Measure the amp draw as the Unit reaches
maximum pressure.
9) Close the Ball Valve, allow the Unit to reach
maximum pressure, idle, and shut off. Once off,
check the various fittings etc inside the Cabinet to
ensure there are no internal leaks.
10) Once you are confident that there are no internal
leaks, the Unit will be ready for normal use.
11) Register the Unit to Activate the Warranty by
completing the Warranty Registration form at:
gdg.gardnerdenver.com/DV-Rotary-Warranty