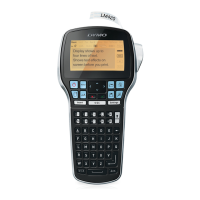
To add a border style
Press 2.
Select Borders and press }.
Select a border style and press }.
When using borders on two-line labels, both lines are enclosed in one border.
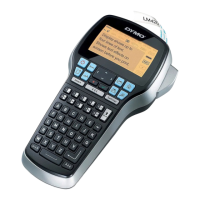
To add an underline
Press 2.
Select Underline and press }.
Press } again when the underlined text is shown in the display.
On two-line labels, both lines are underlined.
Creating Two-Line Labels
You can print a maximum of two lines on labels.
To create a two-line label
Type the text for the first line and press D.
A multi-line symbol ë is inserted at the end of the first line, but will not print on the
label.
Type the text for the second line.
Press G to print.
Aligning the Text
You can align the text to print centered, left justified, or right justified on the label. The
default alignment is centered.
To change the alignment
Press 2.
Select Alignment and press }.
Select right, left, or centered alignment and press }.
1.
2.
3.
1.
2.
3.
1.
2.
3.
1.
2.
3.
LM210D_manual_UK-WEU.indd 11 28-06-2007 10:03:42