6
Maintaining Your Label Maker
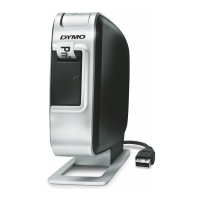
Recharging the Battery
The label maker is shipped with the lithium-ion battery partially charged. The
battery is recharged through the USB connection to your computer.
NOTE The label maker must be connected to a powered USB port. The label
maker may not charge or function properly when connected to a non-powered
USB port, such as those on some Mac keyboards, or a non-powered USB hub.
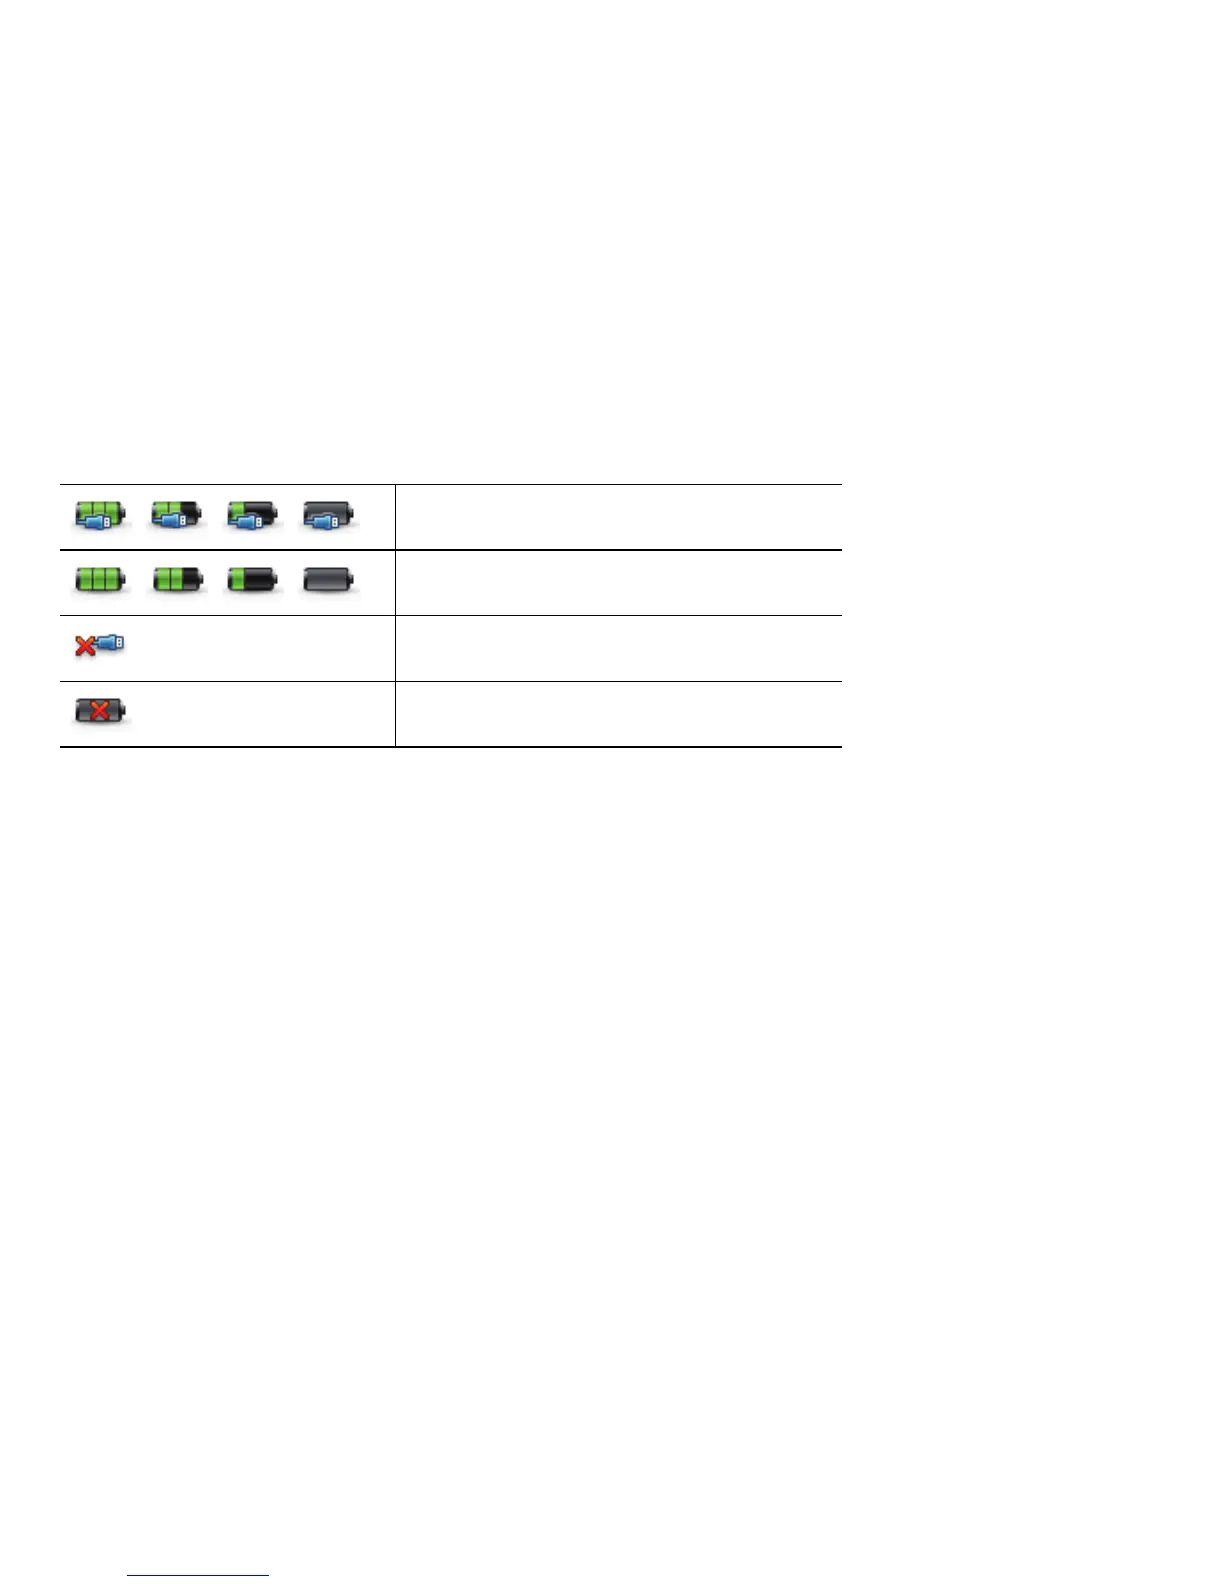
The label maker status is displayed in the lower-left corner of the software
window. The following table describes the possible states of the label maker.
To charge the battery
1 Make sure the USB cable is connected to both the label maker and
the computer.
2 If necessary, press the power button to turn on the label maker and begin
charging the battery.
Label maker is connected and battery
is charging
Label maker is connected and battery
is not charging
Label maker is not connected
Label maker is connected and there is
a problem with the battery