Installing the LabelWriter Print Server
6
To set a static IP address
1 If the Control Center is not already open, double-click on your desktop (Windows) or in
the Applications folder (Mac OS).
2 Click Configure Server on the Control Center toolbar.
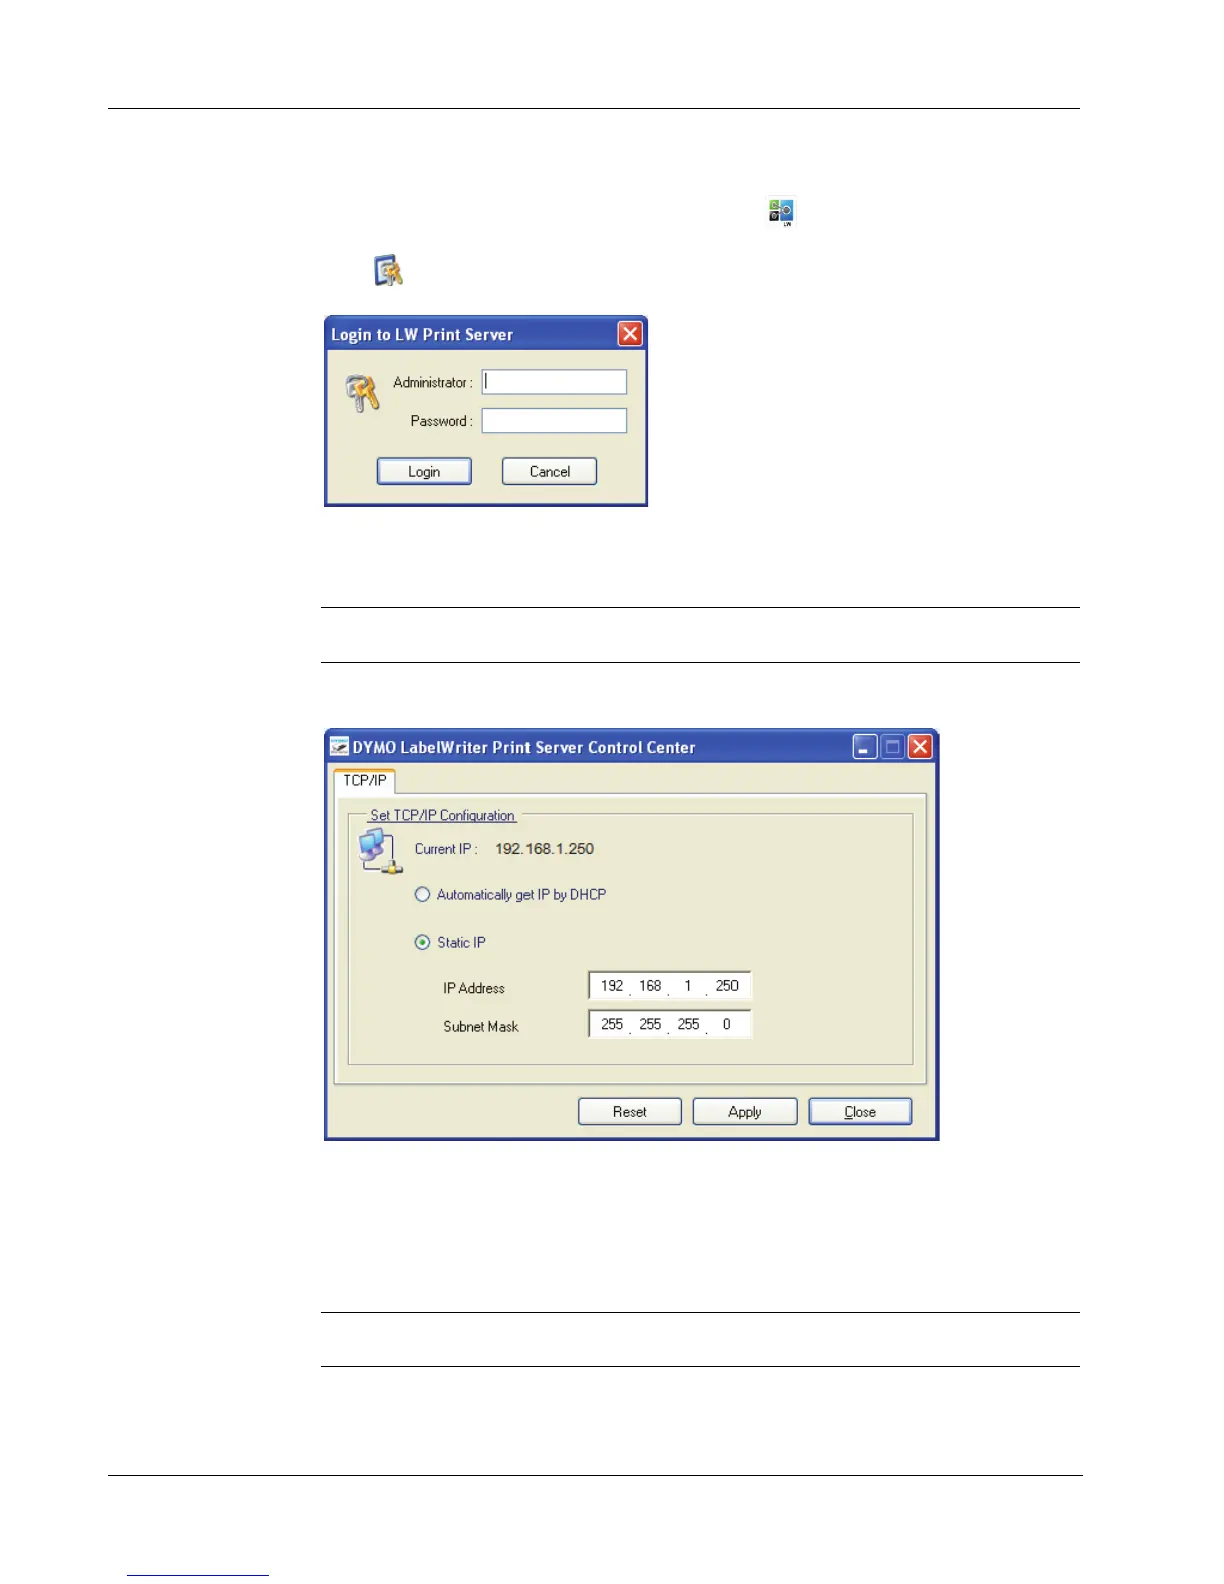
The Login to LW Print Server dialog box appears.
3 Enter the following in the Administrator and Password fields.
Administrator: admin
Password: admin
Note These are the default settings. See "Changing the Administrator Name and Password"
on page 22 for information on how to change the administrator name and password.
4 Click Login.
The Set TCP/IP Configuration dialog box appears.
5 Select Static IP.
6 Enter the IP address you want to use in the IP Address field, and then click Apply.
7 Click Yes when prompted to save the TCP/IP configuration
8 After the server restarts, click Close to close the TCP/IP Configuration dialog box.
The IP address is now displayed next to the server name in the Control Center window.
Note Write down this IP address; you will need this IP address to add the printer to
your computer.
Next, you need to add the printer to your computer. See Chapter 3, Adding a Printer for
information on adding the printer in your specific operating system.