Page 9 of 15
Install the Capacitors
Install the polarized electrolytic capacitors. Note that + sign on the silk-screen shows
where the positive side of the capacitor should go. However, the markings on the caps
prominently show the negative side. Make sure that the non-negative side of the cap
connects to the hole indicated by the positive sign on the silk screen.
Designation Value Marking Done? ()
C1 22 µF, 63 V 22 µF, 63 V, and minus sign for polarity
C2 22 µF, 63 V 22 µF, 63 V, and minus sign for polarity
C3 470 µF, 100
V
470 µF, 100 V, and minus sign for
polarity
C4 470 µF, 100
V
470 µF, 100 V, and minus sign for
polarity
Solder GJ1 in Place
Insert a piece of 20 AWG wire from the component side of the board into the two holes
adjacent to GJ1 on the silk screen. Solder both ends of the wire on the solder side of the
PCB.
Remove the Old Power Supply
1. Disconnect the SCA-80 from your music system.
2. Unplug the power cord and allow the amp to sit for one minute before moving on.
Caution: Be sure that the power is unplugged! 120/240 VAC can be lethal!
3. Remove the 5 screws that hold the cover in place, 2 on the left side, 2 on the right
side, and one in the back.
4. Lift the cover straight up and set it aside in a safe place.
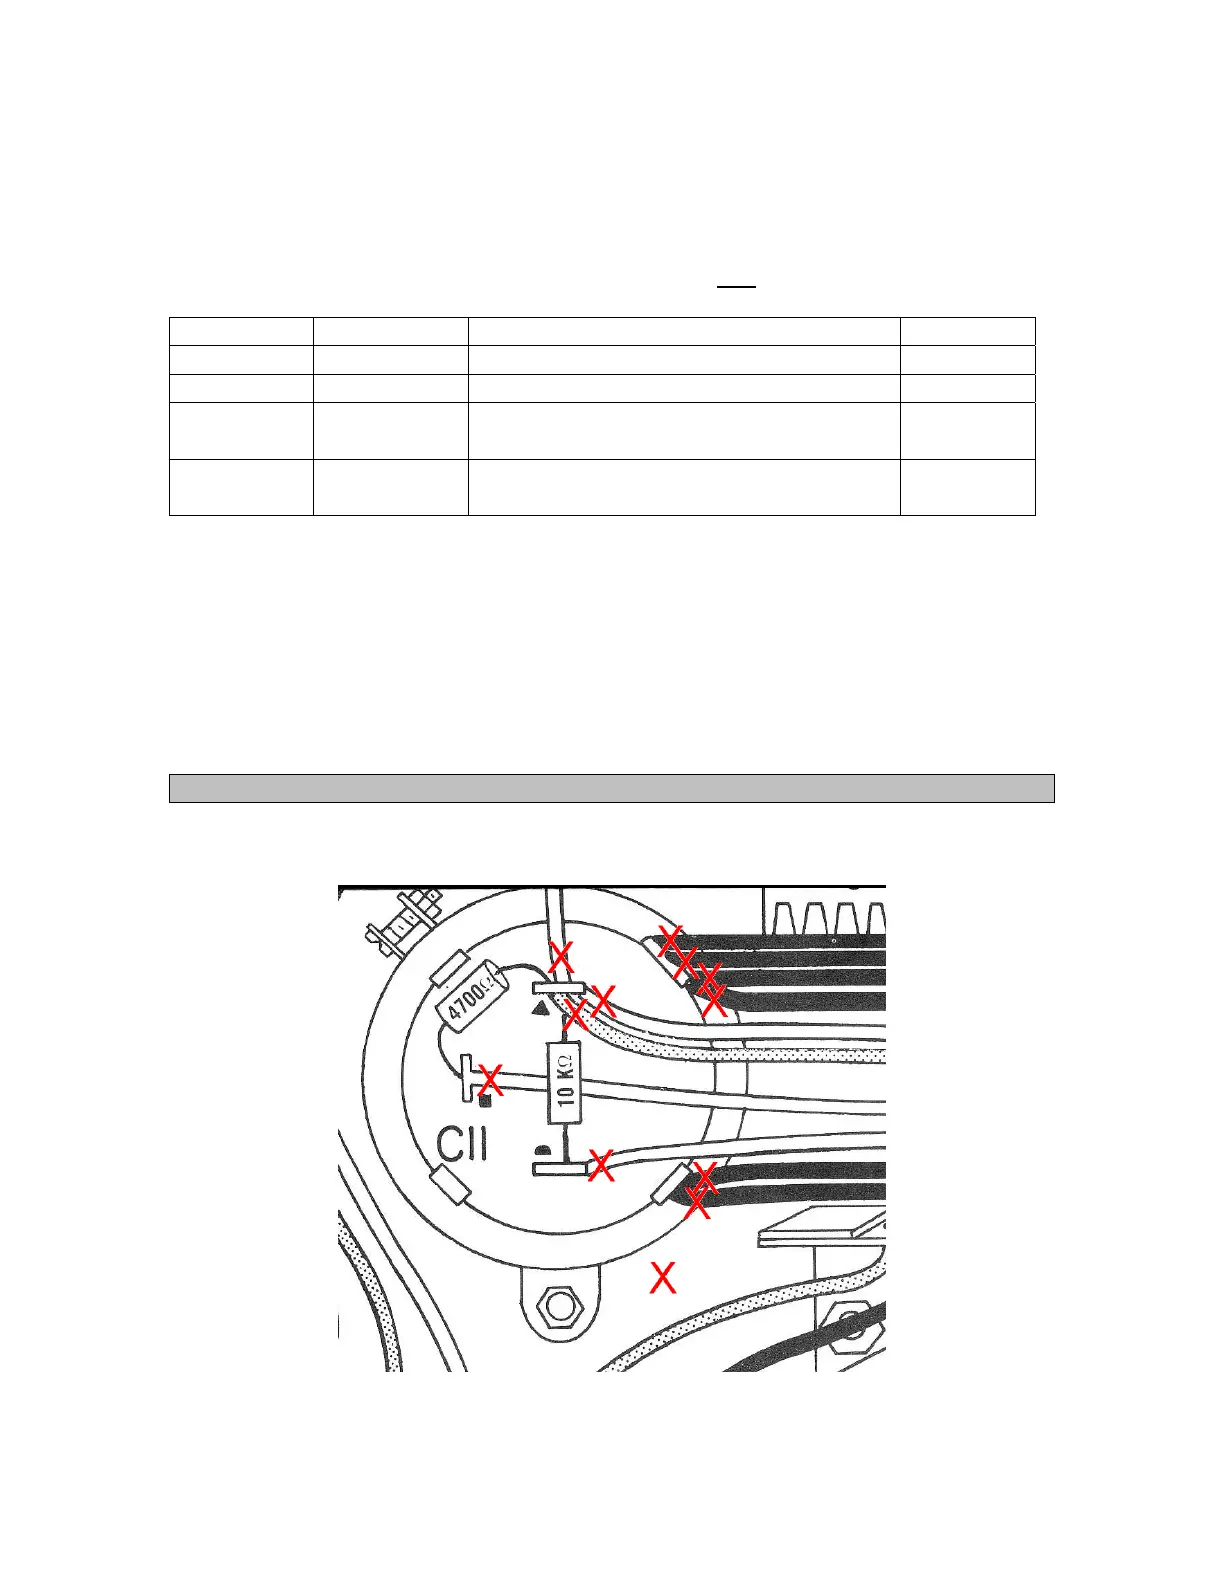
Figure 5-Remove these wires from C11