Page 5 of 10
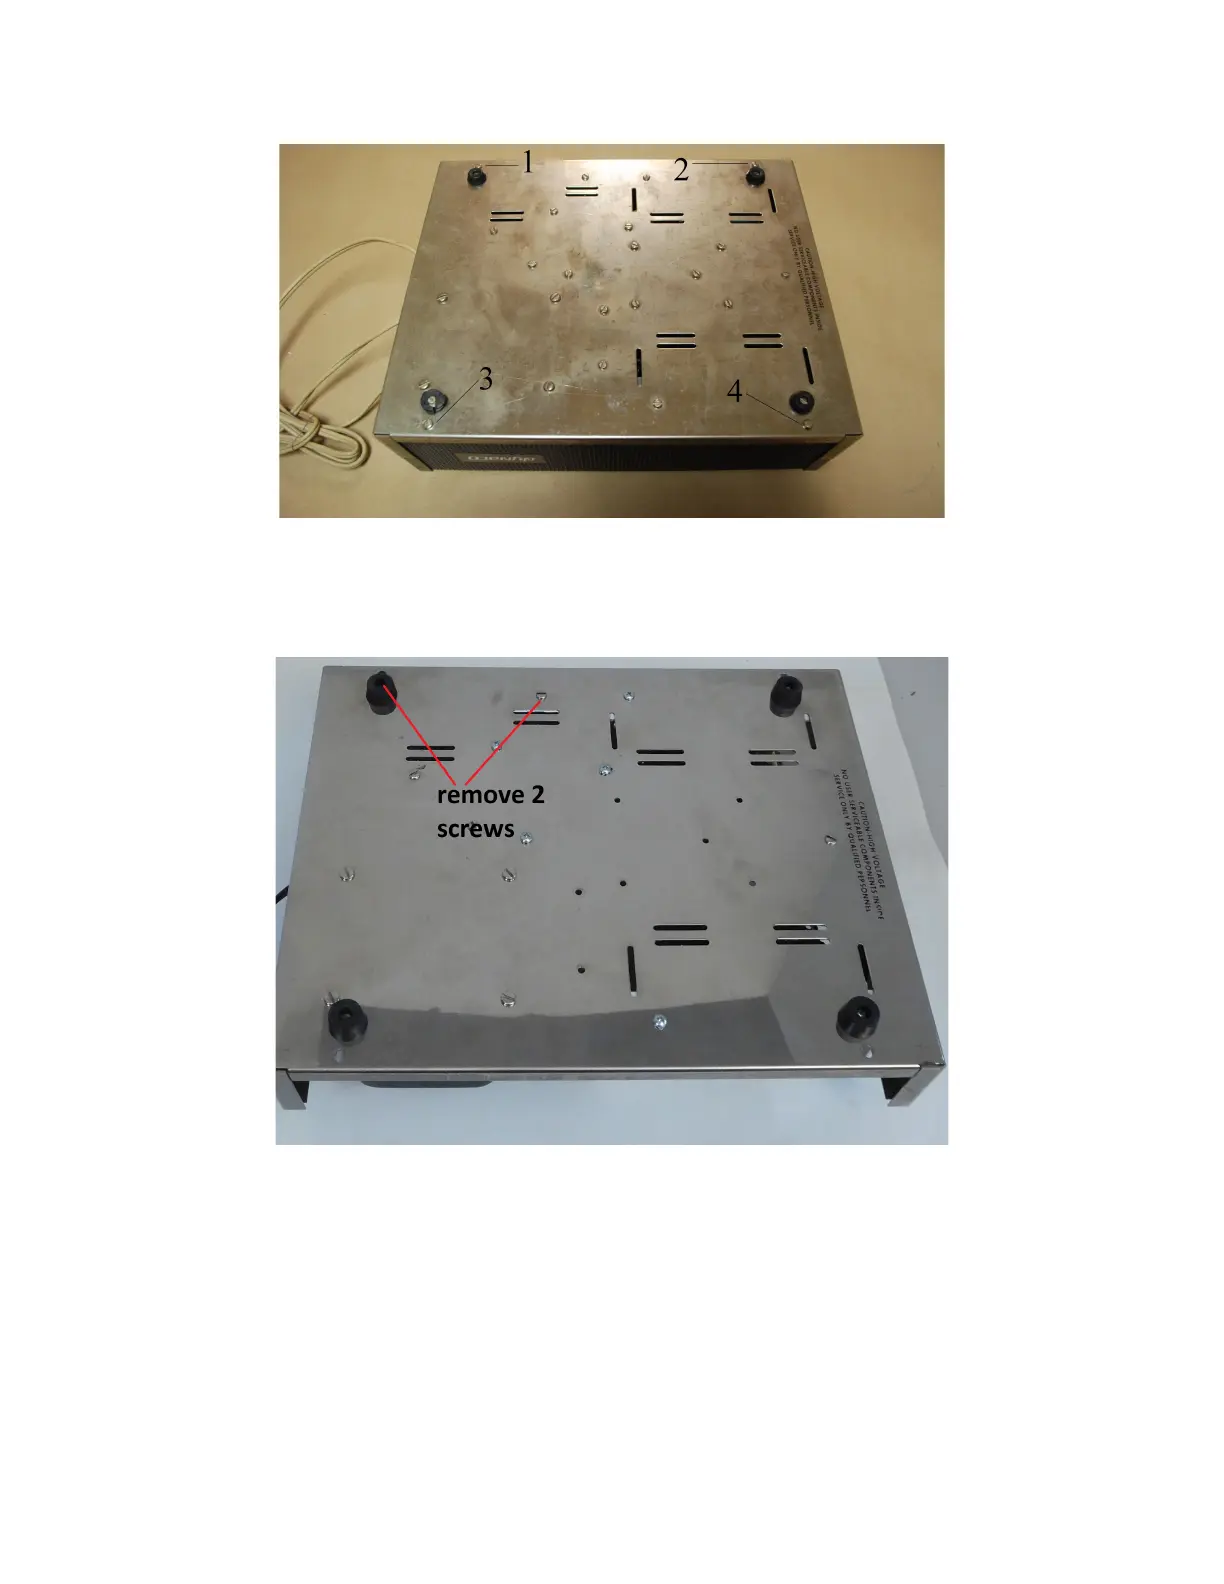
Figure 1-Location of the four screws that hold the cover to the base
3. Holding both the top and bottom of the amplifier, flip it over.
4. Lift the perforated metal top off the amplifier.
Remove the PSUG power supply and heatsink
Figure 2-Remove the two screws that hold the heatsink to the chassis
Remove the two screws that hold the PSUG/Heat-sink combination to the floor of the
chassis.
1. One of the screws holds both a mounting foot and the heatsink in place.
2. The other screw only holds the heatsink to the chassis.
Separate the PSUG and the Heatsink
1. Remove the nut and bolt that hold the power MOSFET to the stock heatsink.
2. Remove the three keps nuts that fasten the PSUG PCB to the three male-female 6-
32 stand-offs.