A48100 Unit User Manual
15
3.2.1 Installation preparation
1. Prepare equipment and tools for installation
.
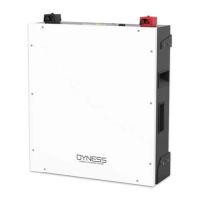
2. Check the A48100 unit and confirm that the ON/OFF switch is in the "OFF" state to
ensure the device is shut off.
3.2.2 Mechanical installation
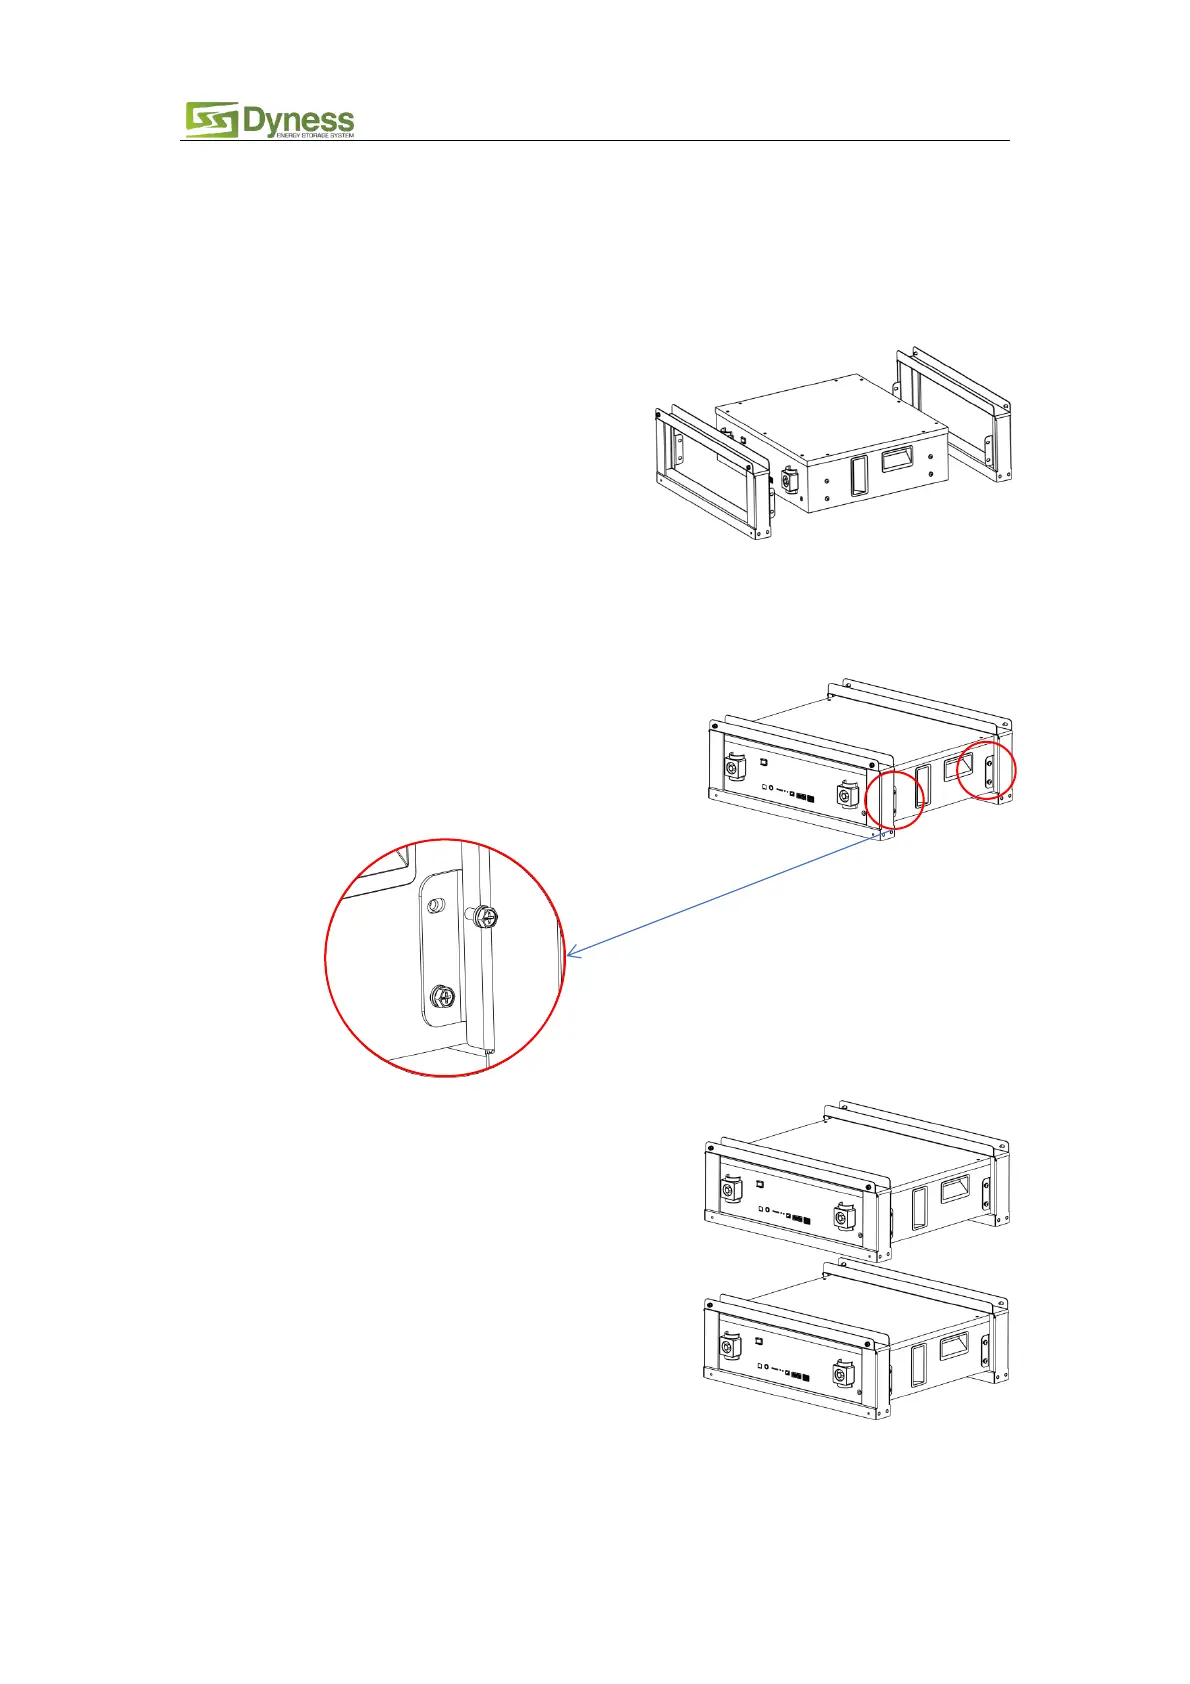
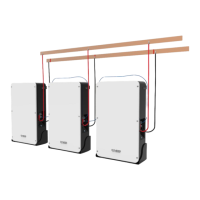
(1) Brackets Installation:
Figure3-2
Figure3-3
Figure3-4
2. Place the A48100 and brackets as shown in the
figure3-3, and insert the A48100 into the
brackets. Each bracket is connected to the
module by four screws, two screws on one
side. As shown in figure3-3.
3. Install another module as the same
method,don’t tighten the screw first,
put it on top of the first battery,as
shown in figure3-4.
1. A48100 brackets The A48100 bracket is
shown before installation as shown in
figure3-2.