DL5.0C Pro User Manual
©Dyness reserves the copyright of this document
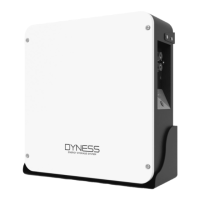
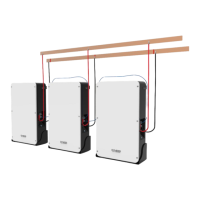
Wall hanging Installation method:
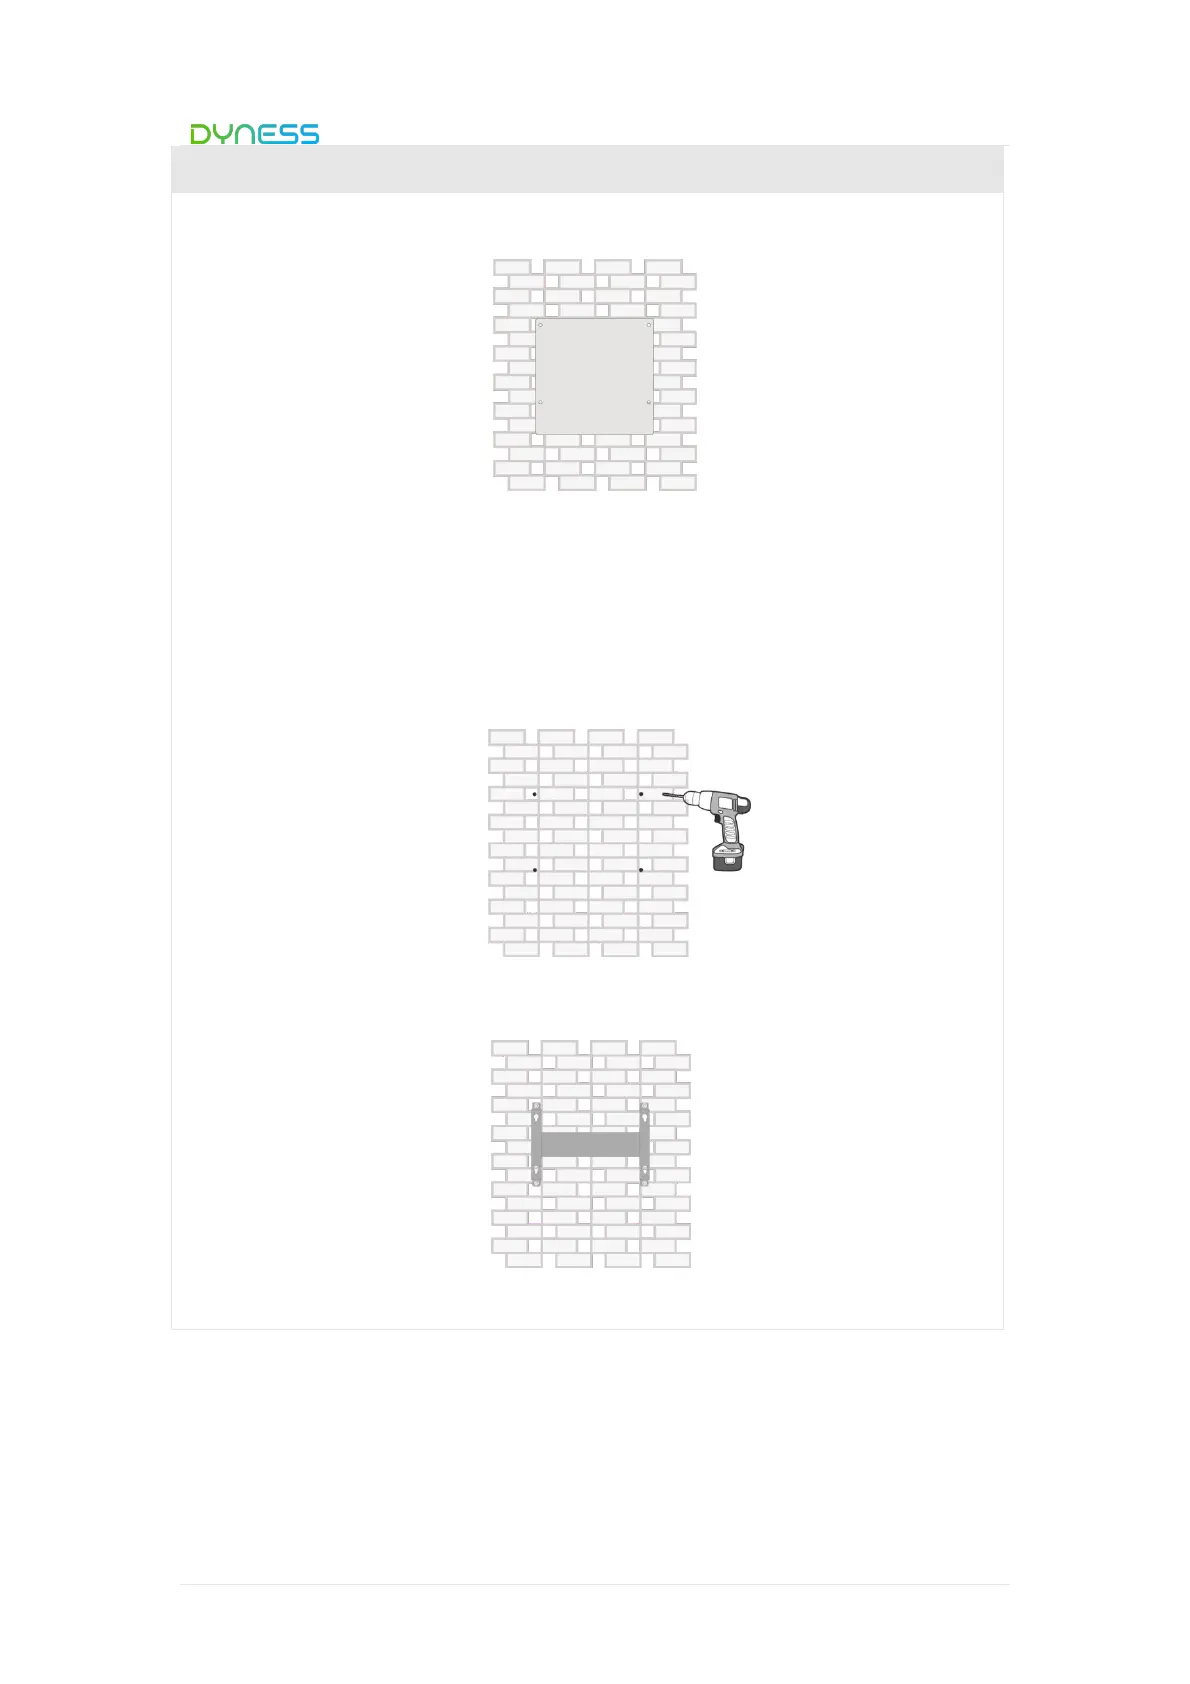
1.Use the positioning cardboard (provided in accessory package) and mark the screw
hole positions on the wall. Shown as below.
Figure 3-3
2.The cardboard must be perpendicular to the ground while drawing the holes.
3.The bottom of the cardboard is about 300mm from the ground.The customer decides
the installation height based on the usage environment.
4.According to the position of the mark, 4 holes in diameter 10mm and depth of more
than 70mm are hit on the wall with an electric drill, which are used for fitting
expansion bolt.
Figure 3-4
5.Fixing the Support bracket on the wall with M6 bolts. Twisting force keeps 10N·m.
Figure 3-5
6.Install the step screws into the screw holes on the rear of the battery case.


 To Next Page