Desktop 10/100Mb Network Card
5
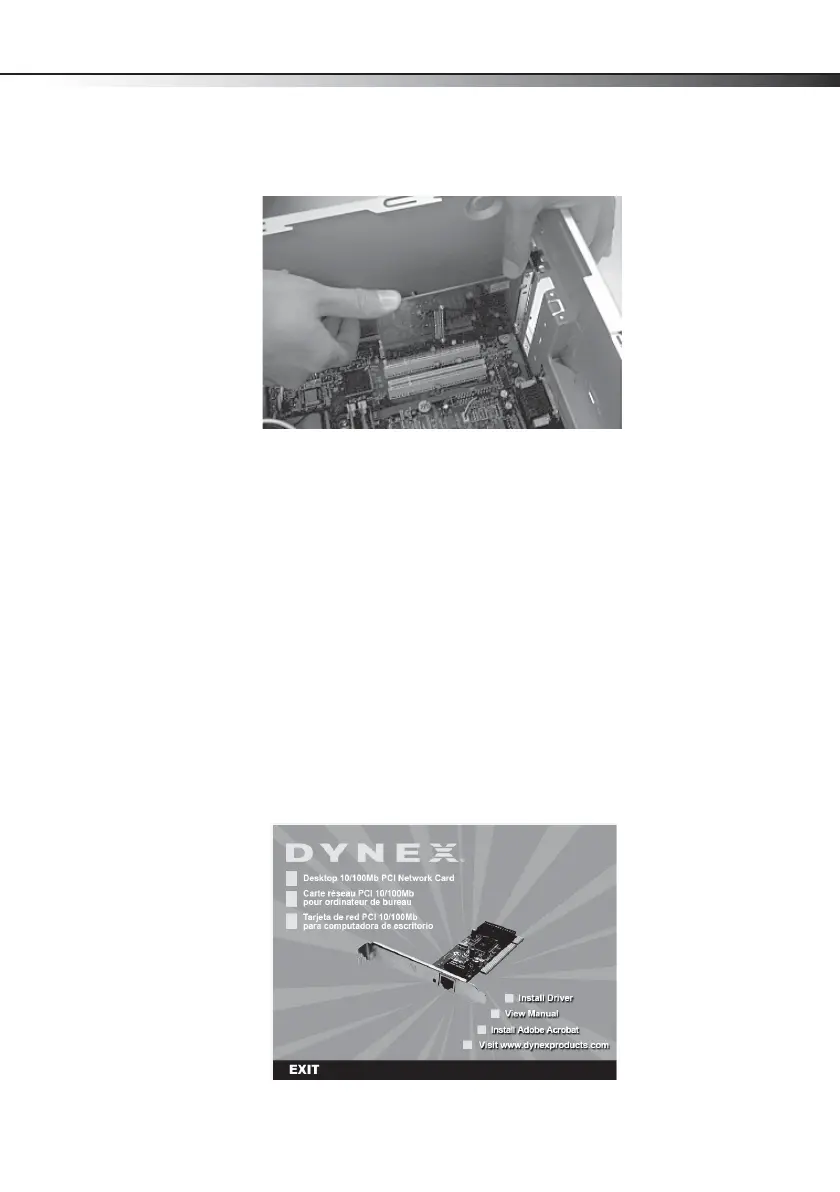
6 Carefully insert the adapter into the PCI slot. Do not touch the metal connector on the
adapter.
7 Secure the adapter to the case using the screw you removed from the backplate.
8 Reinstall your computer’s case cover.
9 Plug in the power cord and other cables, then turn on your computer.
After your computer starts, Windows may load a driver automatically. However, for optimal
performance you should install the included driver. See the section “Installing the adapter
driver” on page 5.
Installing the adapter driver
Note: Driver installation is not required for Mac OS X v10.4.0 or higher.
(Windows 7/Vista/XP/2000)
To install the card driver:
1 Insert the DX-E102 CD into your CD or DVD drive. The Dynex PCI Adapter window opens
automatically.
DX-E102-ENG.fm Page 5 Tuesday, October 20, 2009 7:43 PM