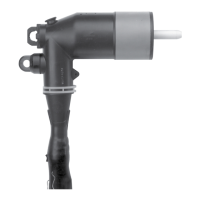
Step 9.
Install the compression connector
ote: N Refer to the chart supplied with the crimp
connector for the tool and die to be used.
• Wire brush conductor (aluminum only).
• Remove the protective cap from compression connector.
• Insert the conductor completely into the compression the
connector and rotate connector to distribute the inhibitor.
ote: N The connector must be fully seated on the cable
conductor.
• Align the flats of the connector and apparatus bushing for
minimum conductor strain.
• Make the first crimp 1/2” (13 mm) below the shoulder of
the compression connector. (Refer to Figure 22).
• Rotate each successive crimp 90° on the compression
connector and allow 1/8” (3 mm) between crimps.
• Wipe excess inhibitor from connector and adapter
surfaces.
Step 10.
Check di men sions
• Check tthe length from the end of the compression con-
nec tor to the top of the cable adapter.
• The length should be be tween 6 1/2" - 7 1/4" (165 - 184
mm). (Re fer to Figure 23.)
Figure 23. Line illustration for dimensional check.
6 1/2" - 7 1/4"
(165-184 mm)
Cable
adapter
Concentric
neutral wires
Tape
marker
Compression
connector
Figure 22. Line illustration of crimping area.
Bushing
ShoulderTool
Crimping
area
Cable
adapter
10
600 A 15 kV and 25 kV class BT-TAP connector system installation instructions MN650004EN May 2021
Catalog data MN650004EN
Effective May 2021
Deadbreak apparatus connectors

 Loading...

