6
Installation manual 3A3718 Rev E
Effective February 2019
CCP2-H4X-_ pistol handles for 12 mm shafts
Eaton.com/bussmannseries
Step 8: Close and latch door. Check the distance the shaft coupler
extends beyond the door’s front as shown. If extension is to too
great, recut shaft accordingly and reinstall. If too short, install
another shaft per previous instructions.
Step 9: Prepare the handle backer plate for mounting by removing
the depth gauge as shown.
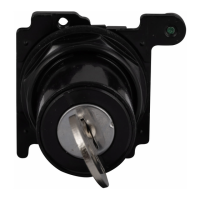
Step 10: Place switch handle on the enclosure door front so that
the protruding screw guides are seated in the four mounting holes.
From the rear, place the backer plate in position and secure with four
supplied Phillips head screws. Torque to 1 N•m (8.9 lb-in) as shown.
Step 11: Close and latch door. Check switch for proper operation in
all modes. If not operating correctly, revisit these installation steps
for remedial action.
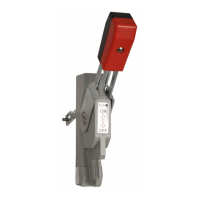
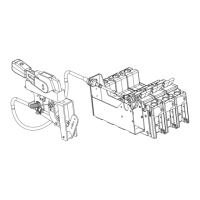
Step 7: Fully insert the shaft back into the switch making sure its
indexing corner (largest flat on the shaft) is in the upper left corner
of the switch shaft hole. Torque setscrew to 2.5 N•m (22 lb-in) using
4 mm Allen wrench. Place shaft coupler on the shaft as shown and
torque setscrew to 2.5 N•m (22 lb-in) using 4 mm Allen wrench.
Note the shaft is indexed so the shaft coupler can only be inserted
one way.
4 mm
2.5 N•m
(22 lb-in)
23 mm (0.91”)
8
7
Z 2/#2
1 N•m (8.9 lb-in)
10
OFF
ON
OFF
X
11
9
 Loading...