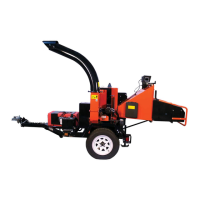
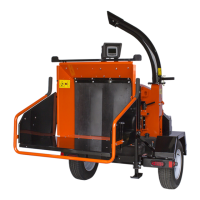
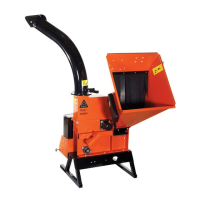
8 9 INCH CHIPPER
ASSEMBLY
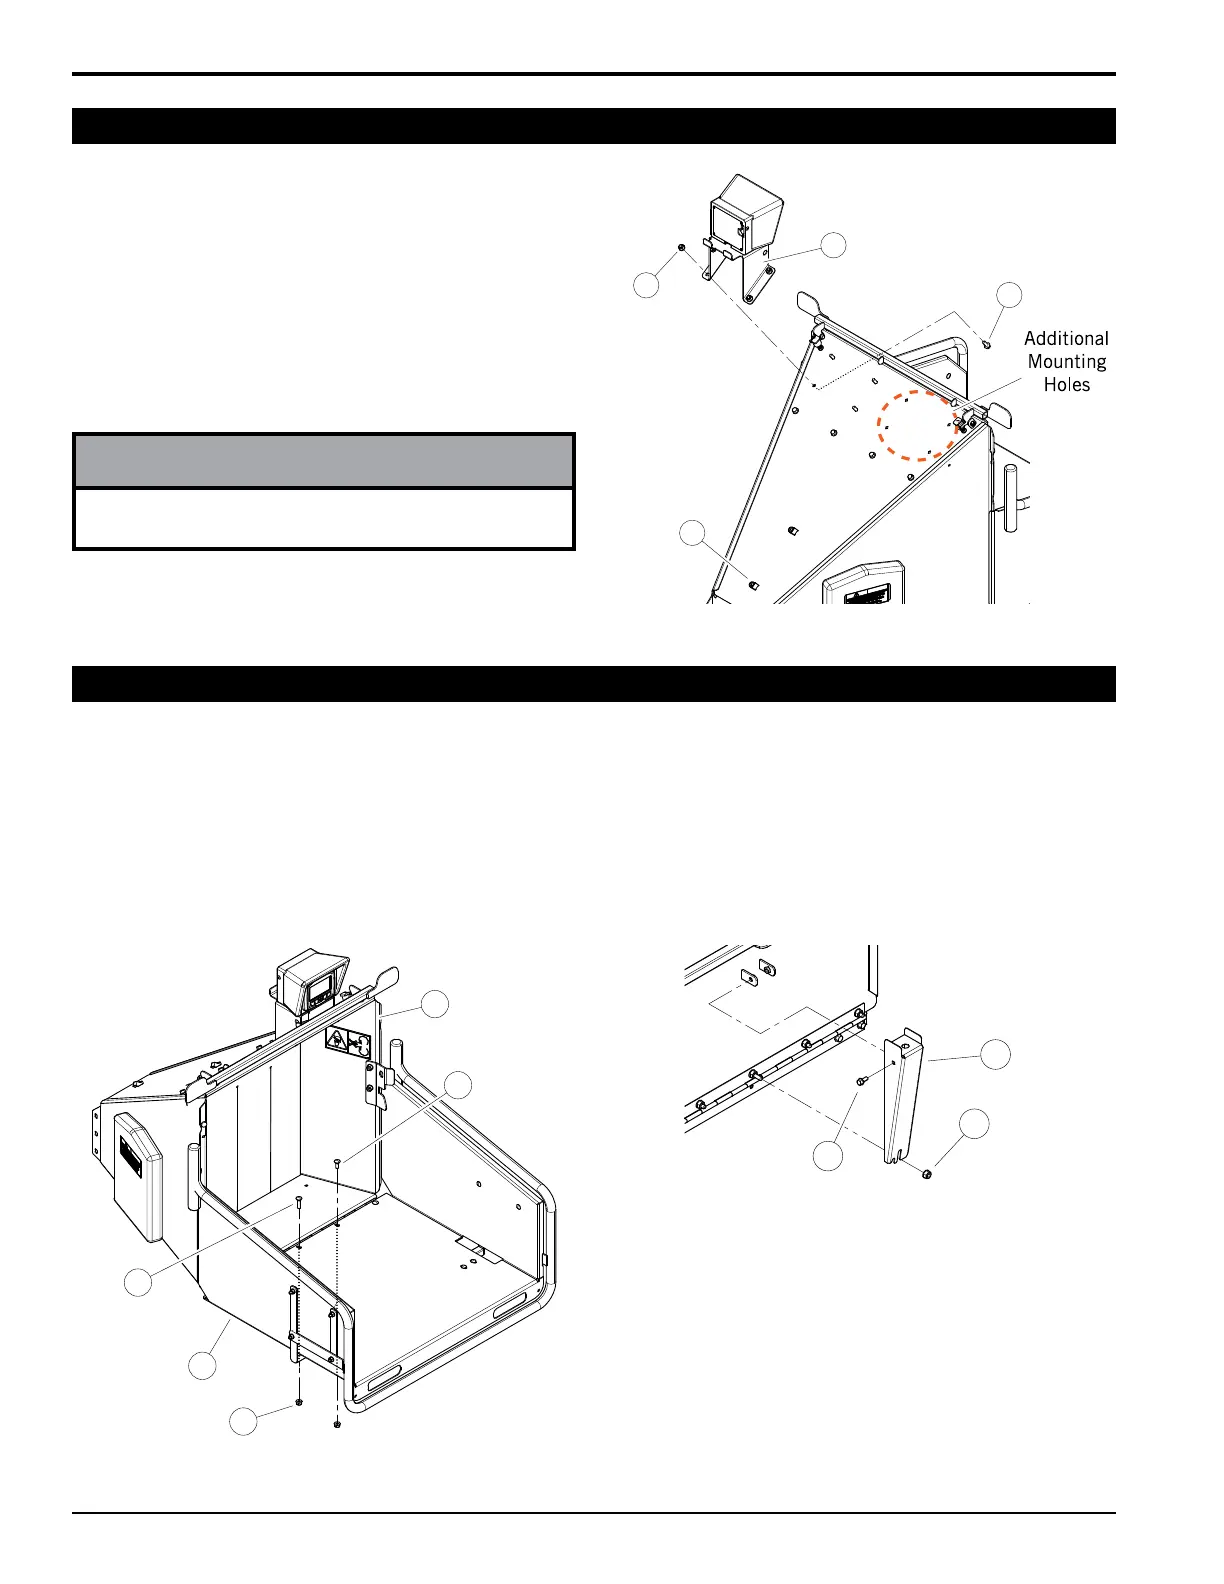
1. Tilt the extension tray (1) up, so the bottom of the tray is facing outward. Slide the extension tray between the
extension hinge and chipper chute lips (2).
2. Tilt the extension tray down until the tray rests on the extension hinge, and the extension tray lips contact the back
of the chipper chute lips.
3. Insert four 3/8" × 1" carriage bolts (3) and one 3/8" × 1-1/2" carriage bolt (4) (included in owner’s kit) through the
extension tray and hinge. Secure the bolts with nylock nuts (5) from the bottom (Figure 2.5).
4. Install knee bar sensor mount (7) on the exterior of the extension tray using two 5/16" × 3/4" bolts (6) and one nylock
nut (5) as shown in Figure 2.6.
2.6 ATTACH EXTENSION TRAY
Figure 2.5, Attaching the Extension Tray
1
2
3
4
5
5
7
6
Figure 2.6, Knee Bar Sensor Mount
1. Remove the bolts (1) and nuts (2) attaching the digital
display controller mount assembly (3) to the inside of
the chute.
2. Attach mount assembly to the outside of the chute as
shown.
3. Route harness using the zip ties and two holders (4)
shown in Figure 2.4. Leave excess harness at the
controller to allow rotation of the enclosure from side
to side.
1
2
3
4
2.5 ATTACH DIGITAL DISPLAY CONTROLLER MOUNT ASSEMBLY
The controller mount assembly can be attached to the
chute in either set of mounting holes.
NOTE
Figure 2.4, Digital Display Controller Enclosure