10
ASSEMBLY
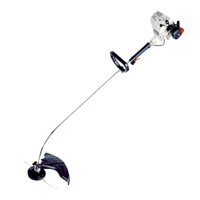
Tools Required: Locking Tools (2), Wrench 17 x 14.5 (9/16 in.)
Parts Required: Rapid Loader
TM
Head, Large washer, Small washer,
3/8-24 Locknut, (2) Pre-cut Nylon Line 8 in. x .080 in.,
Plastic Shield Assembly
WARNING DANGER
Cut-off knife on debris shield has sharp edges. Avoid contact
when installing or removing line head.
PLASTIC SHIELD INSTALLATION
1. Remove wing nut (A), washer (B), and bolt (C).
2. Snap the shield over the bearing housing.
3. Install bolt (C), washer (B), and wing nut (A).
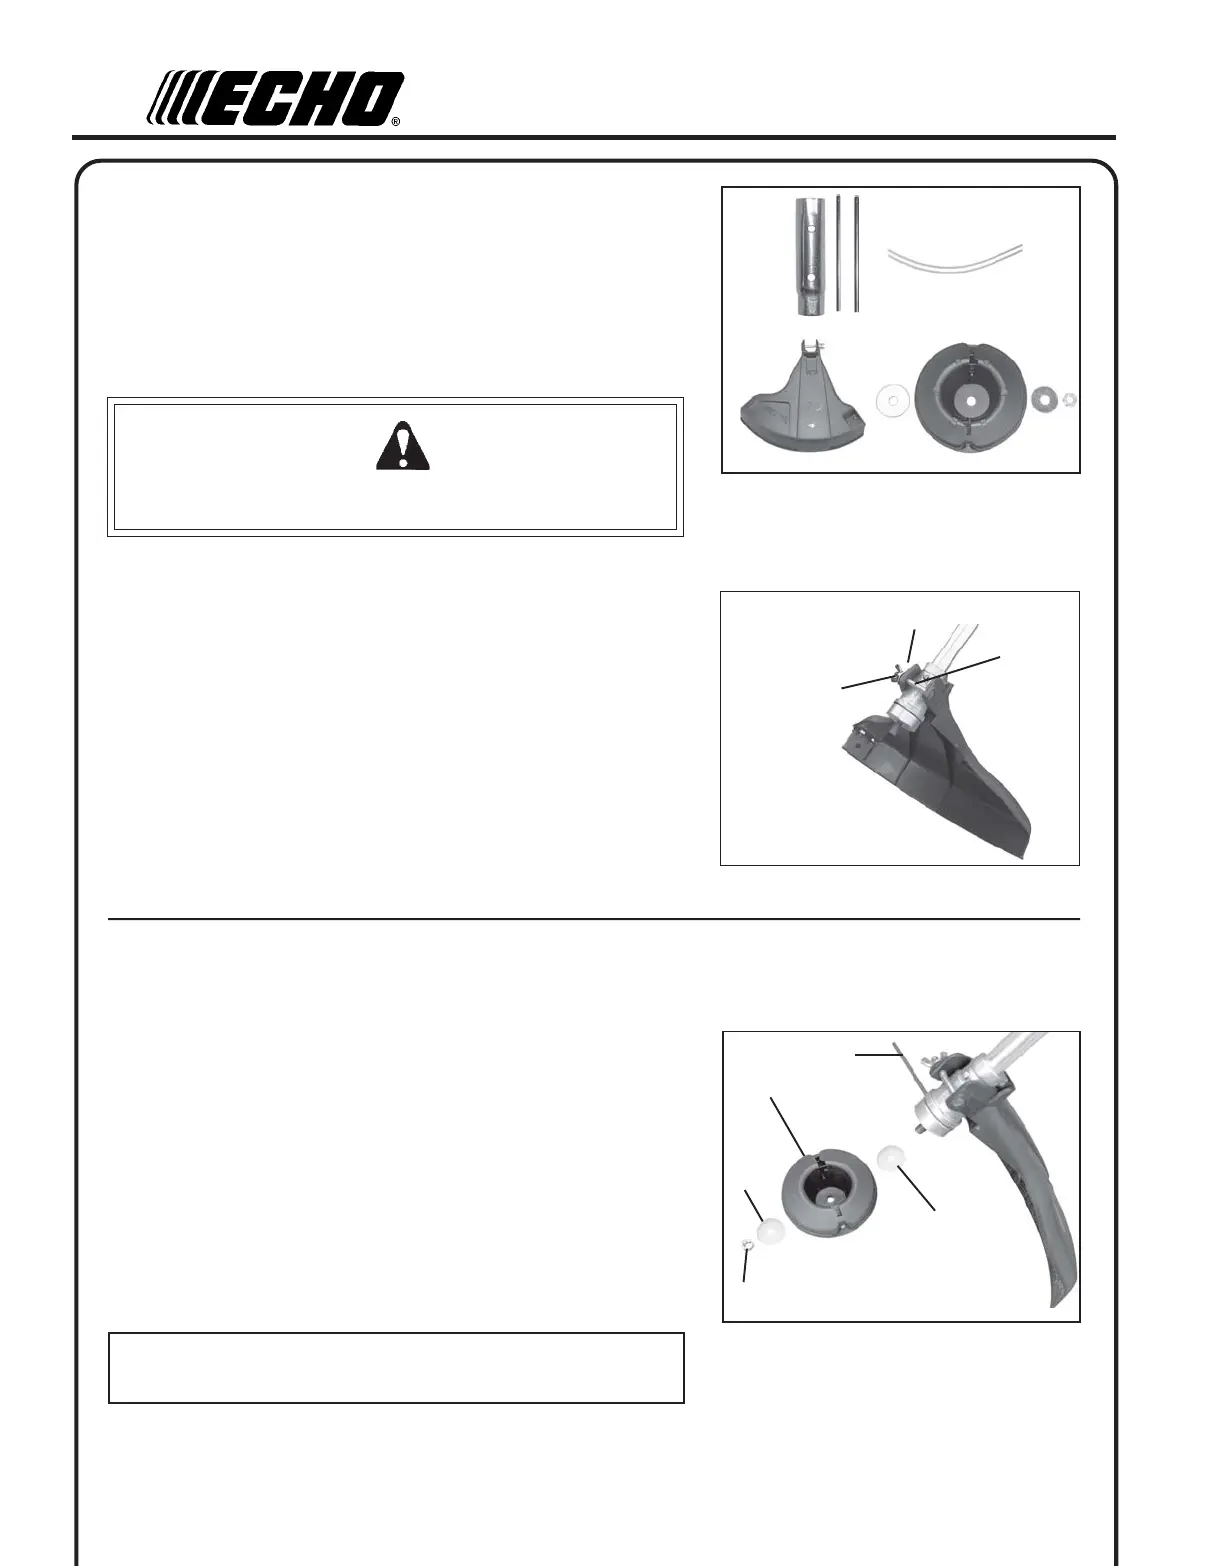
NYLON LINE HEAD INSTALLATION
1. Remove plastic threaded shaft sleeve from threaded PTO shaft.
2. Align locating hole in upper plate with hole in bearing housing and
insert 5 mm (3/16 in.) diameter locking tool (A).
3. Place large washer (B) then line head (C) on threaded shaft,
followed by small metal washer (D) and locknut (E).
4. Install 3/8-24 locknut using 14.5 mm (9/16 in.) wrench. Turn locknut
clockwise, and tighten securely.
IMPORTANT
Remember to remove the locking tool.
C
A
B
A
B
C
D
E