G
RASS
T
RIMMER
O
PERATOR
'
S
M
ANUAL
13
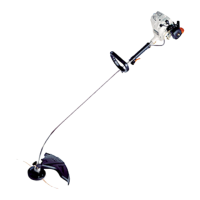
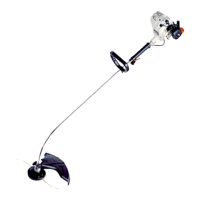
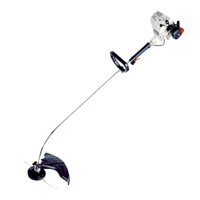
ASSEMBLY
Tools Required: Locking Tool (not included). (Use 1/8 in. diameter or
less metal bar or small screwdriver.)
PLASTIC SHIELD
1. Snap the shield over the bearing housing.
2. Install bolt (A), washer (B) and wing nut (C).
NYLON LINE HEAD
1. Align locking hole in upper plate with hole in bearing housing.
2. Insert 1/8" dia. locking tool (D) (not included with unit) and remove
plastic retaining sleeve. Thread cutting attachment onto PTO shaft
clockwise until head is tight.
IMPORTANT
Remember to remove the locking tool.
FRONT (LOOP) HANDLE
NOTE
Front handle is pre-installed. Repositioning and tightening is all
that is required.
1. Position front handle (E) in comfortable operating position and
tighten wing nut (F). The cutting attachment should be 5cm- 7.5cm
(2 in. -3 in.) above the ground and as level as possible.
A
B
C
D
E
F

 Loading...
