GB-4
outdoor use. The cable diameter must be equal to or bigger
than 1.5mm² for cable lengths up to 75m.
Put the coupling of the extension ex onto the shears‘ plug.
For strain relief, stick a loop of the extension ex through the
opening in the handle and put it onto the strain relief hook.
After nishing work, slide the loop ahead over the hook and
pull it back through the handle opening. Pull the mains plug.
Extension exes with a length of more than 30m reduce
the machine’s output.
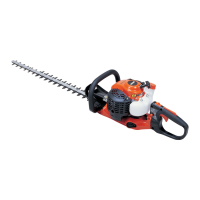
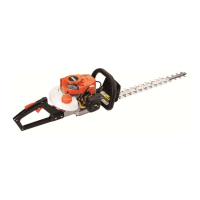
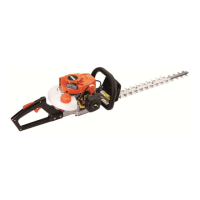
6. Instructions for use of the equipment
Do not use the trimmer in rain or for cutting wet
hedges!
Check the hedge trimmer ex and its connections
before each and every use for visible signs of
damage (disconnect the power plug)! Do not use a
faulty ex.
Gloves:
Protective gloves must be worn when using the
hedge trimmer.
7. Switching the hedge shears on/off (Fig. 4)
When switching the hedge shears on take a safe stand.
These hedge shears have a two-hand safety switch. To
switch the hedge shears on the bar switch in the handle
(A) and the grip switch of the bow-type handle (B) must
be pushed down. To switch the device off let go of both
switches. The motor already stops if one of the two
switches is released.
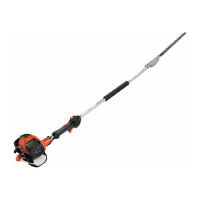
8. Adjusting the turning handle
To facilitate your work the hedgetrimmer are equipped
with a turning rear handle that can be set in 3 different
positions (right, left, and normal). The purpose of this
mechanism is that especially for cutting in vertical direc-
tion the hedge shears can be held in their ergonomically
most favourable position whereby an early fatigue of the
user is avoided.
Please proceed as follows to change the position of the
handle:
Release switch (A). Pull back the locking pin (C) (Fig.
5). The handle is now unlocked and can be turned to the
desired position (Fig. 6+7). In the desired end position,
the pin locks back into place and securing the handle and
avoiding an accidental change of the position.
Please bear in mind that the locking pin (C) can only be
pulled back when the switch (A) is not activated (held
down). Make sure that the locking pin locks into place
again after repositioning the turning handle. Only then the
switch can be activated anew.
9. Maintenance
Always disconnect the plug from the power socket
before commencing any work on the machine.
Important: Always clean and oil the blades after pro-
longed use of the hedge trimmer. This will greatly affect
the life of the equipment. Damaged cutting units must
be properly repaired immediately. Clean the shearing
blades with a dry cloth or – in case of heavier dirt – with a
brush. Attention: Danger of injury! Oiling of the blades
should ideally be carried out using an environmentally
friendly lubricant (Fig. 8).
Sharpening of the blades
The blades generally do not need servicing and do
not require resharpening if used correctly. In order to
prevent injuries caused by the blades when not in use,
the sharpened cutting blade should be covered by the
blade cover (Fig. 9). The blades cannot be sharpened by
the user without opening the equipment and the safety
mechanism. Resharpening of the blades can therefore
only be carried out at a specialist workshop.
Changing the blades
Only correct installation of the blades will guarantee
problem-free operation and function of the above
mentioned safety feature of the blades. Changing of
the blades should therefore only be carried out at a
specialist workshop.
10. Holding the hedge trimmer when in use
(Fig. 10)
This equipment will enable you to cut or trim bushes and
hedges easily and comfortably.
Trimming of hedges
- Young shoots are best cut in a scythe move ment.
- Older and stronger hedges are best cut in a sawing
movement.
- Branches, which are too thick for the hedge trimmer,
should be cut with a saw.
- Sides of hedges should be cut upwards in a taper.
In order to achieve an even height
- Fix a guide line at the required height.
- Cut evenly over this guide line.
Attention: Take care to have a secure and safe standing
position when working with your hedge shears in order
to avoid slipping and injury. Always keep the shearing
blades away from your body.
11. Optimum safety
The 5 special features two-hand safety switch, quick
blade stop, protective cover, blade safety rail and
impact protector are tted to provide the hedge trim-
mer with optimum safety features.
Attention!
If you nd out that safety functions, such as
the 2-switch mechanism or the safety stop, are
not functioning while working with the hedge
shears, immediately cease working and take
the machine to a specialised shop for repairing.
Two-hand safety switch (Fig. 4)
To switch on the hedge trimmer one of the switch bars
on the hand grip (A or B) and the switch on the bow-type
handle (C) must be held down. If one of the switches is
released, the shearing blades will stop.