EasyManuals Logo

Eclipse P400 User Manual

Eclipse P400
13 pages
To Next Page IconTo Next Page
To Previous Page IconTo Previous Page
Page #7 background imageLoading...
Page #7 background image
12 13
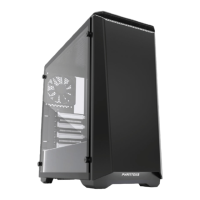
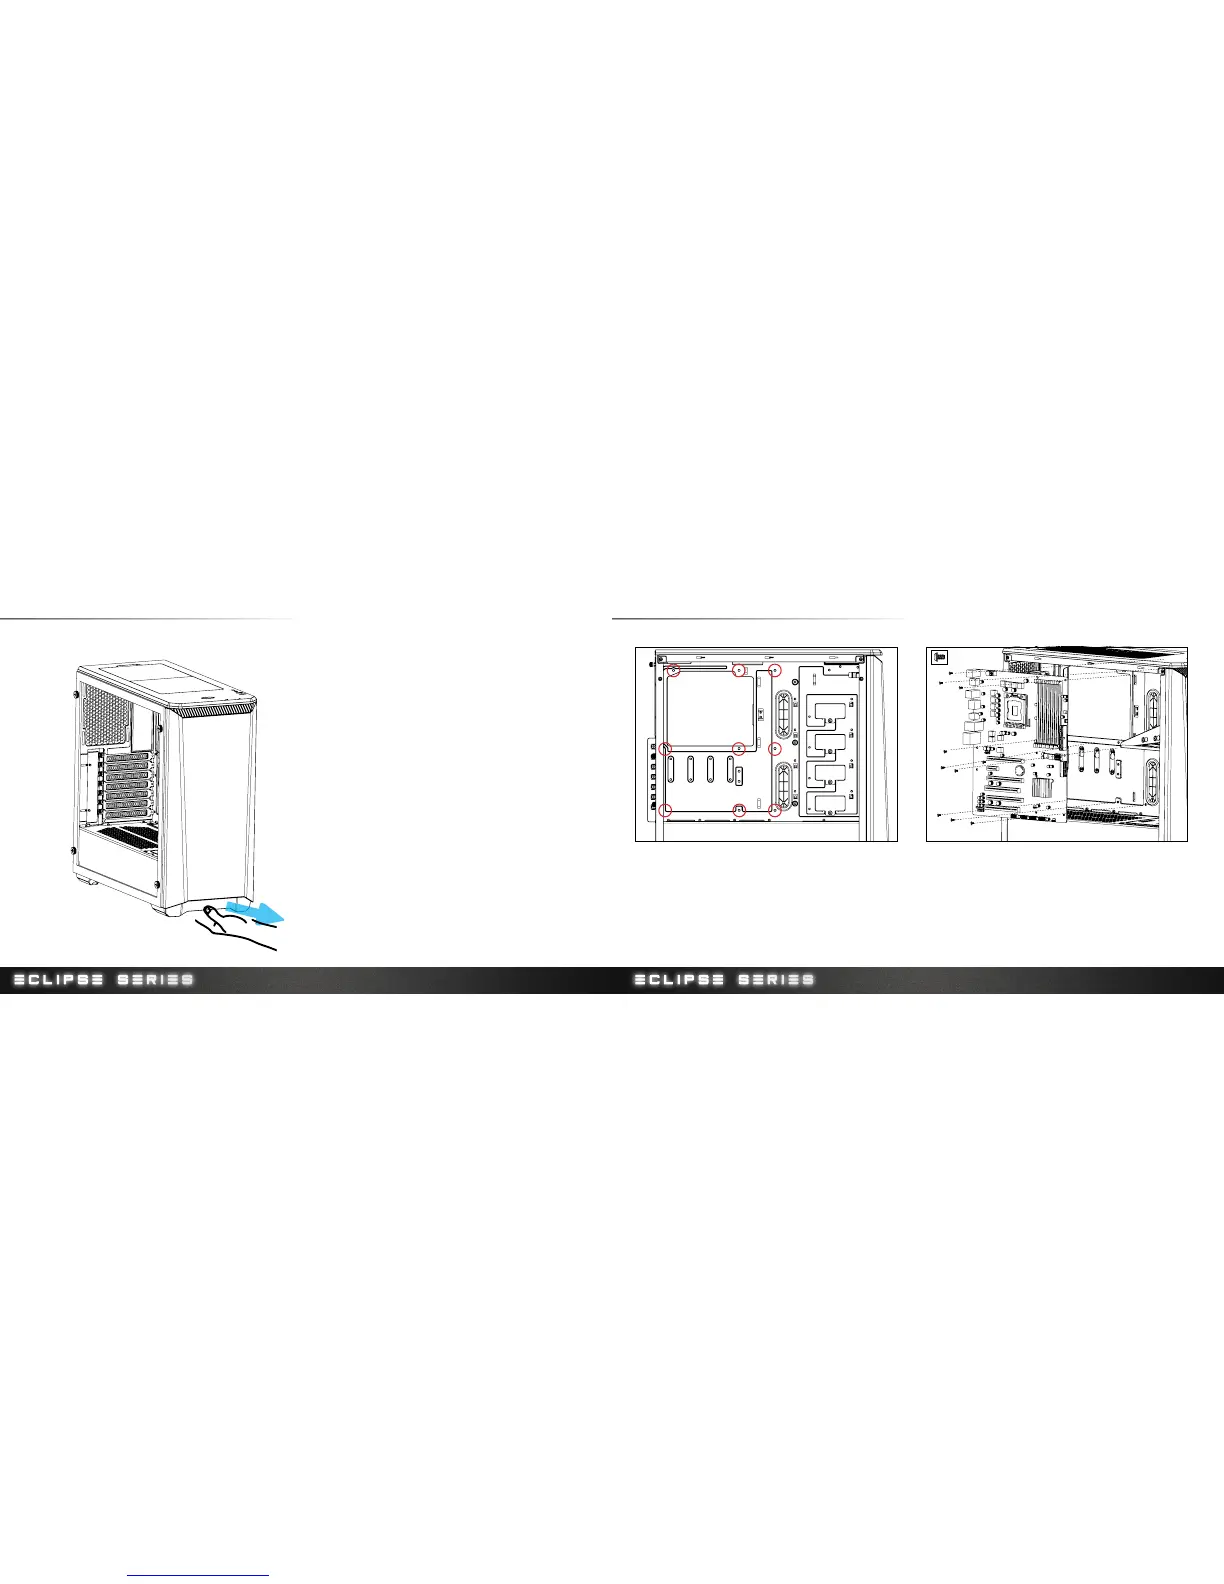
6. PANEL REMOVAL 7. MOTHERBOARD INSTALLATION
For the front panel, place your hands on the area shown and pull outward.
打开面板时,用手从指示位置向前拉出。
前面パネルの場合、図に示したエリアに両手を置き外側に引きます。
전면 패널을 분리하려면, 양손을 그림에 표시된 부분에 올려놓고 바깥쪽으로 당깁니다.
Чтобы снять переднюю панель, возьмитесь за нее руками в указанных местах и
потяните наружу.
Stando󻉒 screws are pre-installed for Micro ATX.
出厂设置中预先安装的铜柱为规格
スタンドオフねじに標準装備されています。
스탠드 오프 나사가 에 미리 설치되어 있습니다.
Винтовые стойки заранее установлены для
Install the motherboard with the provided M3 screws.
用M3螺丝安装主板
同梱の M3 ねじでマザーボードを取り付けます。
제공한 M3 나사를 사용하여 메인보드를 설치합니다.
Закрепите системную плату с помощью винтов M3 из комплекта.a

Questions and Answers:

Question and Answer IconNeed help?

Do you have a question about the Eclipse P400 and is the answer not in the manual?

Eclipse P400 Specifications

General IconGeneral
TypeMid Tower
Dimensions210mm x 465mm x 470mm
Motherboard SupportATX, Micro-ATX, Mini-ITX
Expansion Slots7
Cooling SupportFront: 3x 120mm or 2x 140mm, Top: 2x 120mm or 2x 140mm, Rear: 1x 120mm
Pre-installed Fans1x 120mm Rear
Maximum GPU Length395mm
Maximum CPU Cooler Height160mm
Maximum PSU Length270mm
Front Radiator SupportUp to 360mm
Rear Radiator Support120mm
MaterialSteel
Drive Bays2 x 2.5", 2 x 3.5"
Front I/O Ports2x USB 3.0, Audio In/Out