EcoNet
®
Smart Thermostat User Guide 17> Return to Table of Contents
Settings (con’t)
Fan Mode – This feature allows you to define the minimum amount of time
each hour that the system fan will run. The default is continuous and the fan
will run in between heating and cooling calls constantly. You can adjust the
minimum fan runtime between 10 and 40 minutes per hour. The fan runtime
applies during any mode selected except when the system is turned off.
Note: When fan speed is set to Auto the Fan Mode setting is not applicable.
If you have an EcoNet Zoning System, see below:
Please refer to the EcoNet Zoning I/O manual for proper installation instructions.
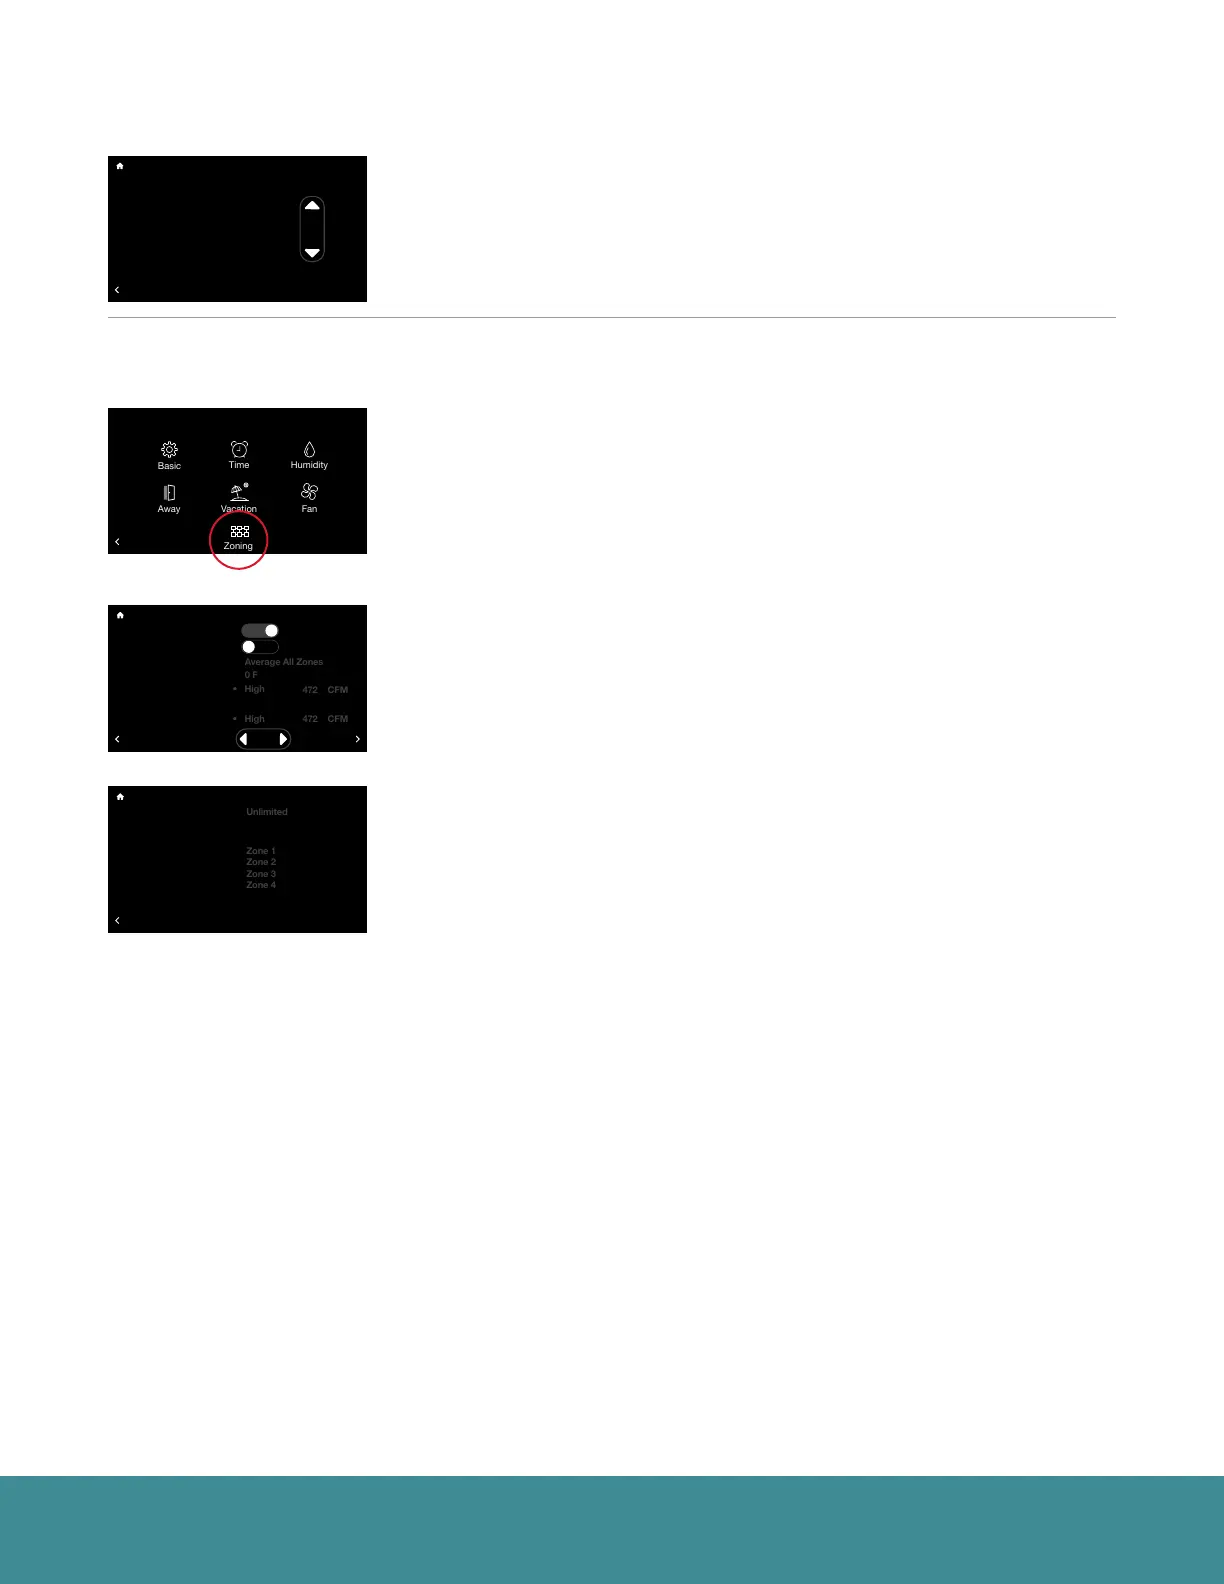
Zoning (Menu > Settings > Zoning)
If a zoning application is installed tap Menu > Settings. Tap the Zoning icon
to view Zoning Settings.
Note: System level Zone Settings are only accessible through the EcoNet Smart Thermostat and
not through the EcoNet Zone Controls. Temperature changes to individual zones can be made
from the Smart Thermostat under Menu > Zoning, via the individual zone controls or through the
EcoNet App
2
.
On the Zoning Settings menu, set Zoning Enabled to ‘Yes’ to display
applicable zone settings. From this screen you can select which zone
you want to use to track relative humidity, customize airflow noise limits
and name zones.
All Zones Follow Zone 1 – Default is set to ‘No’. Selecting ‘Yes’ will ensure
all additional zones will follow the mode, set points and fan speed you have
selected for Zone 1.
Humidity Sensor to Use – Default is Zone 1. However, you can select to
follow the humidity reading from any individual zone or chose to follow the
average humidity reading from all zones.
Over Conditioning – This is a setting that can allow Zone 1 to be conditioned
below the set point in order to allow the system to continue to condition
a calling zone that is not large enough to run the equipment by itself. The
default is set to Auto. Auto will allow the system to over-condition Zone 1 up
to the most conditioned zone set point. You can also choose to restrict Over-
Conditioning in Zone 1 by setting to ‘None’ or setting to a specific degree
between 1-10°F.
The individual zone Over-Conditioning settings may be adjusted directly from
the respective zone control.
Zone Airflow Setting – Adjust airflow noise level limits for each zone.
The system will automatically set the airflow limit for each zone to one level
above the minimum airflow required to run the system.
We recommended leaving the airflow setting at the level and CFM assigned by
the system. If the airflow in a given zone is too loud, return to this screen and
set a lower limit.
Note: It is important to keep in mind that if only one zone calls, its maximum airflow setting must
be greater than the minimum airflow required by the system or the equipment will not operate.
For the system to operate in this scenario, at least one zone must be set to over-condition. This
condition will be represented by an asterisk next to the airflow limit.
Zone Name – Customize the name for each zone using the on-screen keyboard.
71
47%
68
OFF
Dining Room
Zone 3
Away
Backlight Enabled?
Outside Temp Selection?
BACK
Basic Settings
Internet
Yes
36
UNITS
34
Group 1
Refrigeration
!
61%
72
Basement
Zone 4
85
80
BACK
Zone 4 Airflow Setting
Zone 1 Name Text
Zone 2 Name Text
Zone 3 Name Text
Zone 4 Name Text
Zoning Settings
71
47%
68
OFF
Dining Room
Zone 3
Away
Backlight Enabled?
Outside Temp Selection?
BACK
Basic Settings
Internet
Yes
36
UNITS
34
Group 1
Refrigeration
!
61%
72
Basement
Zone 4
85
80
Zoning Enabled?
All Zones Follow Zone 1?
Humidity Sensor to Use
Zone 1 Airflow Setting
Zone 2 Airflow Setting
Zone 3 Airflow Setting
Over-Conditioning
BACK
Zoning Settings
Yes
• High
472 CFM
MORE
No
71
47%
68
OFF
Dining Room
Zone 3
Away
Backlight Enabled?
Outside Temp Selection?
BACK
Basic Settings
Internet
Yes
36
UNITS
34
Group 1
Refrigeration
!
61%
72
Basement
Zone 4
85
80
BACK
Settings
Installer
BACK
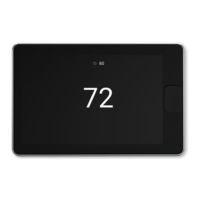
Fan Setting
Fan Speed: Auto
Fan Mode: Timed, 20 min.