EcoNet
®
Smart Thermostat User Guide 32> Return to Table of Contents
Air Handler Settings
Air Handler Status (Menu > Settings > Installer > Air Handler)
Go to Menu > Settings > Installer (tap and hold) > Air Handler.
Electric Heater Size – If electric strip heaters are installed in the air handler
you will need to select the appropriate size.
Electric Heat Airflow Select – Four choices available. Refer to air handler
installation instructions for air flow settings.
See pages 28-29 for the G Input and AUX Input details. These settings are the
same for both furnace and air handler.
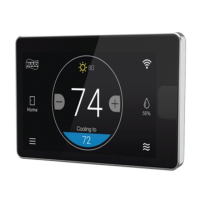
Caring for your Thermostat
Cleaning
You can clean your thermostat screen by lightly spraying water on the provided lens cloth or a clean microfiber
cloth. Wipe the surface of the screen with the dampened cloth. It is recommended you first lock the screen
(Menu > Settings > Basic > Screen Lock set to ‘Yes’)
Note: Never spray any liquids directly onto your EcoNet Smart Thermostat.
Rebooting
You can reboot your EcoNet Smart Thermostat by cycling power to the thermostat. Rebooting will not alter
programming, settings or configuration options.
Note: When significant changes are made to the EcoNet system a complete power cycle is required. Control board replacements, upgrading
from a non-communicating outdoor unit to a communicating outdoor unit and the addition of zoning require the thermostat be reset to
factory defaults, followed by a power cycle to all equipment.
Resetting the Thermostat
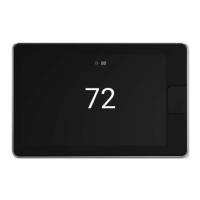
Default Status (Menu > Settings > Installer > Default)
At some point during the life of your EcoNet Smart Thermostat you may want
to quickly restore it to the default state. First, enter the Installer Settings menu
by selecting Menu > Settings, then tap and hold on “Installer” on the bottom
right of the screen for five seconds. Once in the Installer menu, tap Defaults,
view the warning and tap Enter to restore all settings to factory default.
Note: This will reset all settings including a programmed schedule, date and time to
factory default settings.
71
47%
68
OFF
Dining Room
Zone 3
Away
Backlight Enabled?
Outside Temp Selection?
BACK
Basic Settings
Internet
Yes
36
UNITS
34
Group 1
Refrigeration
!
61%
72
Basement
Zone 4
85
80
T957_O Low Refrigerant Pressure
BACK
Installer Checkout
Linearize Dampers
75
44%
80
65
Away
Resume Schedule
71
Home 44%
70
80
Cooling to
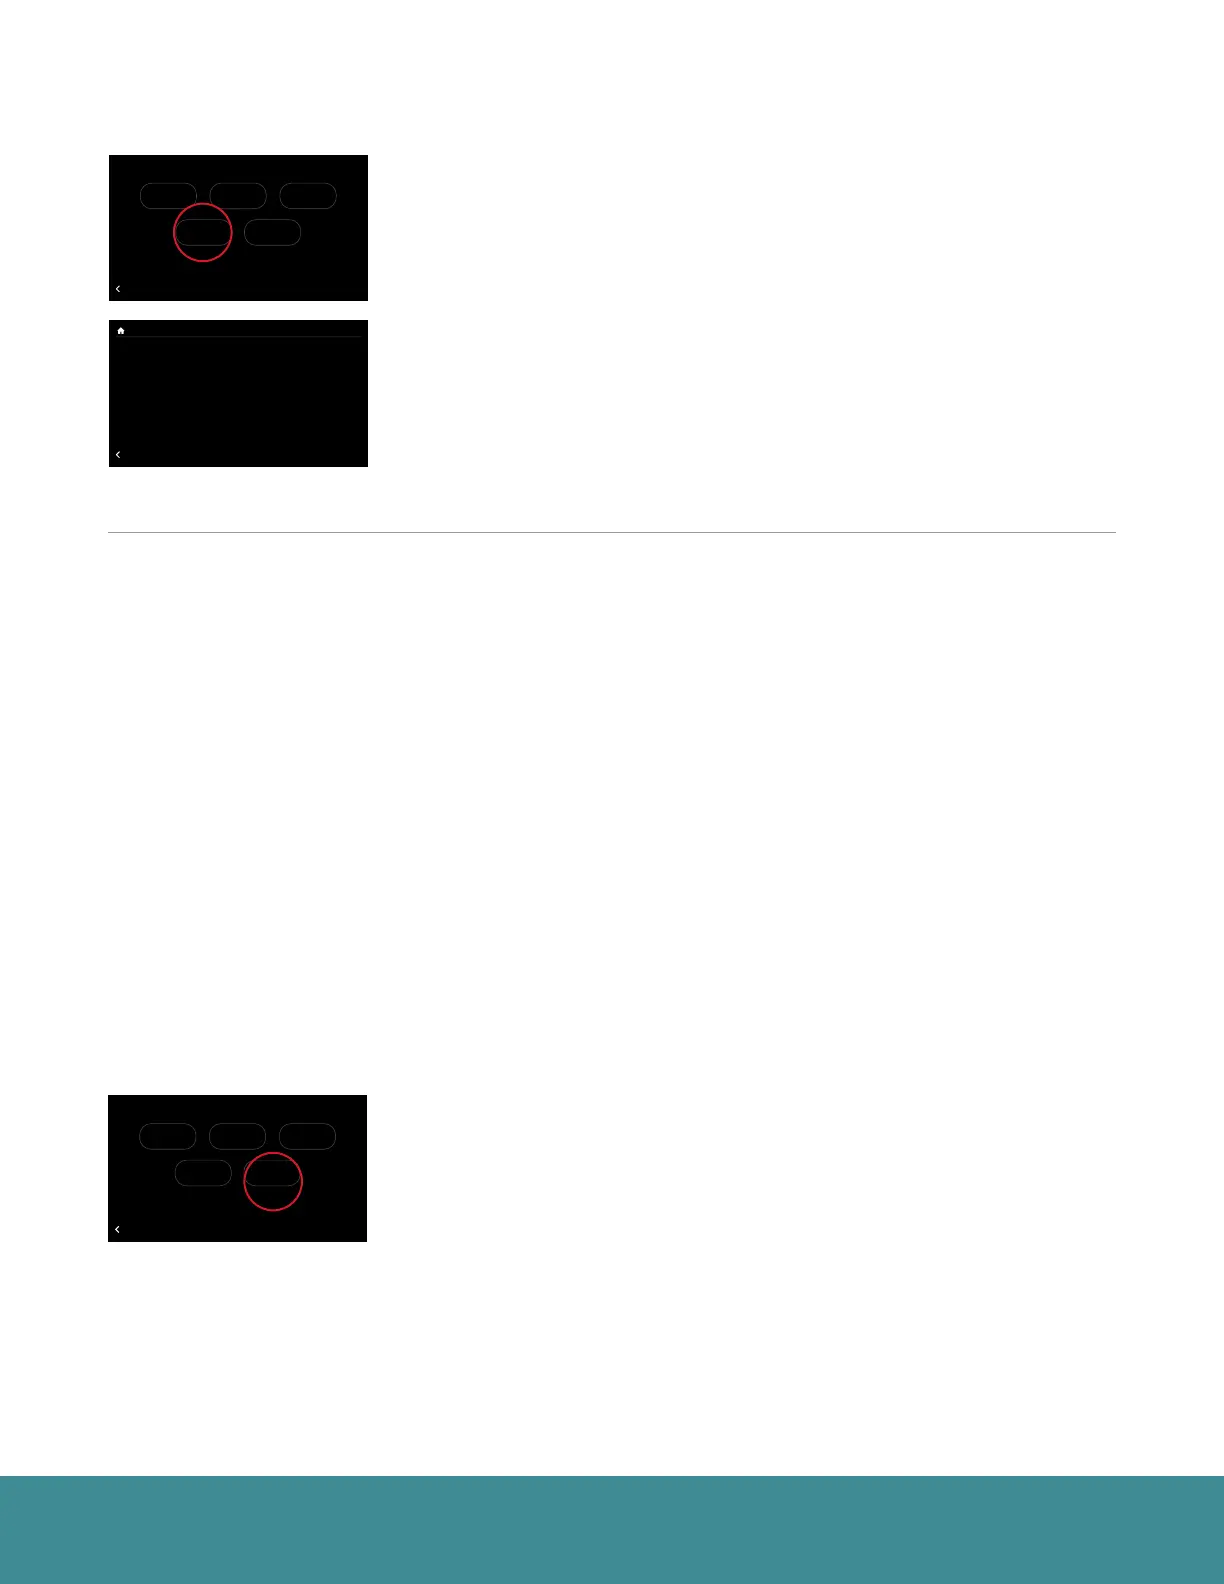
Warning! These settings are to be used
by a qualified HVAC contractor ONLY
BACK
Installer Settings
Furnace AC/HP Thermostat
DefaultsAir Handler
71
47%
68
OFF
Dining Room
Zone 3
Away
Backlight Enabled?
Outside Temp Selection?
BACK
Basic Settings
Internet
Yes
36
UNITS
34
Group 1
Refrigeration
!
61%
72
Basement
Zone 4
85
80
T957_O Low Refrigerant Pressure
BACK
Installer Checkout
Linearize Dampers
75
44%
80
65
Away
Resume Schedule
71
Home 44%
70
80
Cooling to
Electric Heater Size None
EXV Superheat Offset 0° F
O Input Fan Control Off
Aux #1 Config N.O. Off
Aux #2 Config N.O. Off
Filter Type Media
BACK
Air Hander Settings
71
47%
68
OFF
Dining Room
Zone 3
Away
Backlight Enabled?
Outside Temp Selection?
BACK
Basic Settings
Internet
Yes
36
UNITS
34
Group 1
Refrigeration
!
61%
72
Basement
Zone 4
85
80
T957_O Low Refrigerant Pressure
BACK
Installer Checkout
Linearize Dampers
75
44%
80
65
Away
Resume Schedule
71
Home 44%
70
80
Cooling to
Warning! These settings are to be used
by a qualified HVAC contractor ONLY
BACK
Installer Settings
Furnace AC/HP Thermostat
DefaultsAir Handler