1 Remove the reverse osmosis system from and the box check that all parts are inside the bag.
2 Shut o water supply in place of installaon and open a water tap for 1 minute to relieve
pressure in the system. Then close the tap.
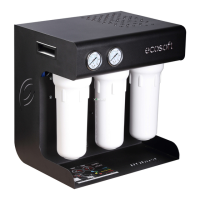
3 Drain saddle ts most standard drain pipe. Install
the drain saddle on drain pipe as follows. Bore 5
mm hole in the drain pipe, apply rubber gasket with
scky base (included in the package). Install drain
saddle on top of the gasket so that push-t ng
in the saddle is located precisely above the hole in
drain pipe. Tighten nuts on drain saddle fasteners
with a wrench. Insert black tube in the push-t ng
in drain saddle. Connect the other end of black tube
with drain port of the RO system’s push-t port rack.
4* Put a few turns of PTFE tape on tank nipple thread.
Screw tank valve on the tank nipple. Turn the valve
fully o.
NOTE! Test air pressure in the empty tank bladder.
It should be 0.6–1.0 bar. If necessary, use air pump
with to inate the bladder. If pressure is too high
already, push on the valve stem’s core to relieve it.
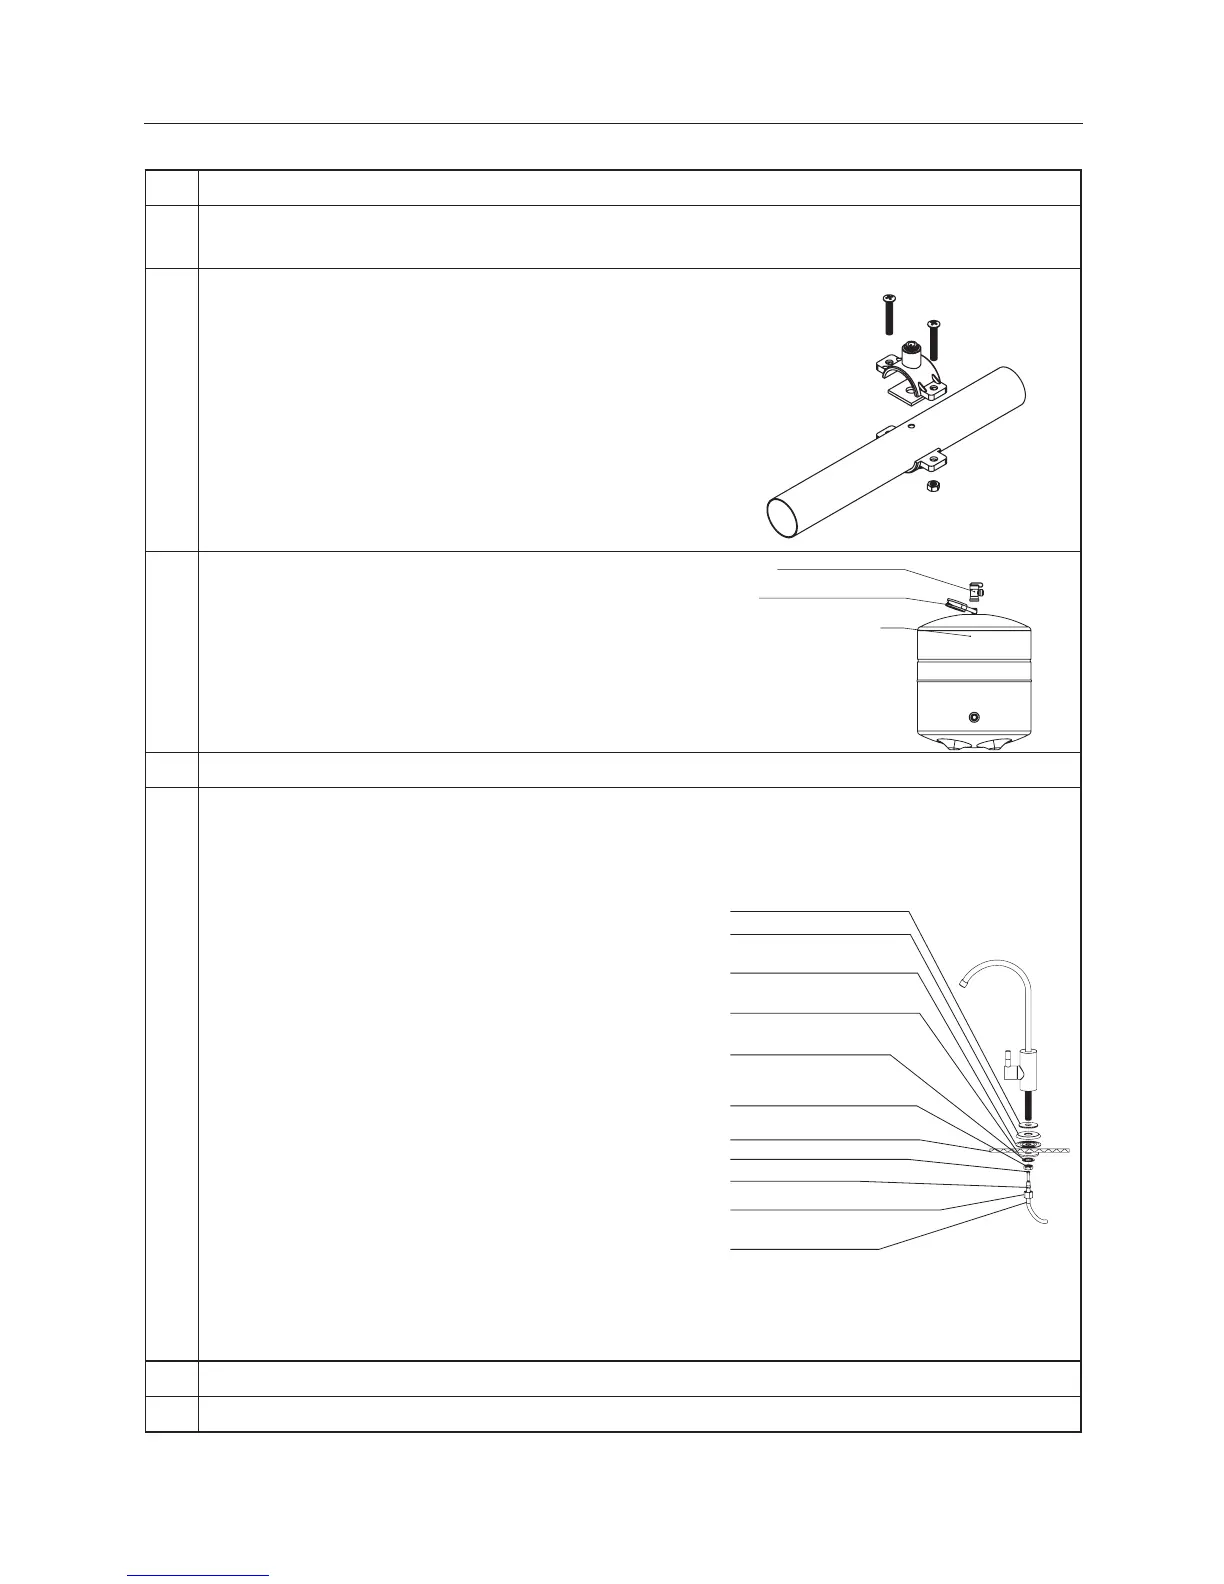
5 Install the faucet.
5.1 To install puried water faucet bore a 12,5 mm
diameter hole in desired locaon on sink or
countertop.
CAUTION! Metal shavings can damage your sink,
remove them carefully once you have nished
drilling. If the mounng surface is stone or ceramic,
use a carbide drill bit.
5.2 Mount the faucet over the hole on top of small
rubber washer, chrome plated base, and large
rubber washer. Fix the faucet rmly with plasc
washer, lock washer, and nut put on the faucet
shank underneath sink surface.
5.3 Put compression nut on free end of blue tube, then
put on ferrule and put insert inside the tube.
5.4 Push the end of blue tube inside the shank boom,
seat the ferrule against shank boom and screw
compression nut snugly on shank thread. The faucet
should now be rmly xed on top of sink, and blue
tube ghtly seated in compression ng at the
boom of faucet shank.
6 Install replacement lters to the 1st and 2nd housings (le to right).
7 Install the housings back on the system. Hand ghten only.
PTFE seal
tank
tank valve
small rubber gasket
chrome-plated cover
large rubber gasket
large plasc gasket
lock washer
nut
counter
1/4 ferrule
1/4 compression nut
blue tube
plasc insert