-9-
MT-201 Trolley Installation Guide
Fixing the Electrocardiograph to the Trolley
NOTE:
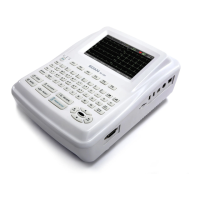
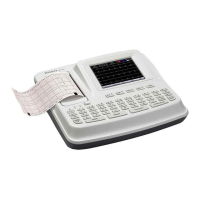
1) MT-201 Trolley is applicable to SE-12,
SE-1200, SE-1200 Express, SE-1201,
SE-601 series, SE-1, SE-100, SE-3,
SE-300 series, SE-301, and iSE series;
but not applicable to SE-12 Express.
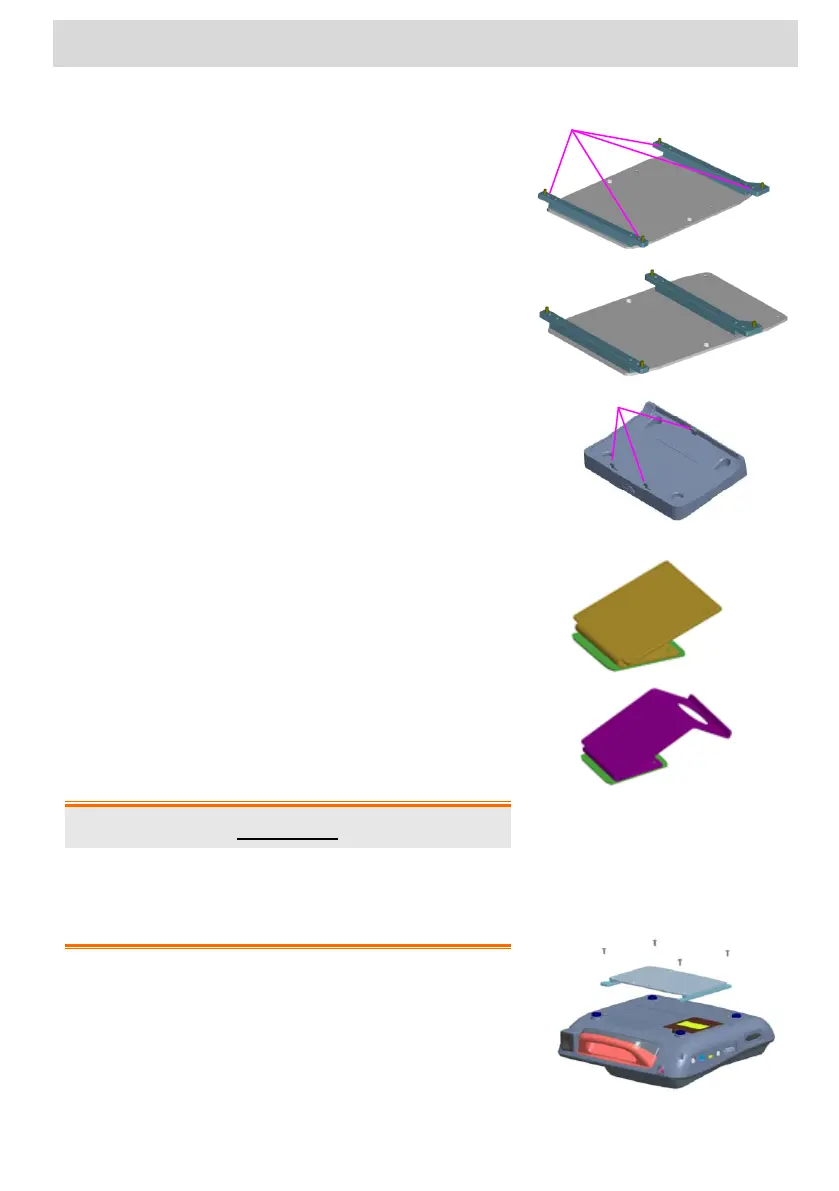
2) The 4 outboard screw holes on the link
board are used for SE-601 series, SE-1,
SE-100, SE-300 series, and SE-3
machines, and the 4 inboard holes for SE-
12 series. See Fig. 1.
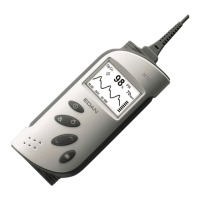
3) The right bar of the link board should be
moved to the inside holes when fixing SE-
1201. See Fig. 2.
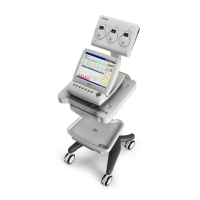
4) Buckling the electrocardiograph on the
SE-301 link board when fixing SE-301.
See Fig. 3.
5) For iSE series, there are two types of link
boards. One is for iSE with or without
handle. See Fig.4. The other is for iSE
with thermal printer. See Fig.5.
WARNING
Make sure that the trolley is firmly assembled
and is in good condition before applying the
electrocardiograph to it.
1. Upturn the electrocardiograph. Align the
link board with the screw holes. Fix them
with four M3×10 cross recessed pan
head cap screws.