-5-
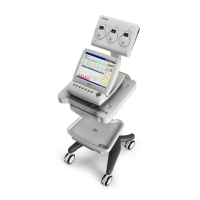
MT-201 Trolley Installation Guide
WARNING
The assembling and disassembling of the trolley should be performed by
service personnel authorized by the manufacturer.
Assembling Trolley
NOTE: Use a crosshead screw driver to secure all the screws tight when
assembling the trolley. Step 2-3 are needed only if the lead wire
bracket package is provided.
1. Open the package and collate all the parts with the packing list.
NOTE:
Please make sure the weight block is firmly affixed to the chassis.
The following steps 2 and 3 are necessary only if the lead wire bracket
is provided. If you don’t have such a bracket, please skip to step 4.
2. Dispart the bracket link board by unscrewing the two M5×14 screws.
3. Pile the bracket link board on the lower locking flanges(with the bracket
link board on the right side of the post), put back the bracket link board
by screwing the two M5×14 screws, and then fix the bracket link board to
the lower locking flanges with two M5×25 screws.
4. Tilt the chassis and insert the stand post