– 2 –
Attach an 18 AWG minimum grounding wire (not included)
to the grounding point on the switch rear panel, and then to
rack ground.
Caution:
The earth connection must not be removed
unless all supply connections have been disconnected.
Attention:
Le raccordement à la terre ne doit pas être
retiré sauf si toutes les connexions d’alimentation ont été
débranchées.
4. Connect Power
a. AC Power
Plug the power cord into a 100-240 VAC, 50-60 Hz AC power
source.
Insert the other end of the power cord directly into the AC
input socket on the back of the switch.
b. DC Power
Warning:
Before wiring the DC plug or connecting power
to the switch, ensure that power to the feed lines are turned
off at the supply circuit breaker or disconnected from the
power bus.
Avertissement:
Avant de câbler la fiche CC ou de
connecter l'alimentation au commutateur, assurez-vous que
l'alimentation des lignes d'alimentation est coupée au
niveau du disjoncteur d'alimentation ou déconnectée du
bus d'alimentation.
Warning:
This unit is intended to be supplied by a IEC/UL
listed DC power source suitable for whose input is rated DC
-48 to -60V, 3.0 A.
Avertissement:
Cet appareil est destiné à être alimenté
par une source d'alimentation CC répertoriée CEI / UL
adaptée à l'entrée dont la tension nominale est de -48 à -60
V, 3,0 A.
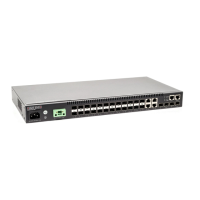
The ECS4120-28Fv2/ECS4120-28Fv2-I switch supports the
option of connecting an external -48 to -60 VDC power
source to its DC terminal block.
Connect the -48 VDC power feed wire to the DC plug “-” pin.
Connect the ground/return wire to the DC plug “+” pin.
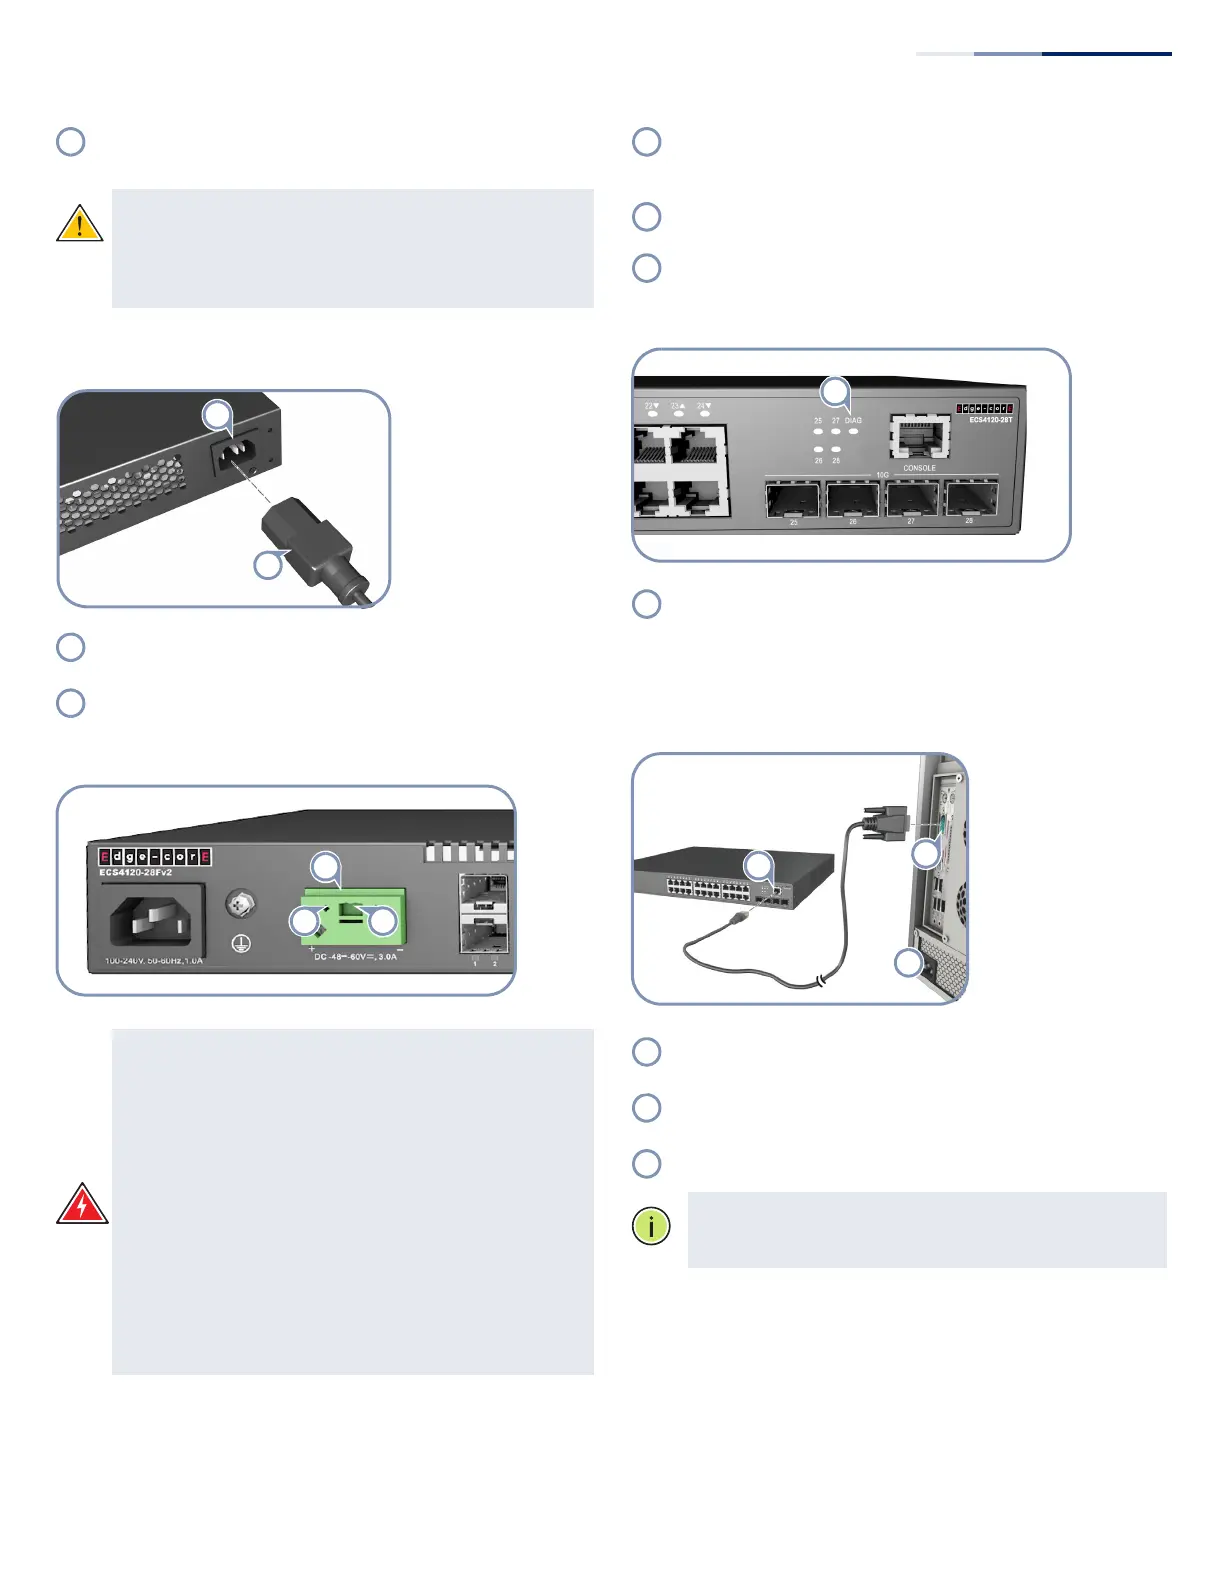
5. Verify Switch Operation
Verify basic switch operation by checking the system LEDs.
When operating normally, the following LEDs should be on
green:
28T/52T: DIAG
28Fv2/28Fv2-I: PWR and DIAG
6. Perform Initial Configuration
Connect a PC to the switch console port using the included
console cable.
Configure the PC’s serial port: 115200 bps, 8 characters, no
parity, one stop bit, 8 data bits, and no flow control.
Log in to the CLI using default settings: Username “admin”
and password “admin.”
Note:
For further information on switch configuration,
refer to the Web Management Guide and CLI Reference
Guide.
Quick Start Guide
 Loading...