3-5
Installing an Optional SFP Transceiver
3
2. Set the device on a flat surface near an AC power source, making sure there is
at least two inches of space on all sides for proper air flow.
3. If installing a single switch only, go to “Connecting to a Power Source” at the
end of this chapter.
4. If installing multiple switches, attach four adhesive feet to each one. Place each
device squarely on top of the one below, in any order.
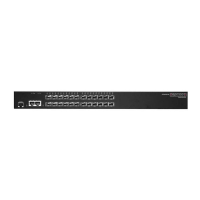
Installing an Optional SFP Transceiver
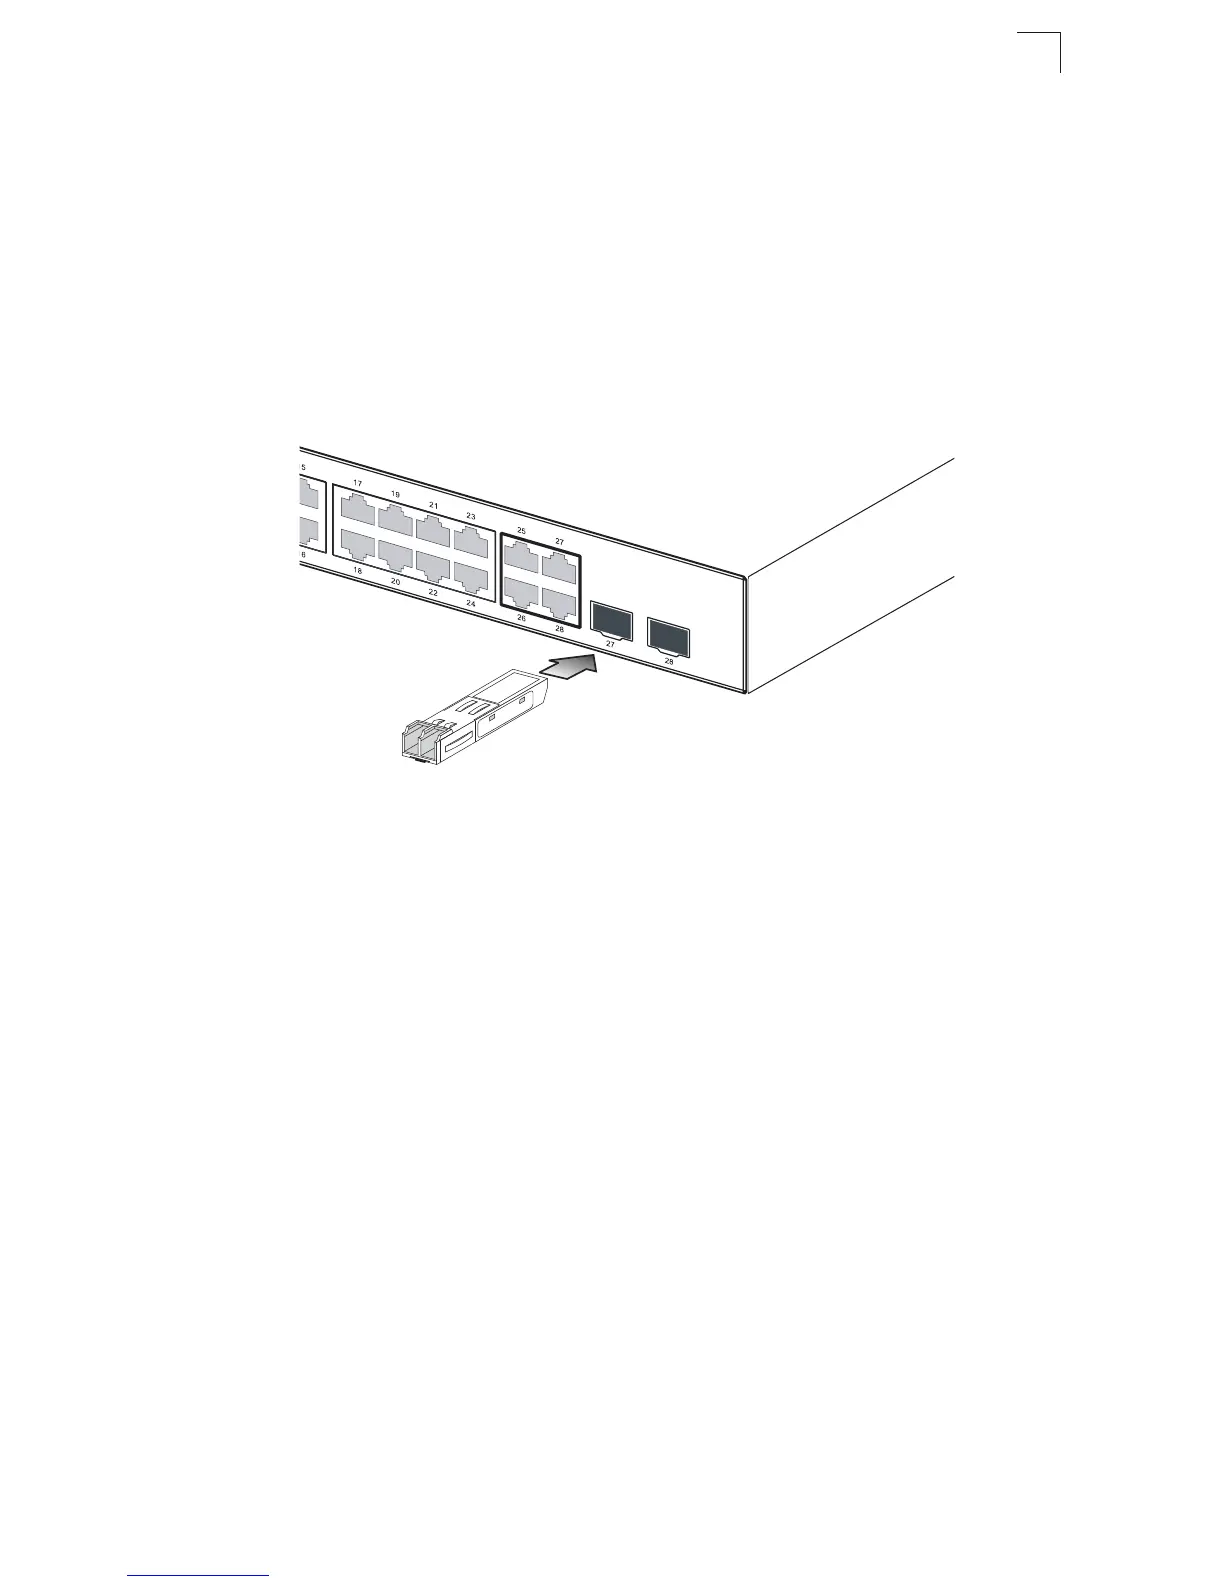
Figure 3-5 Inserting an SFP Transceiver into a Slot
These switches support 1000BASE-SX/LX/LH and 1000BASE-TX SFP
transceivers. To install an SFP transceiver, do the following:
1. Consider network and cabling requirements to select an appropriate SFP
transceiver type.
2. Insert the transceiver with the optical connector facing outward and the slot
connector facing down. Note that SFP transceivers are keyed so they can only
be installed in the correct orientation.
3. Slide the SFP transceiver into the slot until it clicks into place.
Note: SFP transceivers are hot-swappable. The switch does not need to be powered off
before installing or removing a transceiver. However, always first disconnect the
network cable before removing a transceiver.
Note: SFP transceivers are not provided in the switch package.
 Loading...