Important - Read and fully understand all steps outlined below before proceeding. Failure to do so may damage the water heater and
void any warranty. Technical support is available at 1 (800) 543-6163
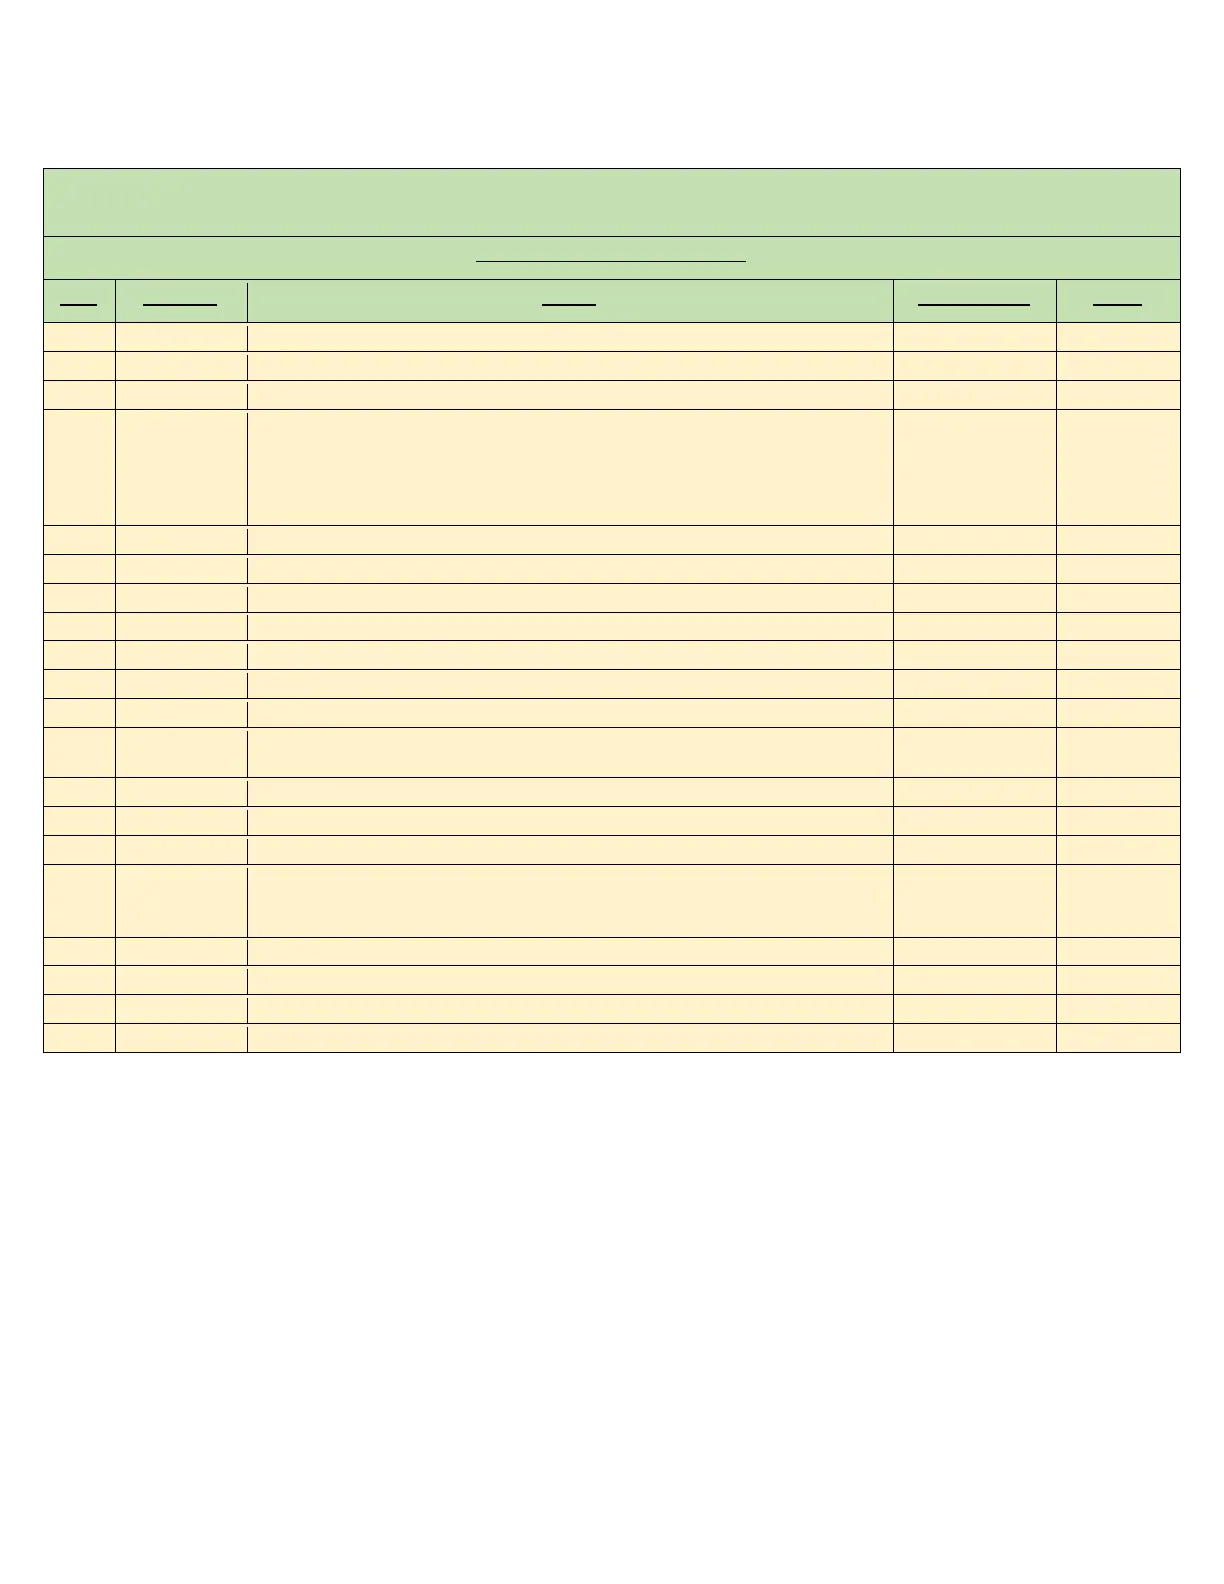
Start-up procedure and checklist
Water requirements (Steps 1-11) are confirmed
Electrical requirements (Steps 12-19) are confirmed
Plumbing Codes and Electrical Codes are met and confirmed
(with power off) Open supply valves to water heater - run water through fixtures to
purge all air and debris in system. With water flowing, visually inspect the clear
element tubes between the inlet and outlet manifold to ensure no air bubbles are
present. (this may take several minutes) Chugging or burping of water is also an
indication of air
Turn off water flow at all fixtures, keeping water heater supply valves open
Install and secure the cover of the unit. Apply power to water heater
Turn water flow on at fixtures
LCD display board is illuminated
Contactors engaged (audible click)
Scroll through display (If display is locked, consult manual for unlock procedure)
Adjust settings if needed. Note - Keep temperature setting as low as possible for
scald potential and minimizing abuse on the heater.
Confirm TURN-ON setting meets fixture flow rate
Confirm SETPOINT setting on display
Confirm ACTUAL TEMP output on display
If SETPOINT does not match ACTUAL TEMP then use the TEMPERATURE RISE CHART
in manual along with LOAD%, INLET TEMP and FLOW RATE on display to determine
the maximum theoretical output.
Shut water flow off at fixture
Power disengaged (audible)
Repeat start-up steps 25-28 to ensure proper activation and performance
Water heater installed correctly and operating as designed
After all steps are completed, the heater is fully installed and ready for use.

 Loading...