32
Removing and replacing components
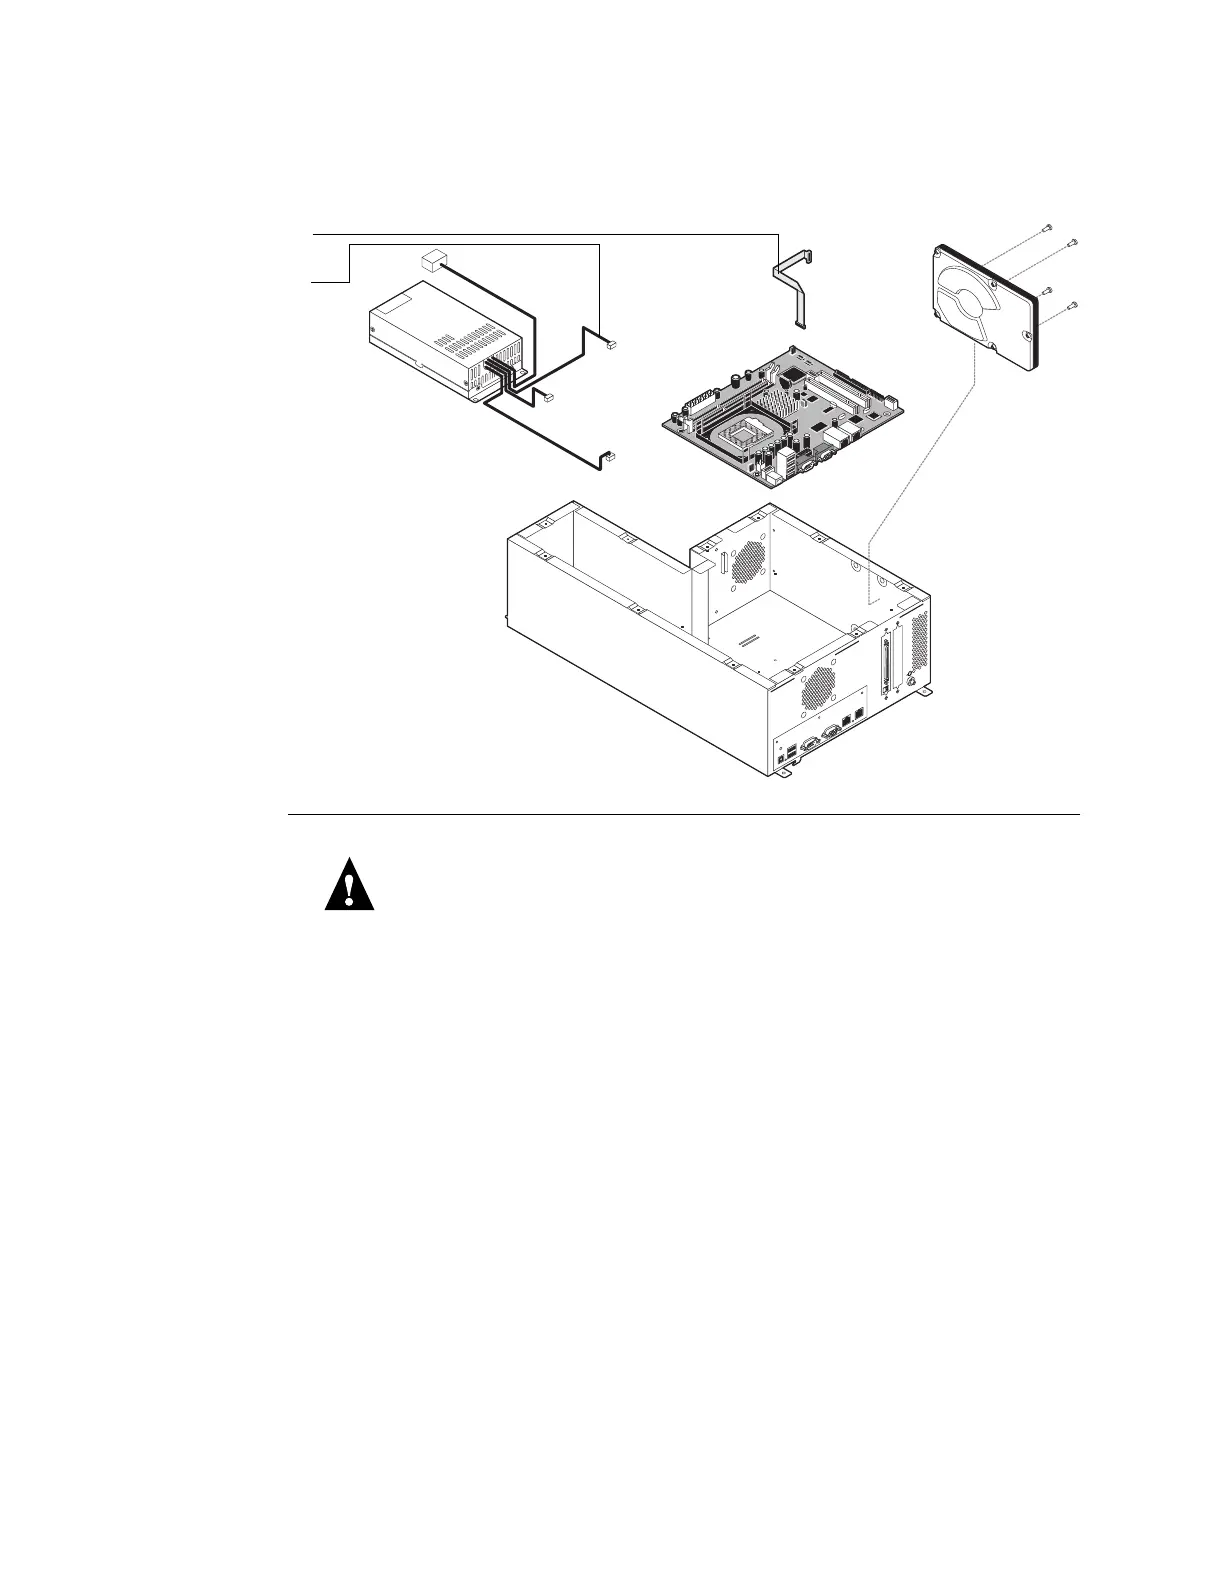
TO REMOVE THE HDD
CAUTION: Before you touch any parts inside the print engine, wear an ESD grounding
wrist strap and follow all ESD safety precautions.
1. Remove the Fiery X3eTY from the print engine, as described on page 10.
2. Disconnect the power cable and the HDD cable from the HDD.
3. Remove the four screws on the side of the pan that secure the HDD. Lift out the HDD.
Hold the HDD as you remove the last screw. Set the screws aside so that you can replace
them later.
4. Place the HDD in an antistatic bag.
Do not touch the drive with magnetic objects, such as a magnetic screwdrivers. Do not
place items near the HDD that are sensitive to magnets, such as credit cards and
employee ID cards (see “Proper handling” on page 31).
HDD cable
HDD SATA power cable

 Loading...