7.3 RACK RAIL ASSEMBLY
The following figures provide instructions on how to install the rail clamps onto the EG4
®
BrightMount Adjustable Cat1 rack rails and secure them with the set screws.
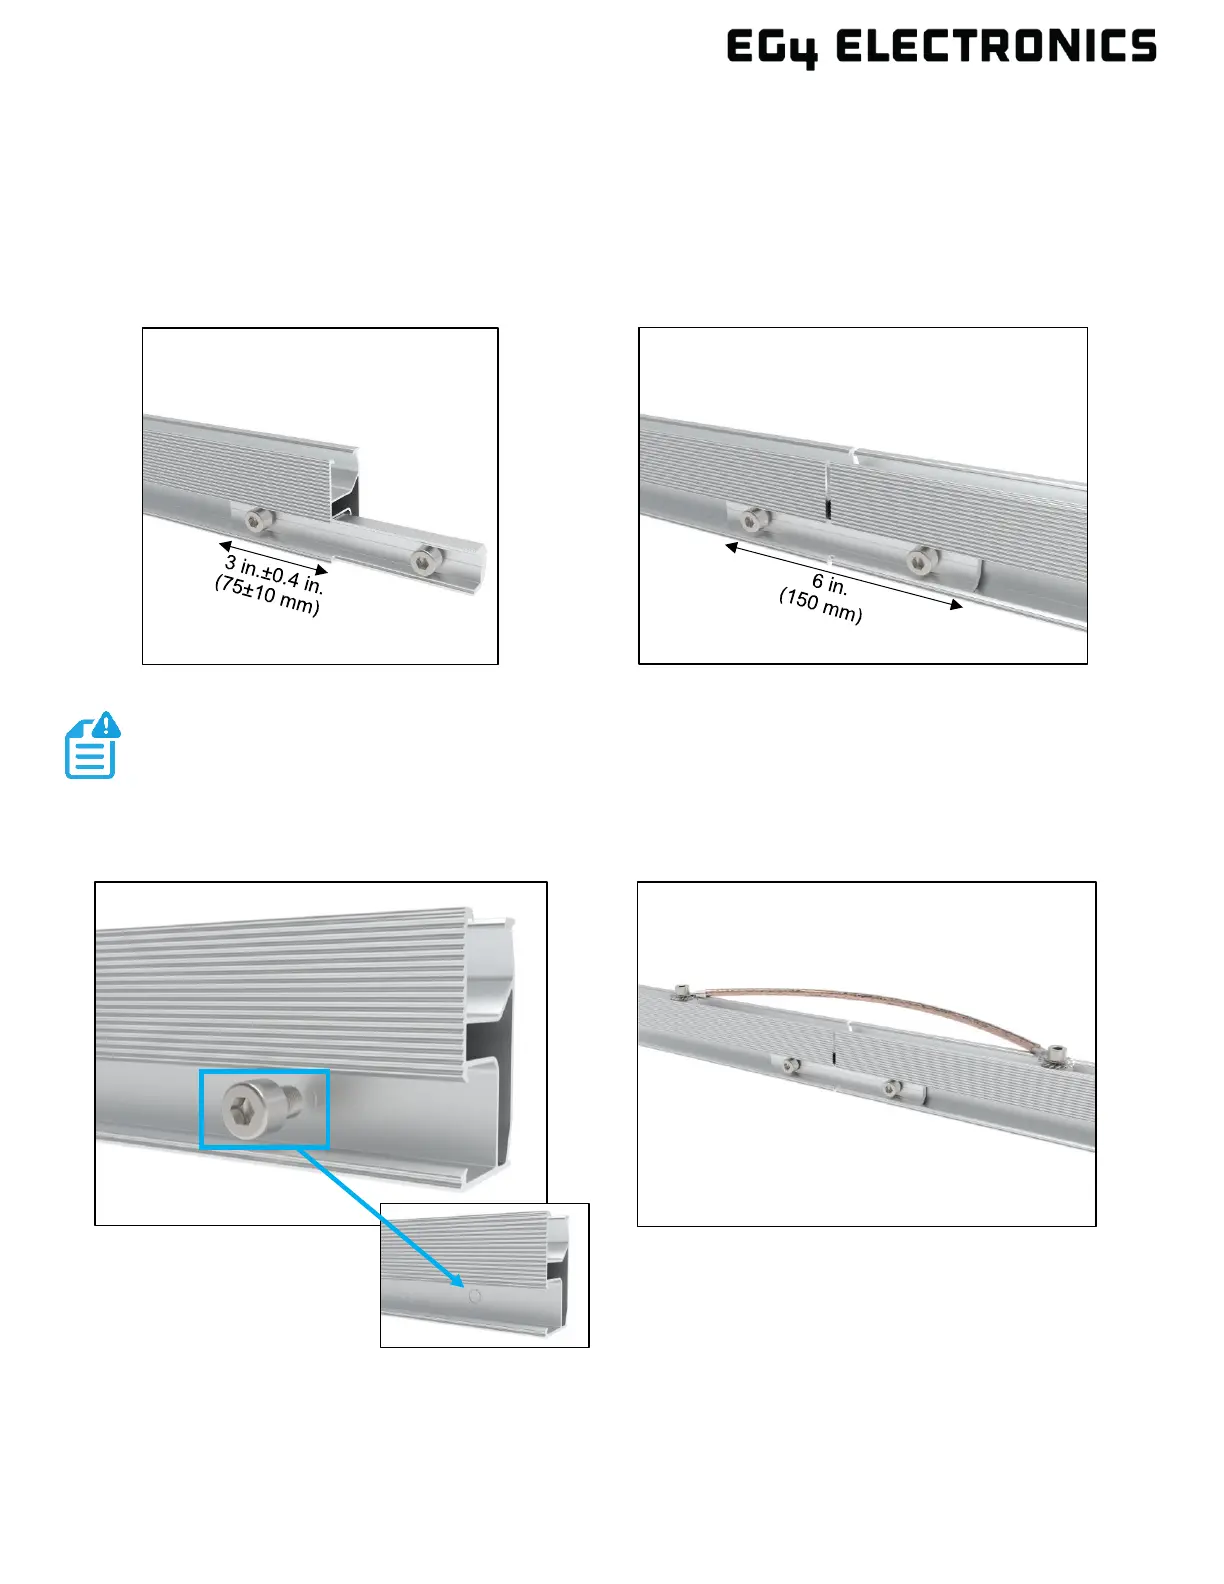
Step 1: The figure below shows how to connect the rack rails to each other using the splice
connector and bonding jumper. It is recommended that a 0.4 in. (10 mm) gap be left between the
rack rails to allow for thermal expansion and contraction in the final assembly. Torque all splice
connector and bonding jumper fasteners to 79 – 97 in-lbs. (9 – 11Nm).
NOTE:
The bolt of the rail connector will pierce the surface of both rails, so proper
grounding is achieved. For added assurance, the user can also add the
bonding jumper with grounding shim provided. (Shown below)