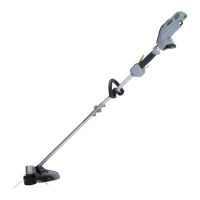
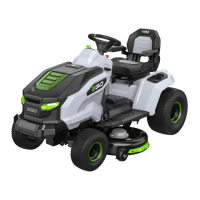
5356-VOLT LITHIUM-ION ELECTRIC ZERO TURN MOWER — ZT5200L/ZT5200L-FC
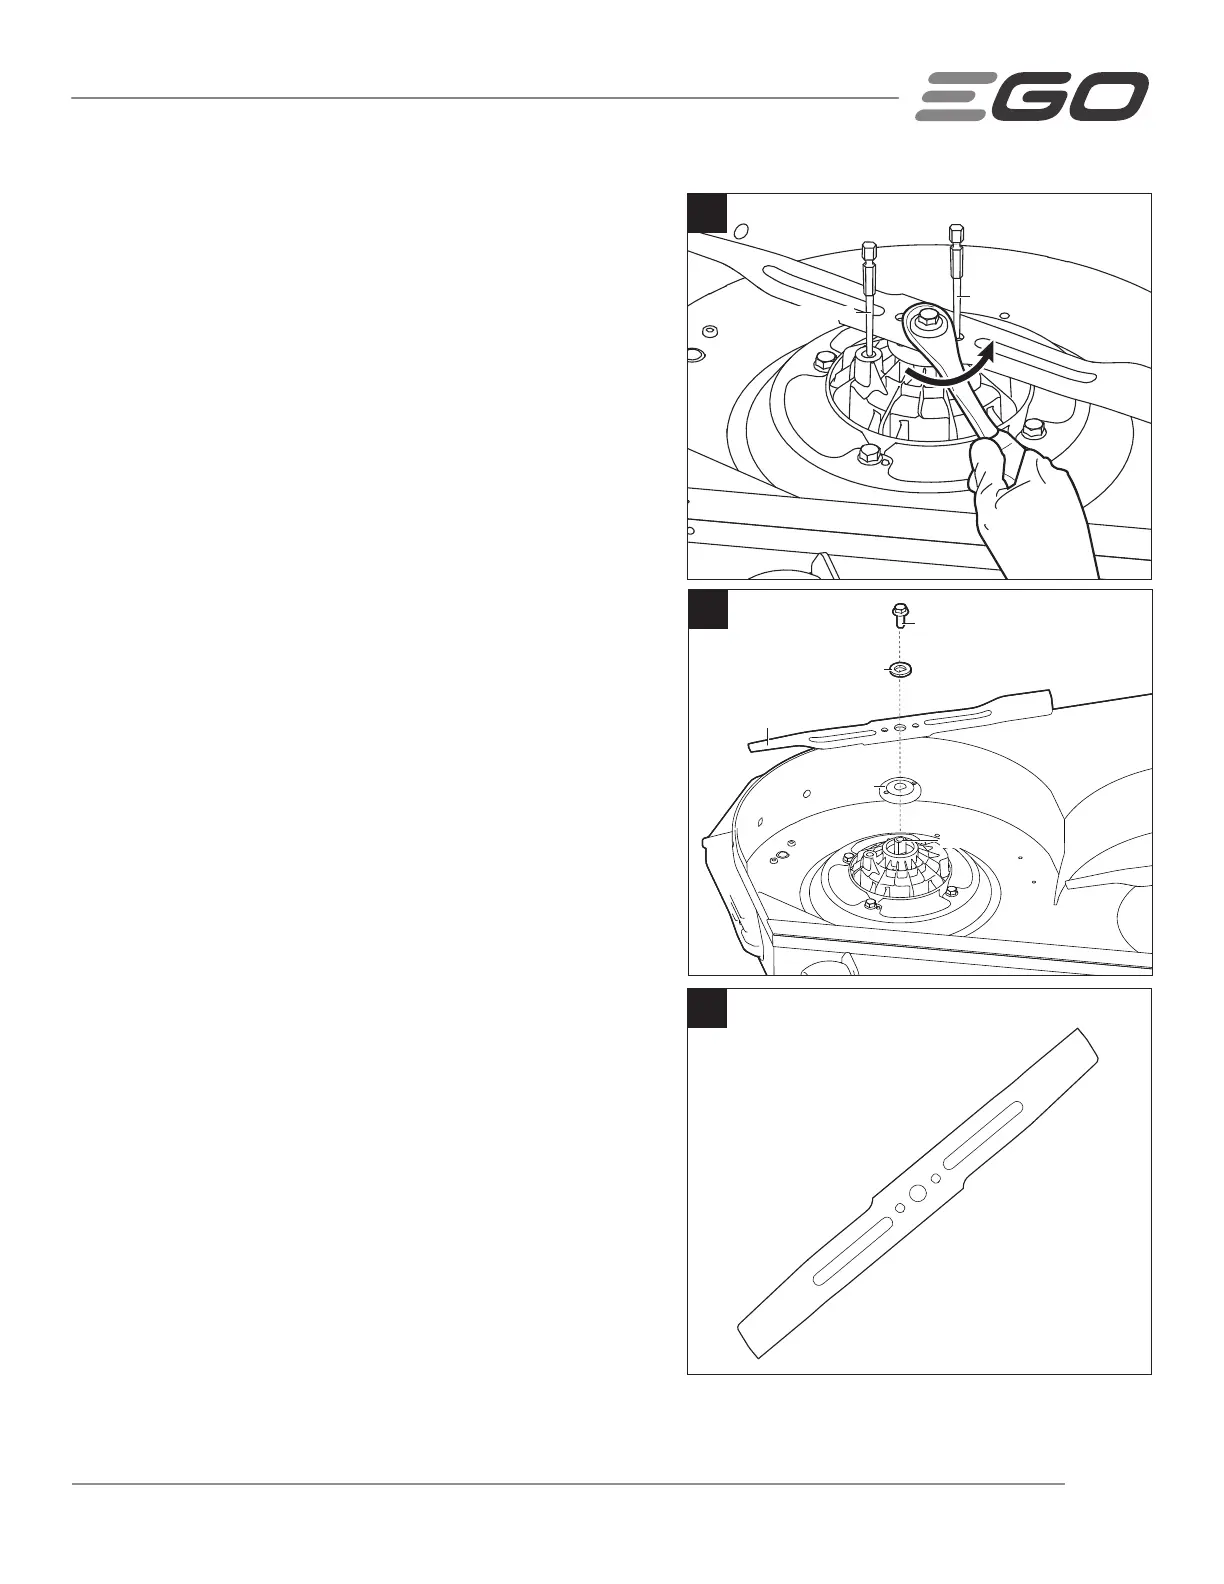
3. While wearing protective gloves, place a screwdriver or metal
rod with diameter a little less than 5/16 in (8 mm) into the
xing hole in the motor to act as a stabilizer. Place another
metal rod with diameter a little less than 1/4 in (6.35 mm)
(e.g., a bit) into the aligned hole in the blade and the ange to
act as another stabilizer (Fig. 36).
4. Use an 9/16 in (14mm) adjustable wrench or socket wrench
(not included) to turn the blade bolt counterclockwise to loosen
it (Fig. 36).
5. While wearing protective gloves, remove the bolt, washer and
the blade (Fig. 37). The ange can be left on the motor shaft.
To Install the Cutting Blade
NOTICE: To re-install or replace the blade, make sure that all parts
are replaced in the exact order in which they are removed
(Fig. 37).
1. If the ange is removed during blade removing, align it with
the motor shaft rst and then assemble it into place.
2. While wearing protective gloves, position the blade on the
ange with the surface stating “THIS SIDE FACING GRASS”
facing toward outside (Fig. 38).
3. Align the washer with the motor shaft and mount it onto the
motor shaft.
4. Mount the bolt into the motor shaft. Hand-tighten the bolt
clockwise.
THIS SIDE FACING GRASS
38
36
Stabilizer 1
Stabilizer 2
Bolt
Washer
Flange
37
Motor Shaft
Blade

 Loading...