opening never crosses the operator controls.
OPERATION
WARNING: Do not allow familiarity with this product to make you careless. Remember that a careless fraction of a
second is sufficient to inflict serious injury.
WARNING: Always wear eye protection with side shields marked to comply with ANSI Z87.1. Failure to do so could
result in objects being thrown into your eyes and other possible serious injuries.
WARNING: Do not use any attachments or accessories not recommended by the manufacturer of this product. The
use of attachments or accessories not recommended can result in serious personal injury.
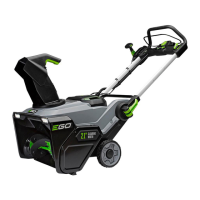
APPLICATION
You may use this product for purpose listed below: Removing snow from areas such as driveways and sidewalks.
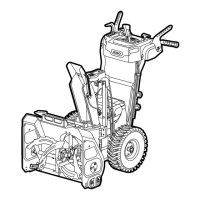
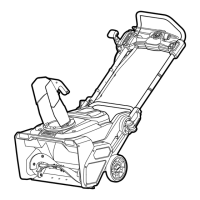
HANDLE-HEIGHT ADJUSTMENT
The handle assembly can be set to three different heights. Choose a comfortable operating position according to your
height.
1. Loosen the two upper locking knobs and pull out the two bolts (Fig.7). Save them for reassembly.
2. Loosen the two lower locking knobs. It is not necessary to remove the two lower locking knobs and bolts from
the side rails during handle height adjustment.
3. Raise or lower the handle and select the appropriate height relative to the positions of the holes in the rear
handle.
4. Once arriving at the appropriate holes, tighten the handle with the reserved knobs and bolts; then tighten the
two lower locking knobs to secure the rear handle.
The illustration shows the upper operating position (Fig.8), the middle operating position (Fig.9) and the lower
 Loading...