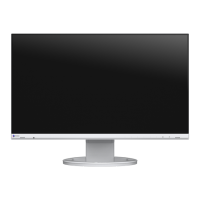
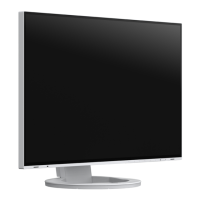
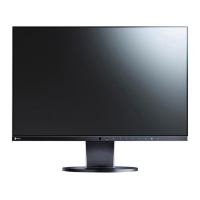
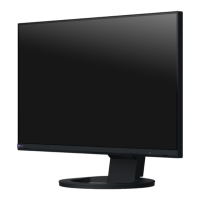
5
Installing an Arm or Stand
If you purchased the free mount type monitor, skip steps 1 through 3.
1. Raise the height of the monitor to the maximum height.
Attention
• If the monitor is not raised to the maximum height, there may be cases when the height of the monitor
accidentally changes while removing the stand. This may be the cause of injury or damage.
2. Lay a soft cloth on a stable surface, and place the monitor on top with the screen face down.
Attention
• When lifting a 27-inch or larger monitor, perform the work with two people.
• Be careful not to press down on the screen with your hands or pinch your ngers.
3. While pressing the lock button (1), rmly hold the stand brace, and slide the stand in the direction of the
pedestal on the bottom (2). Then, lift up the stand (3).
(1)
(2)
(3)
Attention
• There is a protrusion on the tting part of the removed stand. Be careful not to touch the tting part.
• Do not move the removed stand up and down. Doing so may result in injury or device damage.
4. Install the arm or stand on the monitor.
For the installation method, refer to the User’s Manual for the arm or stand.
Use the VESA mounting screws included with this product for installation. For models that do not come with
screws, use commercially available screws that meet the following conditions.
- Nominal diameter: M4
- Length: between 7.6 mm and 11.5 mm (when using a washer, add the thickness of the washer)
Attention
• Regularly check the tightness of the screws. If they are insuciently tightened, the monitor may come o,
which may cause injury or device damage.
РусскийEnglish Deutsch Français