8 Installing and Changing Actuator Springs
108842 A
CHAPTER 6: INSTALLING AND CHANGING ACTUATOR SPRINGS
EXO Actuator Spring Support Levels
The force assistance level provided by EVO can be adjusted by changing the actuator springs in each arm. There are
three (3) sets of actuator spring levels to choose from. Each spring level corresponds to an approximate amount of lift
assist support.
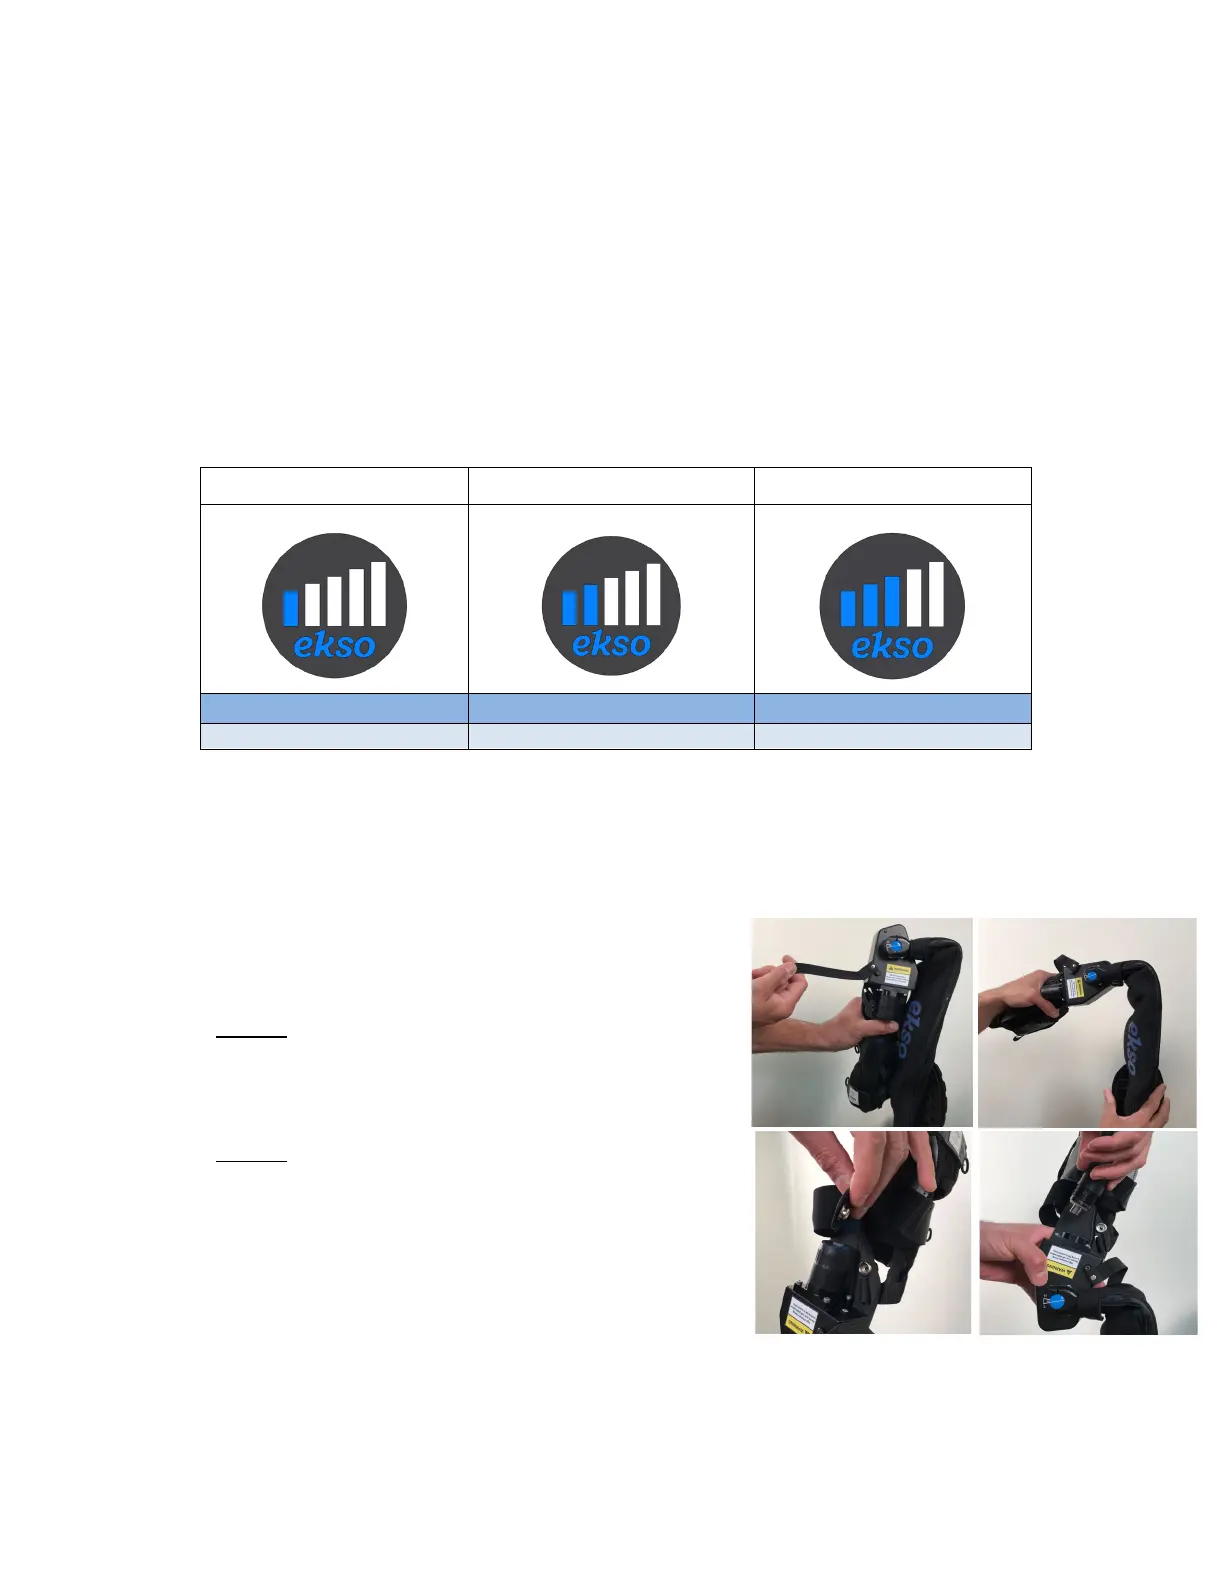
The support level of each spring is shown on the spring’s end cap. Level 1 provides the least amount of arm support,
while Level 3 provides the most. The following table shows the different spring labels and the approximate lift support
offered by each of the four different actuator springs.
Table 4: Spring Labels and Approximate Spring Support
When sizing EVO, Ekso Bionics recommends beginning with a lower force spring and changing to a higher force level
as needed.
Installing Actuator Springs
Installing/changing the actuator springs should be performed when the
EVO is not being worn. To change the actuator springs, follow the steps
below:
1. Secure one arm of EVO in the lowered (down) position. Flip the
actuator switch to the ON position.
2. Carefully guide the EVO arm upwards to the fully raised (up)
position.
3. Undo the snap fastener and strap near the spring.
4. Unscrew and remove the spring from actuator cylinder chamber.
5. Select the desired spring and insert into actuator cylinder
chamber. Screw in the spring until hand-tight.
6. Carefully guide the EVO arm downwards into the fully lowered
(down) position. Flip the actuator switch to the OFF position.
7. Repeat steps 1 through 5 on opposite side as needed.
Figure 9: Installing Actuator Springs