Do you have a question about the ekwb EK-Nucleus AIO CR360 Lux D-RGB and is the answer not in the manual?
| Brand | ekwb |
|---|---|
| Model | EK-Nucleus AIO CR360 Lux D-RGB |
| Category | Computer Hardware |
| Language | English |
Procedure to remove the motherboard from the computer case if a cutout is not present.
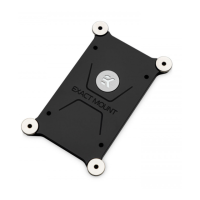
Installing the Intel backplate for LGA 115x/1200/1700 socket to the rear of the motherboard.
Securing the motherboard to the backplate using mounting thumb screws.
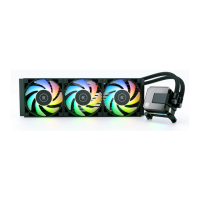
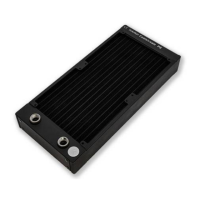
Attaching the fans to the radiator using UNC 6-32 screws.
Removing the protective cover from the pump unit's cold-plate.
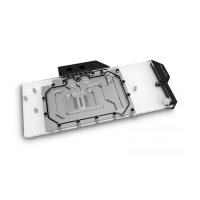
Installing the mounting bracket onto the pump unit using M4x4 screws.
Cleaning the CPU surface and aligning the pump unit over the mounting screws.
Mounting the radiator and fan assembly into the PC case.
Connecting the pump's 4-pin PWM and 3-pin D-RGB LED cables to the motherboard.
Connecting the fans' 4-pin PWM and 3-pin D-RGB cables to the motherboard and each other.
Rotating and orienting the pump top to correctly display the EK logo.
Applying additional thermal compound to the CPU if necessary.
Installing mounting thumb screws into the LGA 20XX socket's integrated latch mechanism.
Removing original plastic hold-down clamps and screws from the AMD socket.
Installing mounting thumb screws for the AMD AM4 socket onto the motherboard.
Assembling the fans to the radiator using UNC 6-32 x 30mm screws for AMD.
Removing the protective cover from the pump unit's cold-plate for AMD installation.
Installing the AMD mounting bracket onto the pump unit using M4x4 screws.
Cleaning CPU surface and aligning pump unit over mounting screws for AMD.
Mounting the radiator and fan assembly into the PC case for AMD.
Connecting the pump's 4-pin PWM and 3-pin D-RGB LED cables to the motherboard for AMD.
Connecting fans' 4-pin PWM and 3-pin D-RGB cables for AMD installation.
Orienting the pump top for the correct EK logo display on AMD systems.
Applying additional thermal compound to the CPU for AMD, if needed.