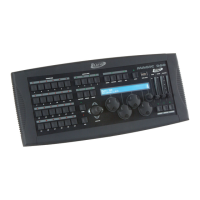
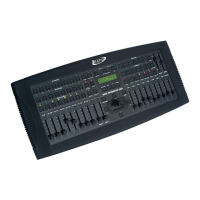
Magic 260
25
Section 20: Playback Shows (Continue)
(5) While a show is playing automatically (MANUAL FEATURE ON), you can pause the show by pressing
DATA wheel #4 at any time. You can then turn DATA wheel #3 clockwise to manually advance the
show step and counter clockwise to go back to a desired show step. Press DATA wheel #4 when you
want the show to resume automatic playback. A show can also playback to audio by pressing the
AUDIO button at any time, after a show has been selected for playback. Depending on whether you
connected a line level input from a mixing console or not, will determine how audio affects show
playback. If there is no line level input detected by Magic 260, the internal microphone will become
active and trigger the show steps as the microphone detects each sound. If there is a line level input
detected, the line level input circuit becomes active and triggers the show steps as sound is detected.
Pressing the same scene FUNCTION button, will switch the active show OFF and there will be no
output. Pressing the BLACKOUT button will also switch OFF all show output. However, if the active
show button was not switched OFF prior, then show steps will continue to run during the blackout
state. Press the BLACKOUT button to resume playback of the active show. Press and hold down the
BLACKOUT button for two seconds to bring all DMX values to zero- all active scenes and shows will
switch OFF. Note: the BLACKOUT function will not switch OFF the auxiliary channels. The
auxiliary channels must be switched OFF manually by pressing the relevant AUXILIARY (1-
4) buttons. If you changed the MANUAL FEATURE to OFF, when recording the show, it can only
playback manually by pressing the GO button. Each time you press the GO button, the next show step
will trigger.
Section 21 : Edit Scene
(1) Press th e SCENE button so its green LED is ON solid.
(2) Turn DATA wheel #1 to select the relevant scene page that con tains the scen e you
wish to edit.
(3) Press the relevant FUNCT ION button that c ontains the scene you want to edit. The
scene shoul d become active.
(4) Press th e FIXTURE bu tto n s o its green LED is ON sol id.
(5) Press th e FUNCTION button or buttons that represent the relevant fixture or f ixtures
yo u wish to edit.
(6) Make your ch anges by using the relevant DATA wheels and joys tick.
(7) Press th e RECORD button s o i ts green LED is flas h in g.
(8) Press the SCENE button s o its green LED i s flas hing and make changes to the scene
name an d f ade s etting if des ired (if n eeded, r efer to Recording Scenes s ecti on ).