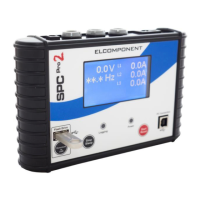
Ensure that your SPC Device is connected to the PC
Ensure the CD minidisk supplied with your SPC device is installed in the CD drive on your
PC.
Click the start button and select Control Panel. Click ‘Device Manager”. (You may need
to select ‘large icons’ from the ‘viewing’ menu at the top right of the page).
From the Device Manager list, select ‘Other Devices’. Note: There will be a yellow
warning triangle showing, which may be identified as ‘SPC xxx’. Click on the yellow
triangle, and click ‘Update Driver’
Select the option which allows the driver to be installed from a location on the PC
(not the automatic search).
Browse to the CD location [DRIVE]:\V.*.**.**\SPC----Drivers\ and click ‘next’.
Please note: if you have downloaded the drivers from the web, you will need to
browse to the location that you saved them to.
Click install, and exit when complete. Note: It may be necessary to load a second
driver for the COM port. If the Device Manager list shows a second yellow triangle,
click on this and repeat the above procedure
Windows Vista:
Windows Vista is designed to obtain any driver files that it needs from the
web via the ‘windows update’ function. If the PC has a web connection, and
this behaviour has not been disabled, driver file installation is automatic
and seamless.
To check if automatic drivers loading is enabled click the start button and
select ‘control panel’ and click the ‘system’ icon (you may need to select
‘classic view’ from the sidebar)
Select ‘advanced system settings’ from the sidebar and click the hardware
tab and select ‘Windows Update Driver Settings’ to display the following
screen