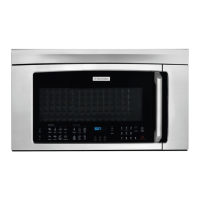
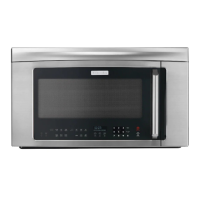
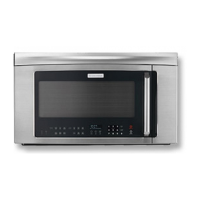
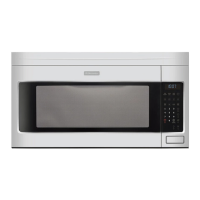
Installation Instructions
ALIGNING THE WALL PLATE
D.
CAUTION: Wear gloves
to avoid cutting fingers on
sharp edges.
Area E
Hole
Hole B
Centerline
notches
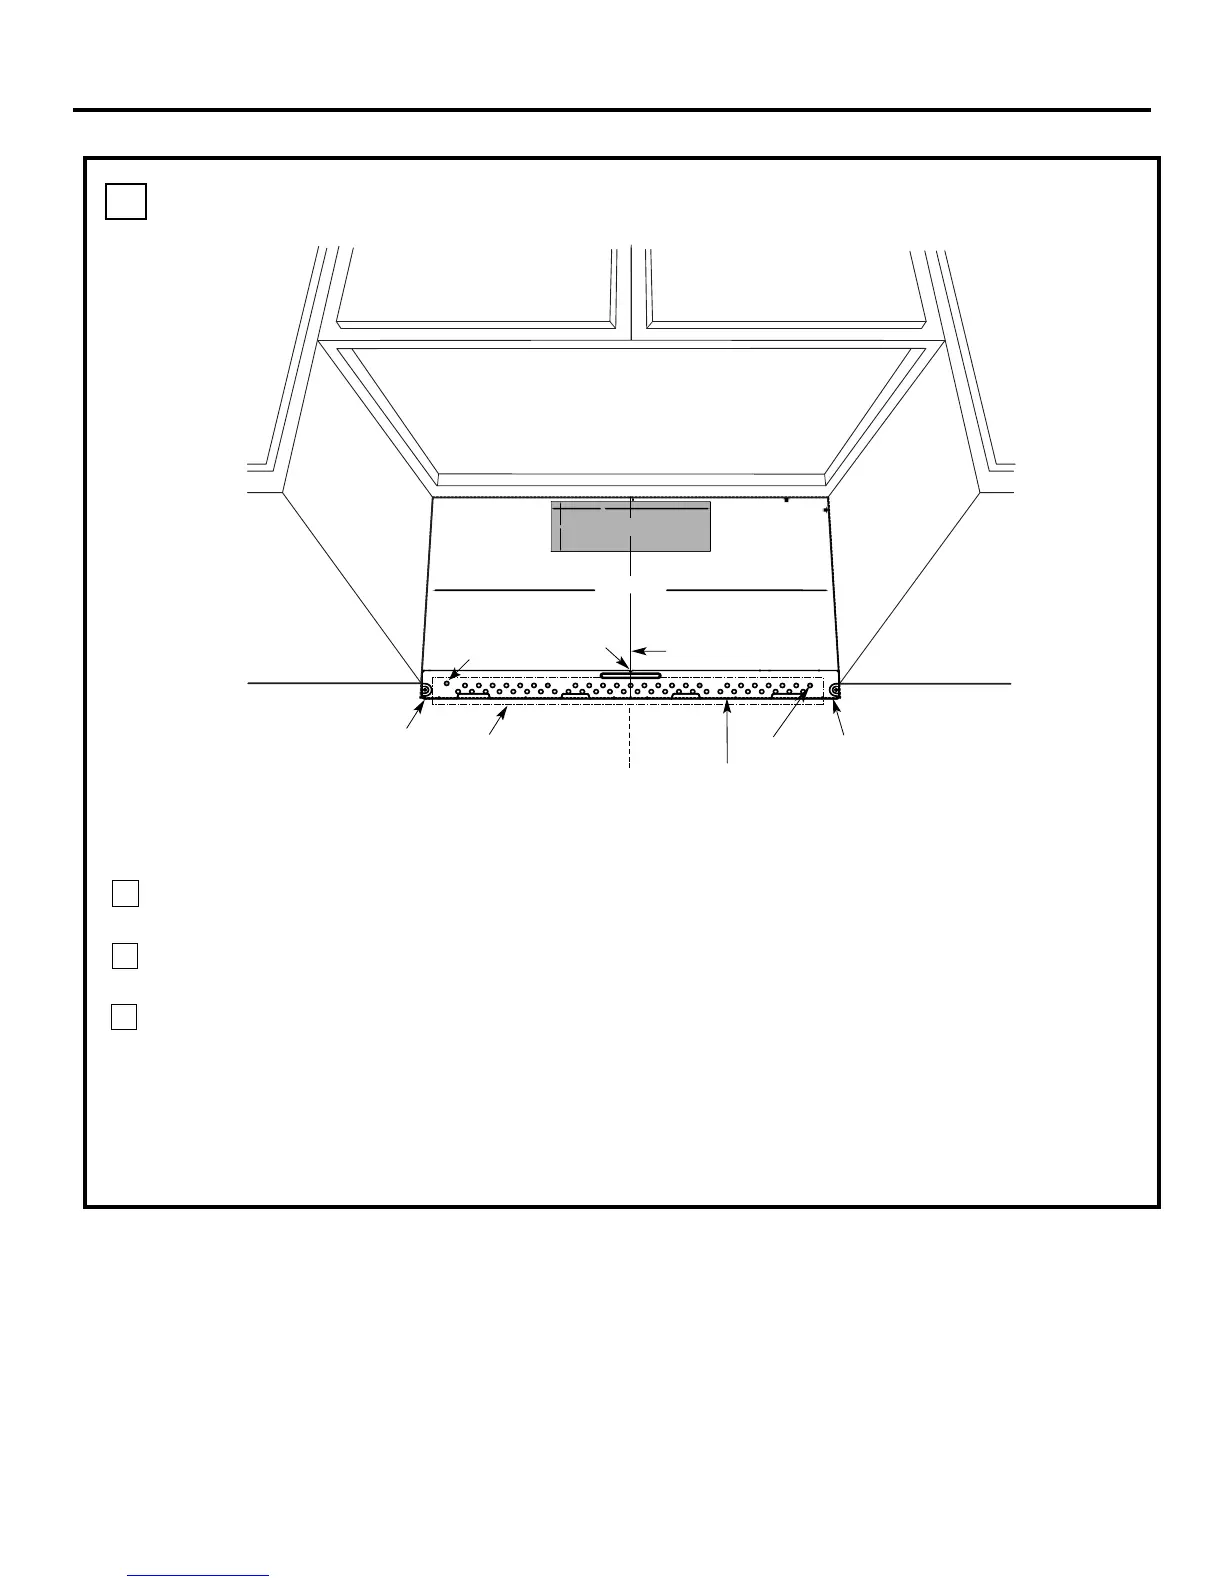
Draw a Vertical Line
on Wall from Center
of Top Cabinet
Draw a Horizontal line on wall from
bottom of “Rear Wall Template”.
Horizontal Line
Horizontal Line
C
3/8" T
O EDGE
NOTE:
IT IS VERY IMPORTANT TO
READ AND FOLLOW THE DI
RECTIONS
IN THE INSTALLATION INSTRUCTIONS
BEFO
RE PROCEEDI
NG WITH
THIS
REAR WALL TEMPLATE.
This Rear Wal
l T
emplate serves t
o
po
sitio
n th
e bottom
mou
nting plate and to locate
the horizon
ta
l ex
haust
outlet.
1. Use a level to check th
at the tem
pla
te is positioned
accurately.
2. Locate and ma
rk at least on
e stud on the left or
right side of the centerlin
e
.
It is importan
t to use at least
one wood
screw m
ounted firml
y
in a stud to s
uppor
t th
e weight
of the microwave. Mark two add
itiona
l, even
ly spa
ced
locations for the supp
lied toggle
bolts.
3. Drill hol
es in
the
marked locatio
ns
. Where the
re is
a s
tud
, drill a 3/16" hole for
woo
d screws. For hole
s
th
at d
o n
ot l
ine up with a st
ud, drill 5/8" holes for
to
ggle bolts.
DO NOT
IN
STALL THE M
OUN
T
ING PLAT
E
AT
THIS TIM
E.
4. Remove the tem
plate from t
he r
ear wall.
5. Review the Installation Instru
ction book for
yo
ur
installation situation.
Locate and mark
holes to align with h
oles in t
he
mounting plat
e.
IMPORTANT:
LOCATE
AT
LEAST ONE
STUD
ON
EITHER SIDE OF
THE CENTERLINE.
MARK
THE LOCATION FOR 2
ADDITI
ON
AL, EVENLY
SPACED
TO
GGLE BOLTS IN
THE
MOUN
TING
PLATE
AREA.
Locate and mark
holes to align with hol
es in the
mounting plat
e.
IMPORTANT:
LOCATE
AT LEAST ONE
STUD
ON EI
THER SIDE OF
THE CENTERLINE.
MARK
THE LOCATION FOR 2
ADDITI
ON
AL, EVENLY
SPACED
TO
GGLE BOLTS IN
THE
MOUNTING PLATE
AREA.
Trim the rear
wal
l
template al
ong
the dotted
line.
12
"
4"
Darle
vuelta
a
la
hoja
para
cons
ultar
la
versión
en
Español.
A
Draw a Vertical line on the wall at the center of the
30" wide space.
Draw a Horizontal line on the wall at the bottom of
“Rear Wall Template”.
Drill 5/8" holes for toggle bolts on 2 locations
(Hole A, Hole B) but if the location of hole
is same as that of stud, drill a 3/16" hole for wood
screw. In other words, toggle bolt can not be used
to the location of stud.
NOTE: DO NOT MOUNT THE PLATE AT THIS
TIME.
NOTE: Holes A and B are inside area E. If both of
A and B are not in a stud, find a stud somewhere in area
E and draw a forth circle to line up with the stud. It is
important to use at least one wood screw mounted
firmly in a stud to support the weight of the
microwave. Set the mounting plate aside.
1
3
2