3 Commissioning
Before starting with the commissioning of the SMART METER all safety precautions must be taken
which apply to the rules in your country and general safety rules. Never work on a system with a
connected grid before working on the power system.
Only a few settings are needed to commission the SMART METER.
Most important is the settings of the current transformer.
3.1 First time power on
Follow the following steps when the system is first time being powered.
Start the METER by applying power to L1 and N in case you use a single-phase system or L1,
L2 and L3 with N for three phase systems. When the SMART METER unit is working properly,
the LED is blinking green.
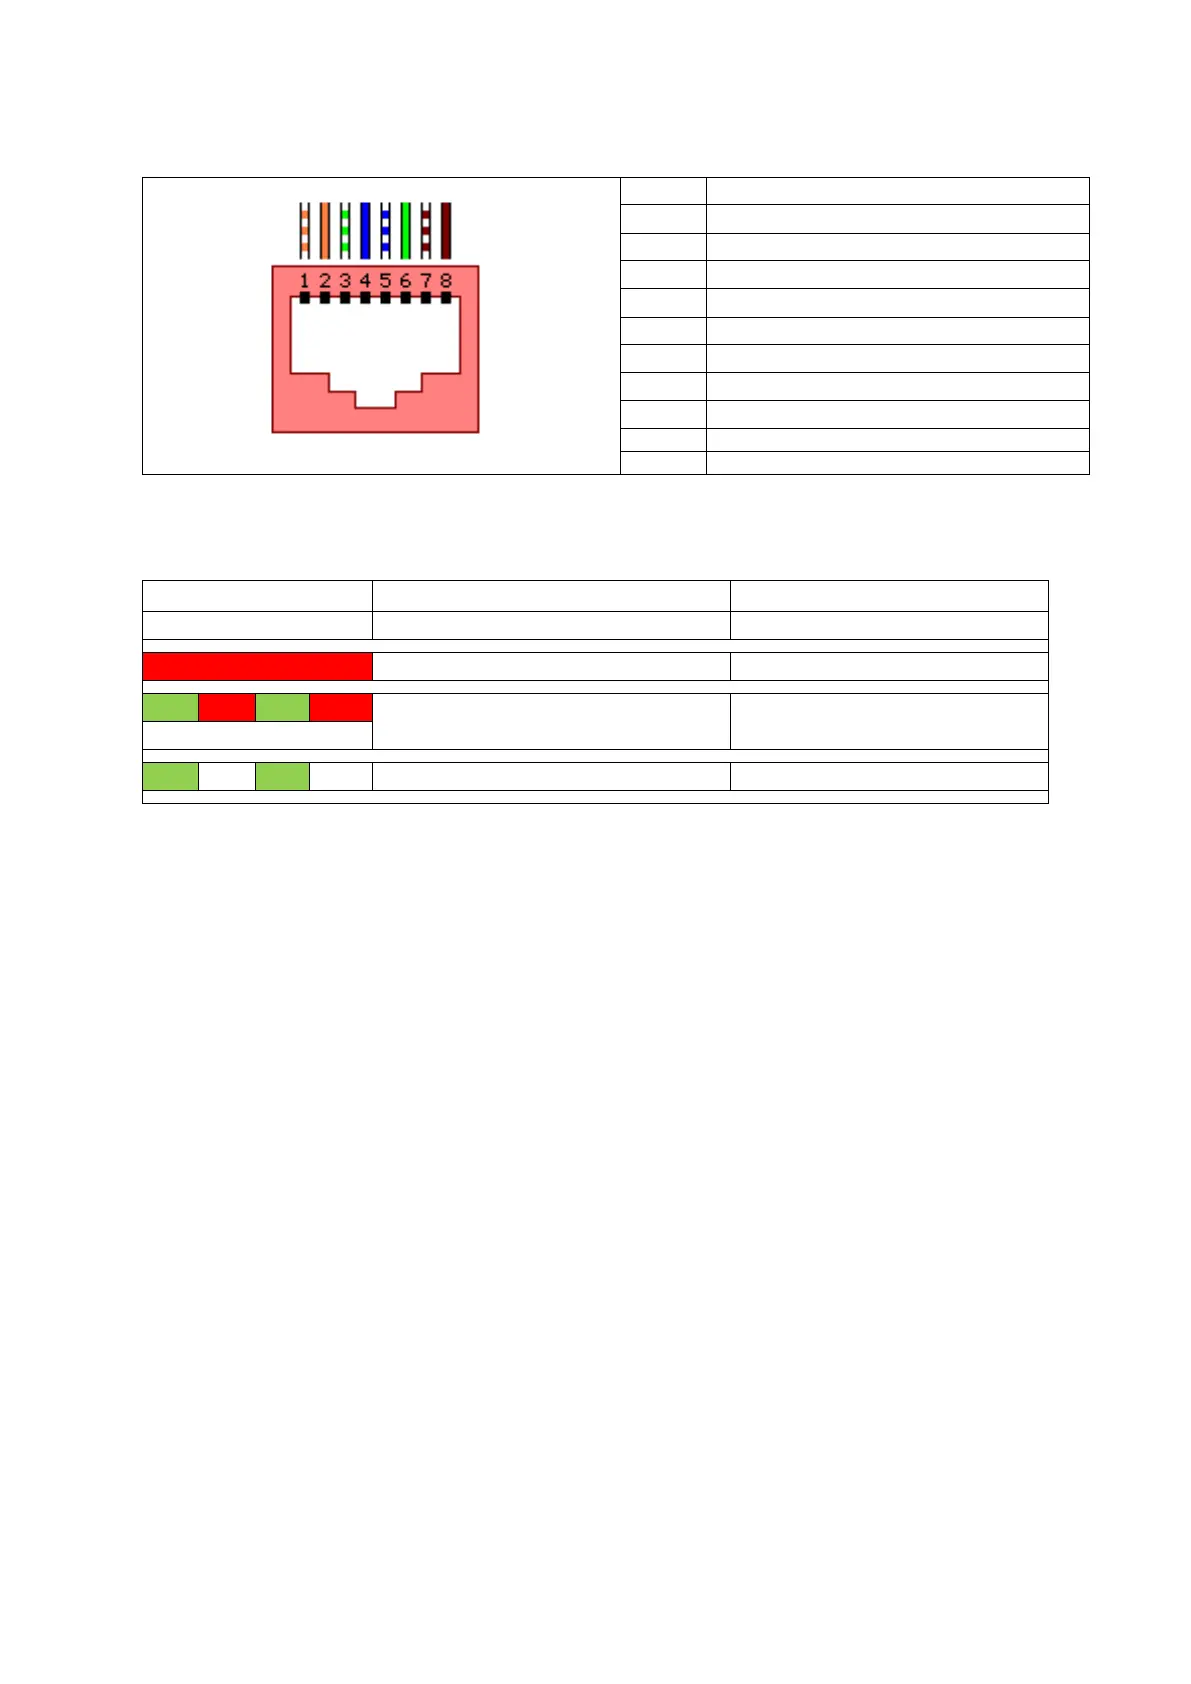
When using a LAN connection ensure that your computer is in the same network and has an
IP address within the same range. In case you are using the DHCP server you need to know
the IP address of the SMART METER.
Connect to the embedded webserver by typing the default address 192.168.1.100 or DHCP
address in a web browser. Please note that the used computer must be in the same address
range.