Center Support Bar
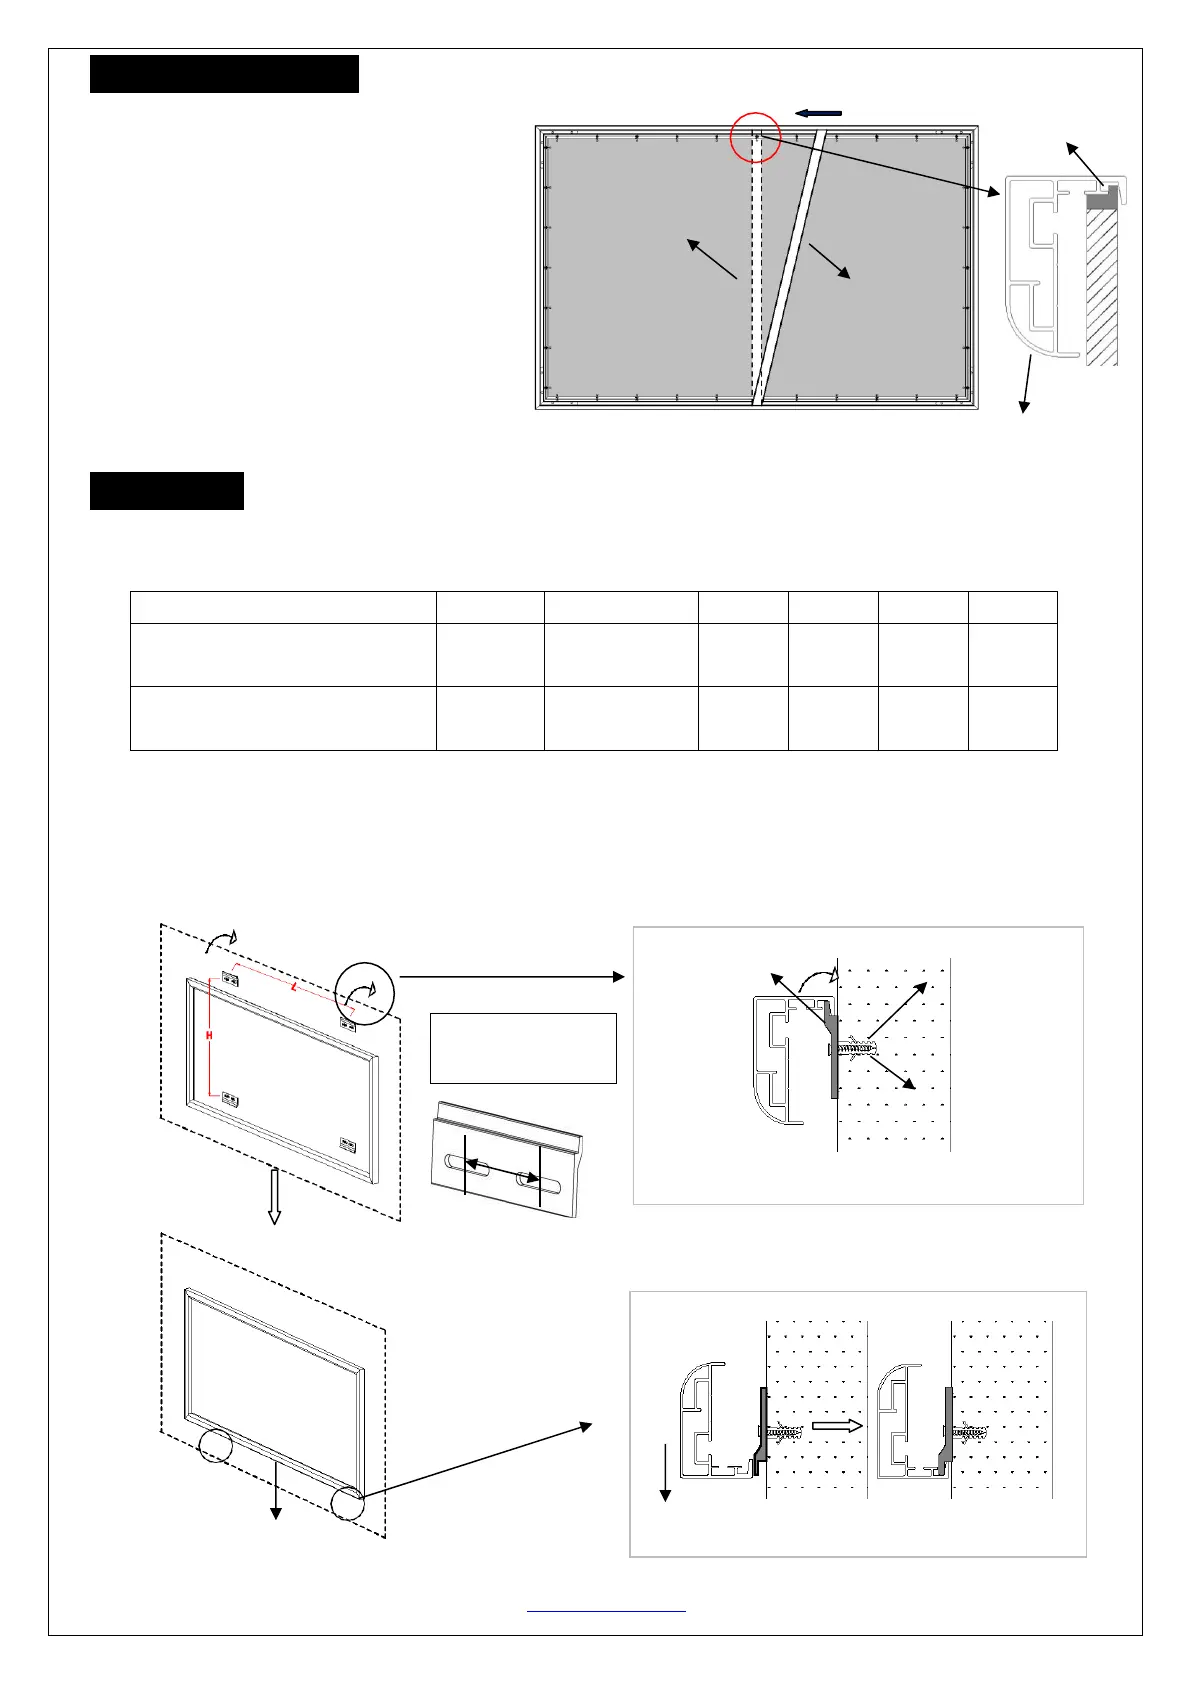
1. Insert the Center Support Bar (i) into the
upper top groove on the back of the frame with
the bottom end near the approximate center
point of the frame and rotate it in at an angle so
that both ends of the bar are in alignment with
the groove, as shown below.
2. Slide the top end of the bar into the top center
point of the frame to complete the center
support bar installation.
This will provide added stability to your frame and added tension to the material.
Installation
Frame
1. Locate your desired installation location with a stud finder (recommended) and mark the drill-hole area of
where the screen is to be installed. Reference the table below for
2. Drill a hole with the proper bit size according to the wall anchor (g) and M5*50 screws (f) included.
3. Line up the wall brackets (h) with the drilled holes on the installation location and screw them in using a
screwdriver.
4. Position the fixed frame screen onto the top wall brackets as shown as below info and pull down at the
center of the bottom frame to secure the installation.
 Loading...