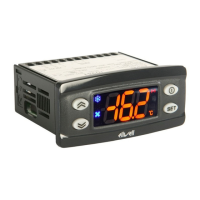
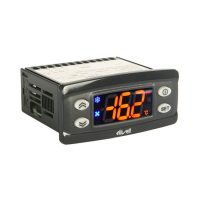
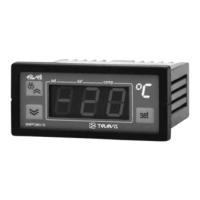
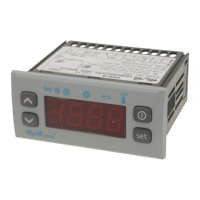
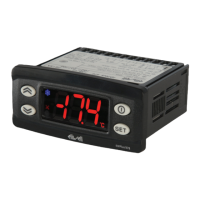
EWPlus + ECPlus
3/8
SET POINT EDIT LOCK
It is possible to disable the keypad on this device. The keypad can be locked by programming the ‘LOC’ parameter. With the keypad
locked you can still access the ‘Machine Status’ menu by pressing
to display the Set point, but you cannot edit them.
To disable the keypad lock, repeat the locking procedure.
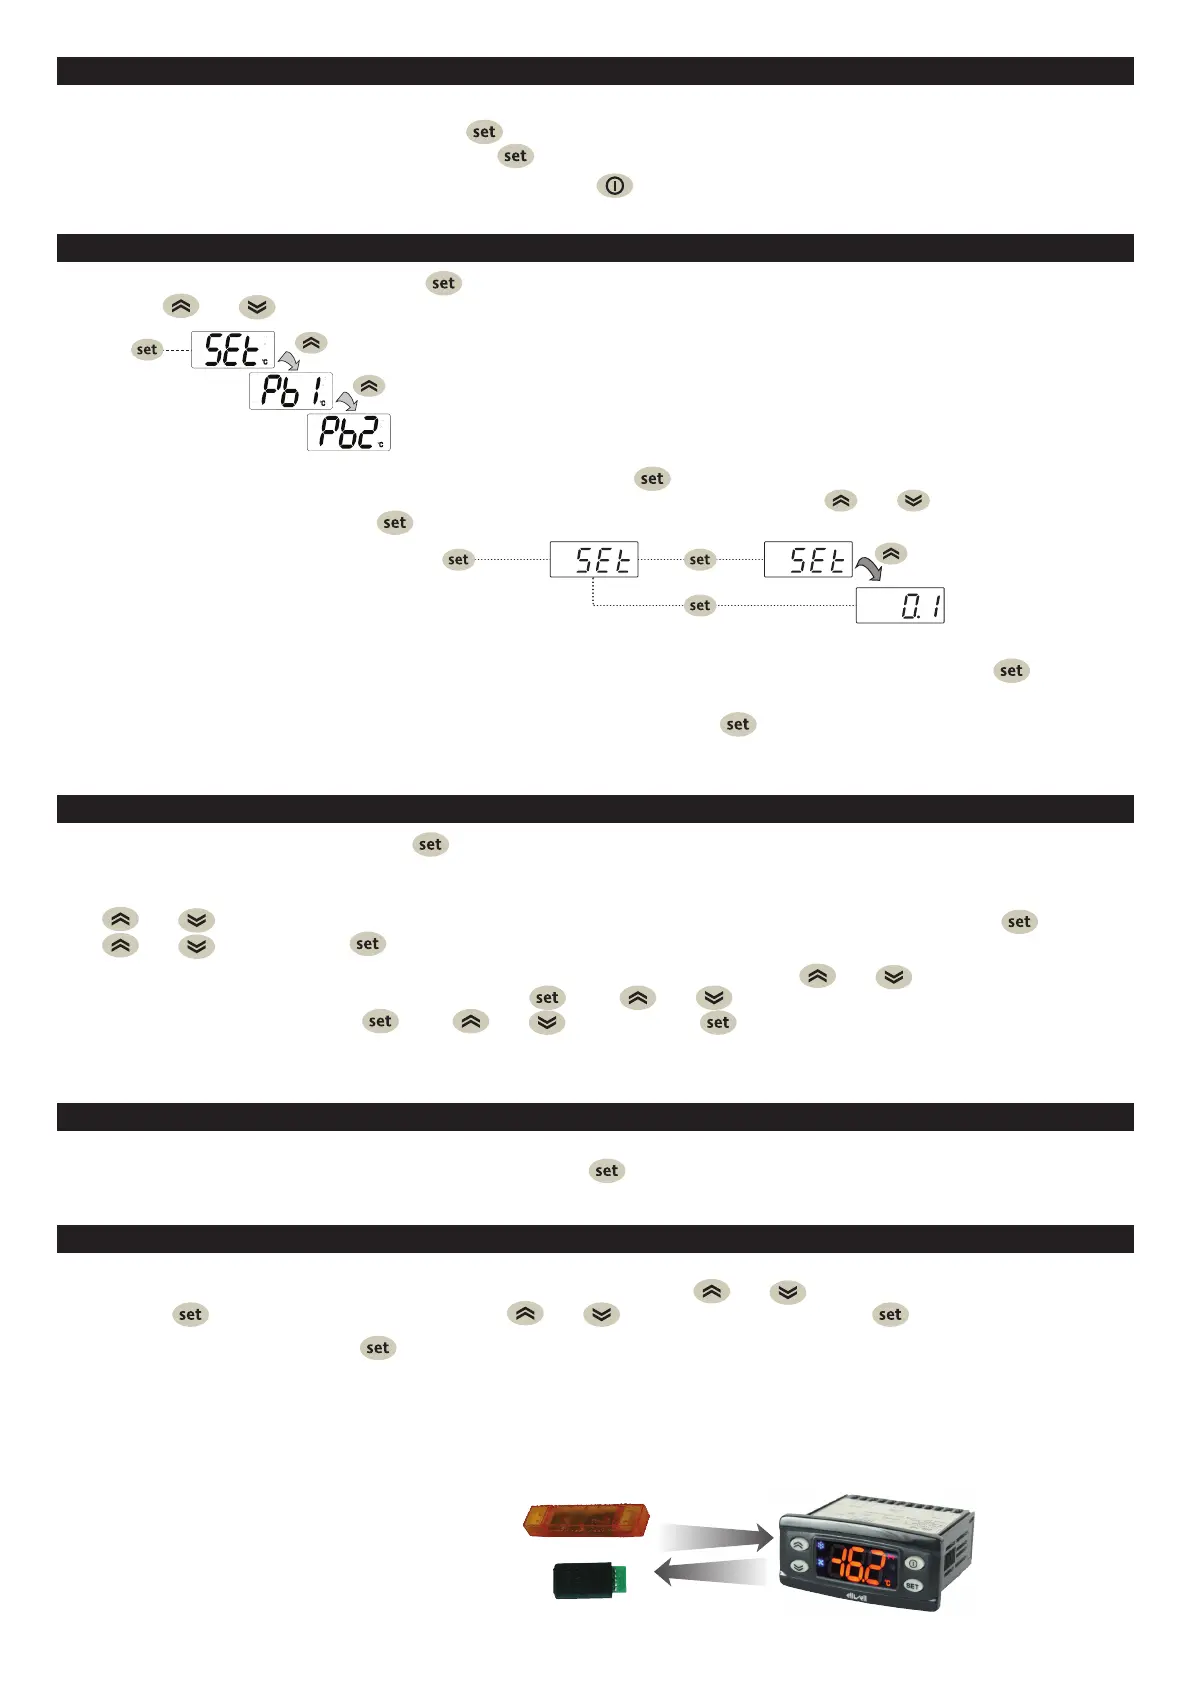
USING THE UNICARD/COPYCARD
The Unicard/Copycard is connected to the serial port (TTL) and allows rapid programming of the instrument parameters.
Access “Installer” parameters by entering PA2, scroll through the folders using
and until folder FPr appears.
Select it using
, scroll through the parameters using and , then select the function using (e.g. UL).
• Upload (UL): select UL and press
. This function uploads the programming parameters from the instrument to the card.
If the procedure is a success, “y”, will appear on the display, otherwise “n” will appear.
• Format (Fr): This command is used to format the Unicard/Copycard, (recommended when using the card for the first time).
IMPORTANT: the Fr parameter deletes all data present. This operation cannot be cancelled.
• Download: Connect the Unicard/Copycard when the instrument is switched off. At power-on, data is downloaded from the
Unicard/Copycard to the instrument automatically. At the end of the lamp test, the display will show “dLy” if the
operation was successful and “dLn” if not.
NOTE:
After downloading, the instrument works with
the settings of the new map just downloaded.
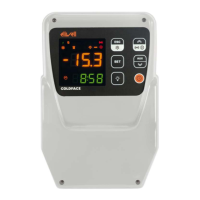
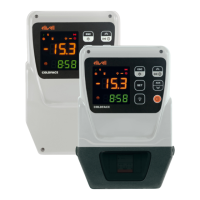
UPLOAD
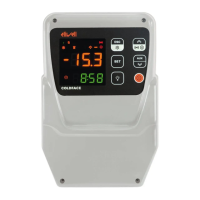
DOWNLOAD
OR
MENU' DI PROGRAMMAZIONE
To access the “Programming” menu, press the key for more than 5 seconds. If specified, an access PASSWORD will be requested:
PA1 for “User” parameters and PA2 for “Installer” parameters (see “PASSWORD” paragraph).
“User” parameters: When accessed, the display will show the first parameter (e.g. “dF1”).
Press
and to scroll through all the parameters on the current level. Select the desired parameter by pressing .
Press
and to modify it and to save the changes.
“Installer” parameters: When accessed, the display will show the first folder (e.g. “CP”). Press
and to scroll through the
folders on the current level. Select the desired folder using
. Press and to scroll through the parameters in the current
folder and select the parameter using
. Press and to modify it and to save the changes.
NOTE: Make sure you switch the instrument off and on again each time the parameter configuration is changed, in order to
prevent malfunctioning in the configuration and/or timing in progress.
"MACHINE STATUS" MENU
Access the Machine Status menu by pressing and releasing the key. If no alarms are active, the “SEt” label appears.
Use the keys
and to scroll through all the folders in the “Machine Status” menu:
- AL: alarms folder (visibile solo se ci sono allarmi attivi);
- SEt: Setpoint setting folder;
- Pb1: probe 1 - Pb1 folder;
- Pb2: probe 2 - Pb2* folder (EWPlus 971/974 models only);
* folder displayed if Pb2 present (H42 = y)
SETPOINT SETTING
: To display the Setpoint value press the key when the “SEt” label is displayed. The Setpoint value
appears on the display. To change the Setpoint value, press the
and keys within 15 seconds.
Press
to confirm the modification.
LOCK SETPOINT MODIFICATION
: The keypad can be locked by programming the ‘LOC’ parameter.
With the keypad locked you can still access the ‘Machine Status’ menu by pressing
to display
the Set point, but you cannot edit them. To disable the keypad lock, repeat the locking procedure.
DISPLAYING THE PROBES: When labels Pb1 or Pb2* are present, press the
key to view the value measured by the
corresponding probe. N.B.: 1) Pb2 is only present on EWPlus 971/974 models.
2) the value cannot be modified.
ACCESSO E USO DEI MENU
Resources are organised into 2 menus which are accessed as explained below:
• “Machine Status” menu: press and release the
key.
• “Programming” menu: press for at least 5 secs the
key.
Either do not press any keys for 15 seconds (time-out) or press the
, key once, to confirm the last value displayed and return to
the previous screen.