3/14
PROGRAMMING MENU
(See Programming Menu Diagram)
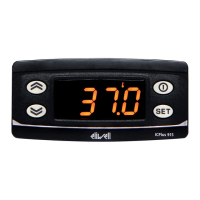
1) Displaying level 1 parameters
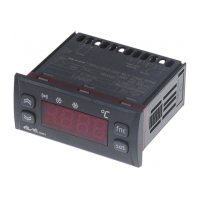
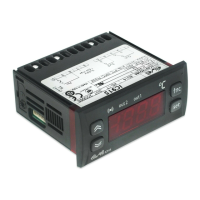
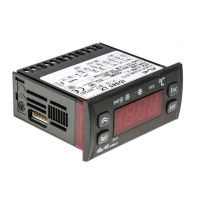
To access the Programming menu, hold
the “set” button for more than 5 sec-
onds. If specified, the level 1 access
PASSWORD will be requested (see para-
meter “PA1”) and (if the password is cor-
rect) the label of the first folder will
appear. If the password is incorrect, the
display will show the PA1 label again.
Use the “UP” and “DOWN” buttons to
scroll through the other folders; the
folders will only display level 1 para-
meters.
NOTE: at this point level 2 parameters
are NOT visible even if NOT password-
protected.
2) Displaying level 2 parameters
Go to the “CnF” folder in the
Programming Menu and scroll down the
parameters until you reach the PA2 label.
By pressing and releasing the “set” but-
ton you will enter the level 2 parameters
and the label of the first folder in the
programming menu will appear.
Level 2 parameters can be protected by a
second password (see “PA2” parameter
in “diS” folder, not to be confused with
PA2 label in the “CnF” folder).
If specified, level 2 parameters are hid-
den to the user; when accessing the
“CnF” folder the level 2 access PASS-
WORD will be requested and (if the cor-
rect password is entered) the label of the
first folder in the programming menu will
appear.
NOTE: At this level the folders will
only display all the level 2 parame-
ters. Therefore level 1 parameters will
only be visible if you quit the
Programming Menu and repeat proce-
dure 1).
To enter the folder, press “set”.
The label of the first visible parameter
will appear. To scroll through the other
parameters, use the “UP” and “DOWN”
buttons.
To change the parameter, press and
release “set”, then set the desired value
using the “UP” and “DOWN” buttons and
confirm with the “set” button. Move on
to the next parameter.
3)“Easy map” programming of the
base board (if present)
In folder Cnf, at level 2, a parameter
H60 (called “Parameter map selector”
or “Vector Number”) can be used to
program a subset of parameters (from
1 to 6) depending on the type of sys-
tem required. This provides a list of
“general” parameters and a list of
“characteristic” parameters in the sys-
tem.
Depending on the value of H60 a
“vector” of characteristic parameters
that can be modified by the user in
the same way as other parameters is
assigned.
Can be reprogrammed the controller
with other “characteristic” parameters
by modifying the “vector”.
PLEASE NOTE: We strongly recommend
that you switch the instrument off and
on again each time parameter configura-
tion is changed in order to prevent mal-
functioning of the configuration and/or
ongoing timings.
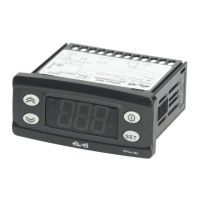
LOCAL KEYBOARD PROGRAMMING
MENU
Hold down the “UP” and “DOWN” but-
tons for at least 3 seconds to access the
“Keyboard Local Programming” menu. If
specified, the access PASSWORD will be
requested (see parameter “PA3”) and (if
the password is correct) the PLO (Local
Parameters) label will appear. This
folder contains the keyboard local
parameters (see Keyboard Local
Parameters table).
If the password is incorrect, the display
will show the PA3 label again.
NOTE: the folder may NOT be visible;
if this is the case, keyboard local pro-
gramming cannot be accessed)
To enter the folder, press “set”. The label
of the first visible parameter will appear.
To scroll through the other parameters,
use the “UP” and “DOWN” buttons.
To change the parameter, press and
release “set”, then set the desired value
using the “UP” and “DOWN” buttons and
confirm with the “set” button.
Move on to the next parameter.
 Loading...