76
2. Switching on
The soldering station can be switched on by means of the „Power”
switch. The processor then performs a segment test, i.e. all 108
segments are activated for approximately two seconds.
This is followed by the heat-up phase. The soldering iron heats up
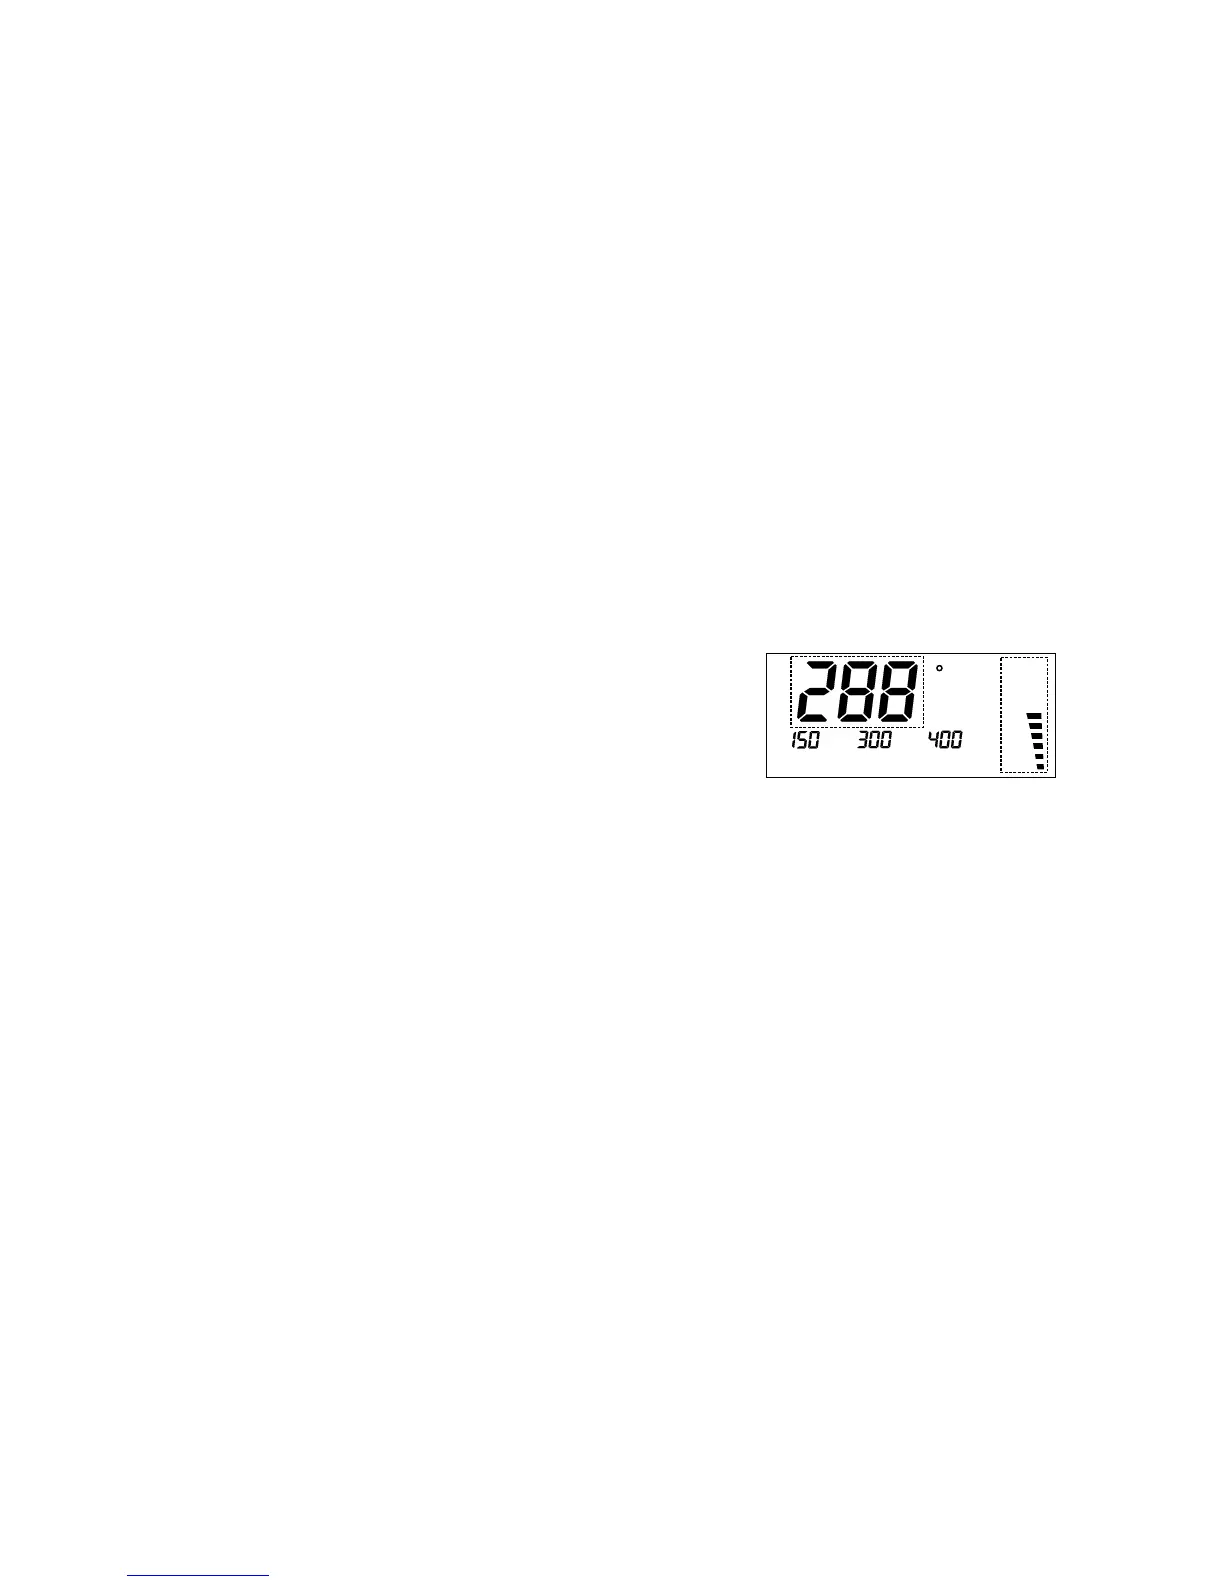
until it reaches the set point temperature in effect just before the device
was switched off the last time. The LCD shows the current actual
temperature in the main display section and the „Power” bar-chart
(which can be disabled) indicates the heat being supplied to the
soldering iron; (see Figure 1). As soon as the set point temperature is
reached, the soldering iron is maintained constant at this temperature.
Figure 1
3. Adjusting the set point temperature with the „+” / „-” keys
The set point temperature can be adjusted inter alia by means of the
„+” and „-” keys.
As soon as one of these keys is pressed, the main display section
(see Figure 1) changes to show the set point temperature. This set
point temperature can then be jogged up or down in steps of 1° each
time the key in question is pressed. If the key is pressed and held
down, the set point temperature is incremented / decremented initially
in 1° steps for the first 10 digits and then subsequently in 10° steps. As
soon as the desired value is reached, the key must be released.
The main display section, after approximately three seconds, switches
back to showing the current actual temperature.
4. Selecting one of the programmed set point temperatures
The feature with the programmed set point temperatures provides real
soldering convenience. For different soldering jobs the most suitable
temperatures can be selected quickly and conveniently at the push of
standby and automatic power-off functions. The standby / automatic
power-off timer can be adjusted in 5-minute steps up to a maximum of
9 hours and 55 minutes. On expiry of this programmed timeout the
LS 50 automatically sets the preprogrammed standby temperature or
switches off completely. The standby mode can of course be activated
and deactivated at any time at the push of a button.
The soldering iron on the LS 50 operates with 48 W. It can thus heat
up to the desired working temperature very quickly and with plenty of
power in reserve. The processor determines the current actual
temperature via the integrated temperature sensor and regulates the
power of the soldering iron accordingly. As and when necessary a
new soldering tip can be attached very easily and quickly by simply
undoing the screw connector.
Brief Summary of Instructions for Use
1. Set up the device and insert the soldering iron plug in the DIN socket
on the station.
2. Switch on by means of the ,,Power” switch.
3. Adjust the set point temperature as desired by pressing the „+”/„-”
keys.
4. You can select one of the programmed set point temperatures by
pressing the appropriate „T1” /„T2”/„T3”key.
5. You can modify a programmed set point temperature by pressing
and holding down the appropriate „T1” / „T2”/ „T3” key and, while
doing so, adjusting by means of „+” or „-”.
Instructions for Use
In order to ensure that the device is used properly and as intended,
please be sure, before using the device, to read through these
Operating Instructions and Safety Instructions carefully and completely.
1. Setting up
First the device must be set up at your workplace and connected to a
mains socket. The plug from the soldering iron must then be inserted
in the DIN socket located on the front of the station. The solder sponge
must be laid in the stand and moistened.