1110
8. Automatic power-off function
It is also possible to program the LS 50 so that the soldering iron, after
a programmable timeout, automatically switches off. The LS 50
indicates this by displaying „OFF” in the main display section. As soon
as any key is pressed, the device quits the power-off mode.
The device is shipped with the power-off function disabled. If you prefer
to have this function enabled, the LS 50 must first be switched to
programming mode. To do so, press keys „T1”, „T2” and „T3” together
at the same time. When the LS 50 is in programming mode, this is
indicated by the „Prog” segment; (see Figure 4). Now in programming
mode the power-off function can be enabled by pressing and holding
down key „T2”. The power-off timeout can now be adjusted in 5-minute
steps up to a maximum of 9 hours and 55 minutes by means of the
„+”/„-” keys; (see Figure 7).
Figure 7
If the power-off timeout is set to „0”, the power-off function is disabled
again and the timeout display disappears. After a period of three
seconds after the last time a key was pressed the LS 50 quits
programming mode automatically.
Notice: After programming the Automatic Power-Off time the
programmed data only becomes valid after switching the solder station
off and then back on.
9. Disabling the „power” bar-chart
The „power” bar-chart display can be disabled. To do so, the LS 50
must first be switched to programming mode by pressing keys „T1”,
„T2” and „T3” together at the same time; (see Figure 4). Now in
programming mode the „power” bar-chart can be disabled by pressing
key „T2”. The arrow segment above this key disappears; (see Figure 8).
Pressing „T2” again re-enables the bar-chart display. After a period of
C
Power
Standby
Prog
C/FPower
7. Timer-controlled standby function
The timer-controlled standby function has the effect of lowering the
working temperature automatically after expiry of a programmable
timeout. This timeout is calculated from the last time a key was pressed.
If the standby period has been programmed e.g. as one hour, the
soldering station switches to standby mode exactly one hour after the
last time a key was pressed. In this condition, as soon as any key is
pressed, the soldering station quits standby mode again.
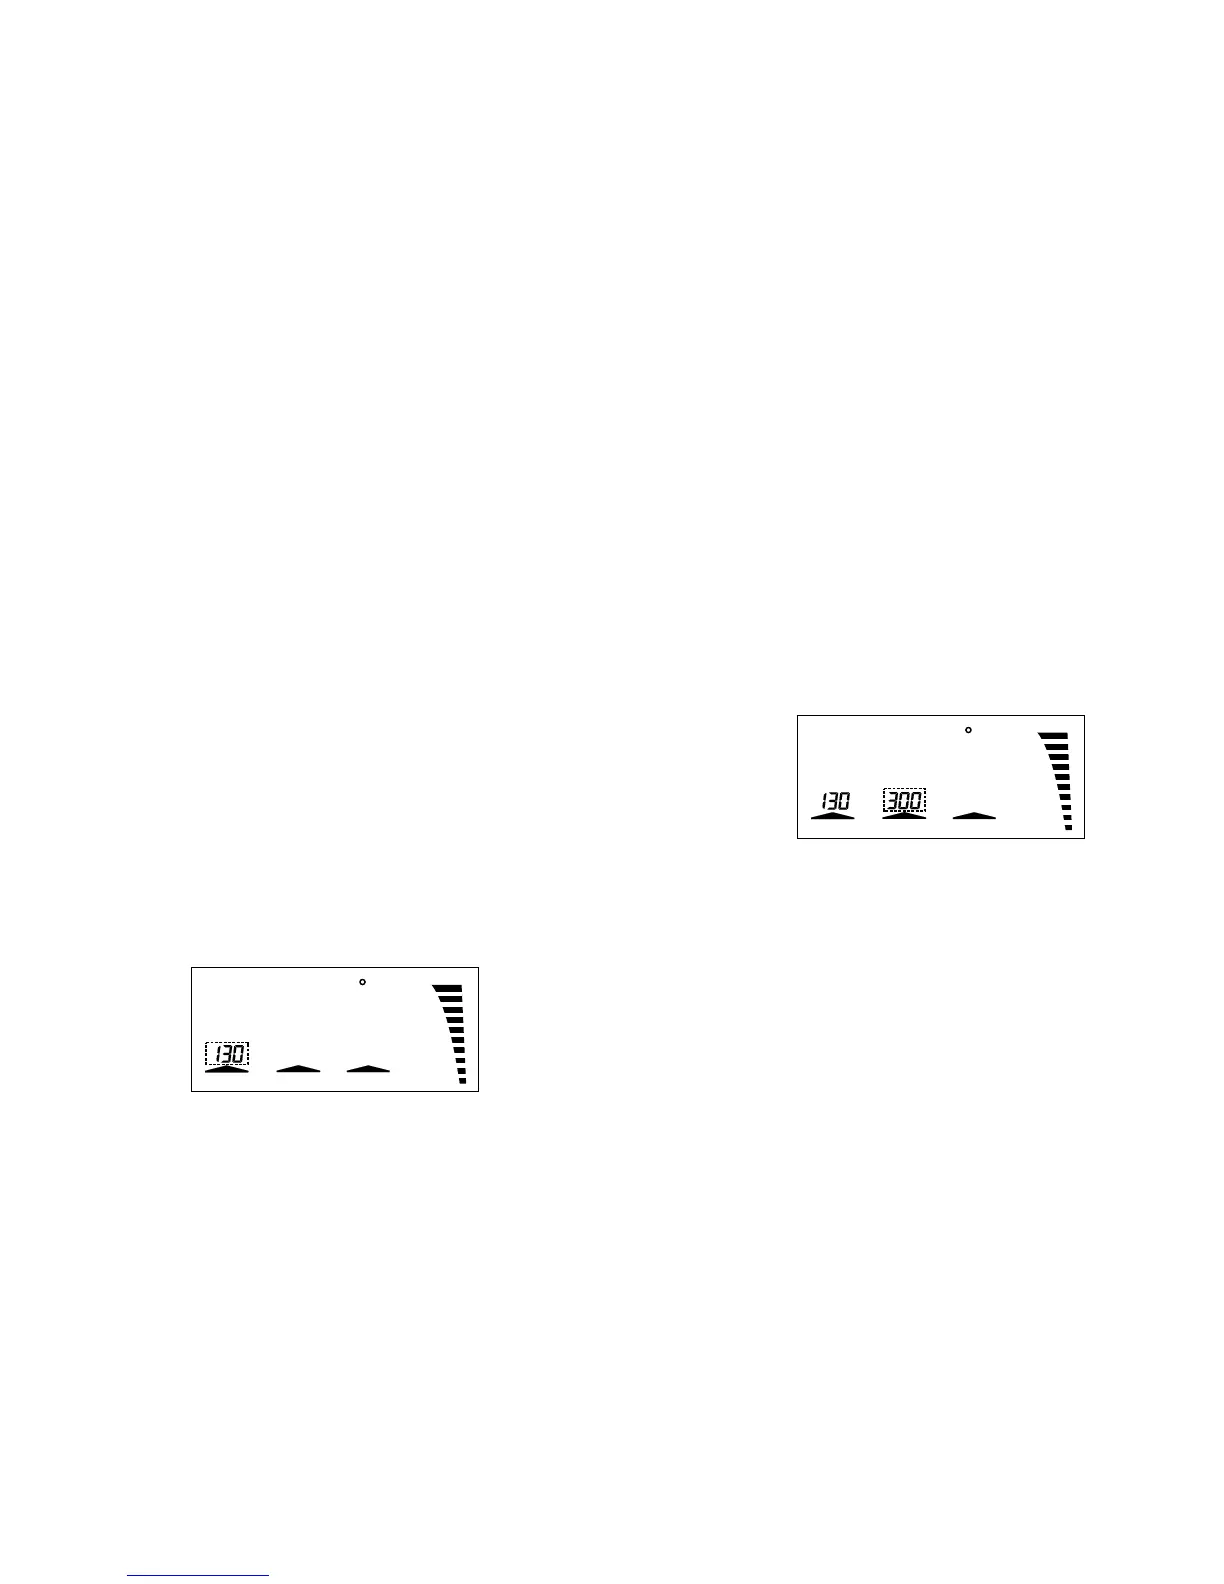
The device is shipped with the timer-controlled standby function disabled.
If you prefer to have this function enabled, the LS 50 must first be
switched to programming mode. To do so, press keys „T1”, „T2” and
„T3” together at the same time. When the LS 50 is in the programming
mode, this is indicated by the „Prog” segment; (see Figure 4).
Now in programming mode the timer-controlled standby function can
be enabled by pressing and holding down key „T1”. The standby
timeout can now be adjusted in 5-minute steps up to a maximum of 9
hours and 55 minutes by means of the „+”/ „-” keys; (see Figure 6).
If the standby timeout is set to „0”, the timer-controlled standby function
is disabled again and the timeout display disappears.
After a period of three seconds after the last time a key was pressed
the LS 50 quits programming mode automatically.
Notice: After programming the standby time the programmed data only
becomes valid after switching the solder station off and then back on.
Figure 6
C
Power
Standby
Prog
C/FPower