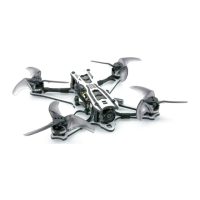
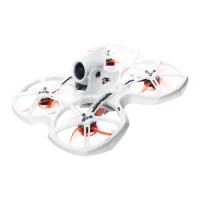
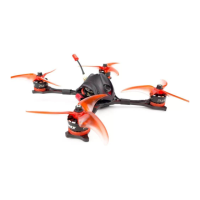
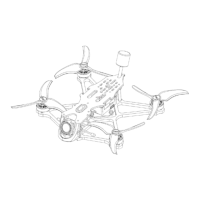
Tinyhawk III Plus Freestyle
Note:
Before adjusting parameters, you must press and hold the CH button or FR
button for 3 seconds.
Ensure that the Tinyhawk III Plus Freestyle is powered on. When cycling
through channels, using the video goggles of the Tinyhawk III Plus Freestyle will
make it easier to identify the correct channel.
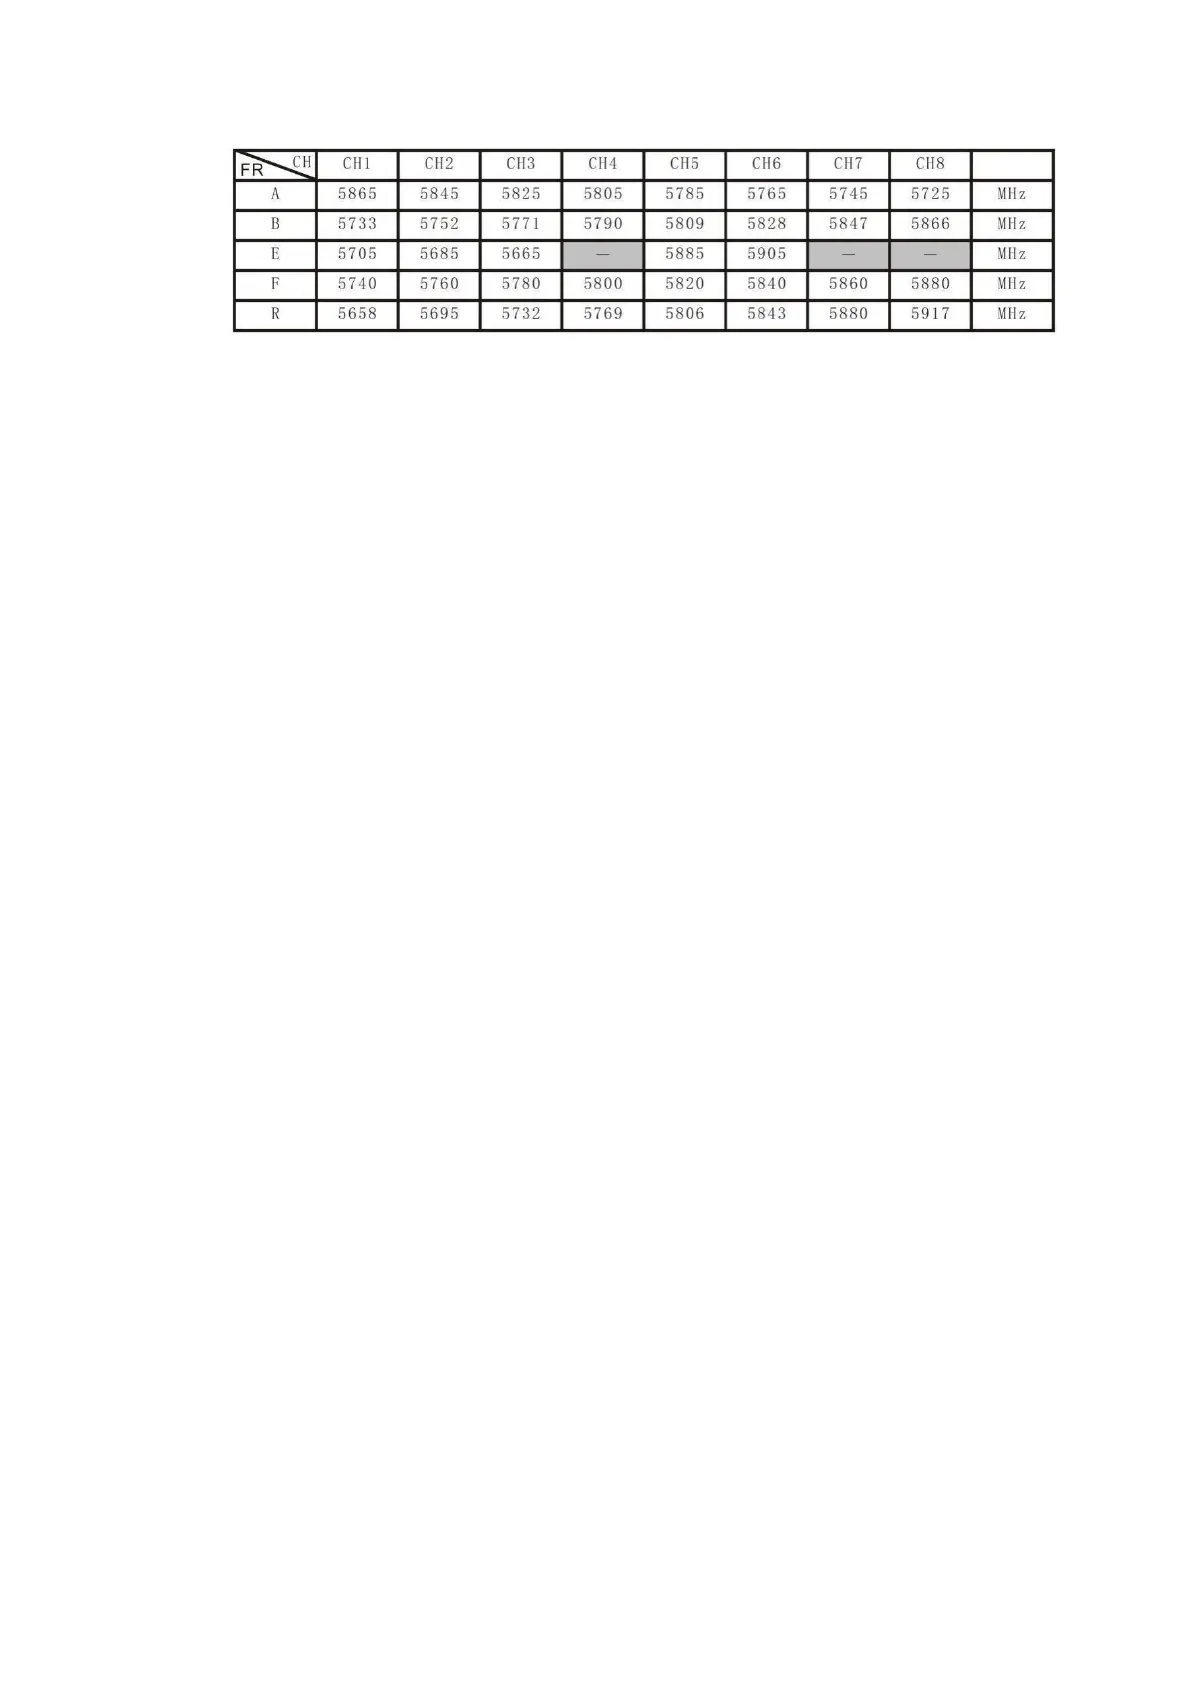
Important: Please ensure that the Transporter II is on the correct channel
matching the Tinyhawk III Plus Freestyle. The selected frequency band and
channel of the Tinyhawk III Plus Freestyle will be displayed in the upper-left
corner of the screen.
3.3.3 Automatic Video Channel Search
Transporter II has an automatic search function labeled as "A" to help locate
the channel where the Tinyhawk III Plus Freestyle is transmitting. Power on the
Tinyhawk III Plus Freestyle first, then press the "A" button on the Transporter II to
initiate the automatic search mode. This mode will scan through all channels and
select the one with the best video reception. Once all channels have been
searched, the best channel number, frequency group, and frequency will be
displayed in the upper-left corner of the screen.
Warning: If multiple Tinyhawk III Plus Freestyle drones (or other drones with
video transmission) are operating simultaneously, using this function might
result in selecting the wrong drone's channel. We recommend manually
selecting the correct channel to prevent incorrect matching.
3.3.4 Recording On and Off
To Start Recording: While the DVR is operational, short press the right-side
R button. A solid red dot will appear at the upper-middle of the screen, and the
DVR's red LED will stay solidly lit. After a moment, the red dot on the screen will
start blinking, and the DVR's red LED will also start blinking, indicating that
recording has started.
Please note that the previous content you mentioned appears to be about
the Transporter II HD and its operations. If you have any specific questions or if
there's anything else you'd like to know, feel free to ask our customer service.
To Stop Recording: When the DVR is in recording mode, short press the R
button. Recording will stop, and the red dot on the screen will disappear. The
DVR's red LED will turn off.