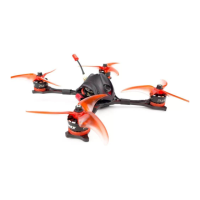
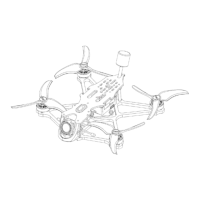
Tinyhawk III Plus Freestyle
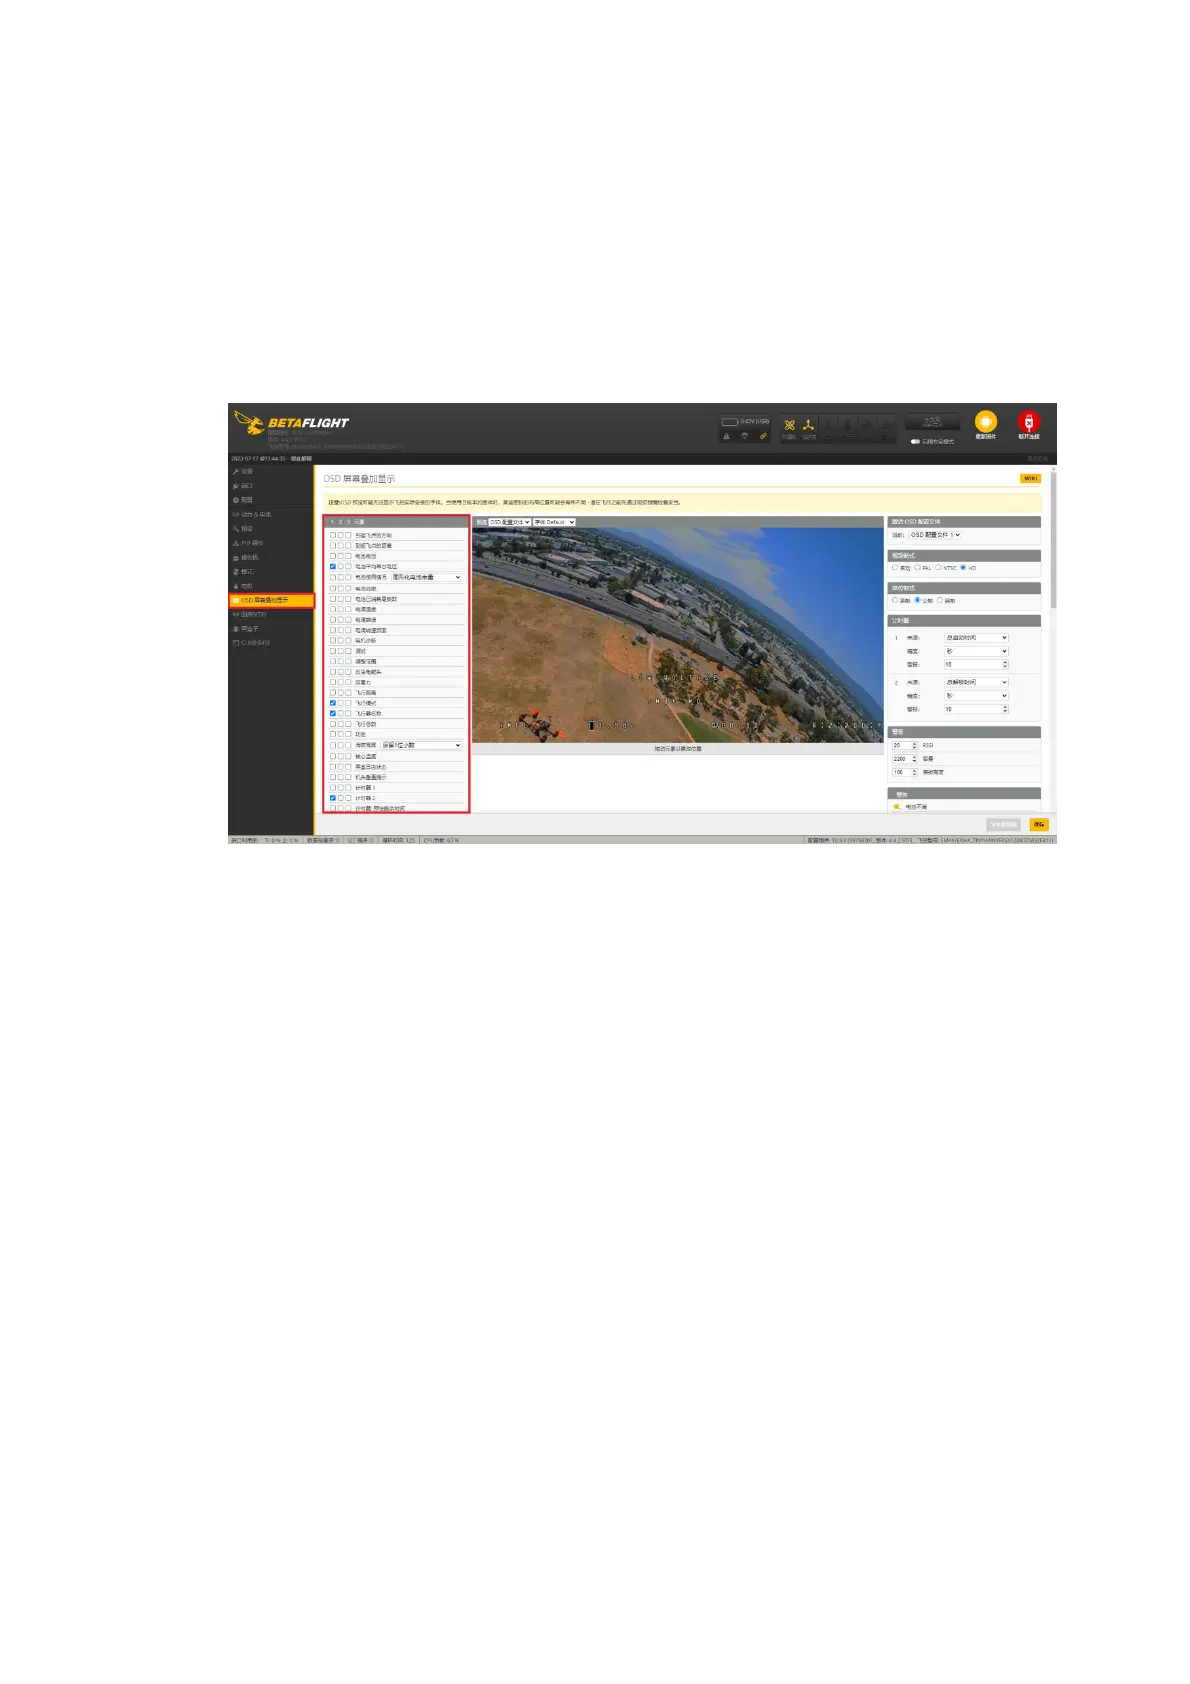
Locate the OSD (On-Screen Display) settings.
Adjust the OSD settings according to your preferences for character display
on your video goggles.
After making the changes, click "Save."
Restart the drone. The new OSD settings will take effect.
This process is applicable to both the HD and analog versions of the
Tinyhawk III Plus Freestyle.
Top of Form
(2) Changing VTX Settings through Betaflight OSD
The Tinyhawk III Plus Freestyle comes equipped with SmartAudio, which is
pre-configured. The SmartAudio for the analog video transmitter is on UART2
TX, and for the digital video transmitter, it's on UART1. Power on the Tinyhawk III
Plus Freestyle, video goggles, and remote control.
Follow the on-screen prompts to enter the main setup menu. With the
throttle stick centered, yaw stick to the left, and pitch stick up (THROTTLE MID +
YAW LEFT + PITCH UP), you'll enter the OSD parameter adjustment menu.
In the menu interface, use pitch (up/down) to navigate and select menu
options. Move the cursor to "FEATURES" and use the roll (left/right) stick to
proceed to the next menu. Use the pitch stick to move the cursor to "VTX SA"
and then pull the roll stick to the right to enter the VTX configuration menu.
Within the VTX SA menu, you can configure BAND, CHANNEL, and POWER.
Move the pitch stick to navigate the cursor up and down to select the desired
VTX options. Once the parameters are set, move the cursor to "SET" and then
rotate the stick to the right to enter "SET" and select "YES." Rotate the stick to
the right again to save the settings.
In the VTX SA menu, move the cursor to "CONFIG" to enter the submenu.
Move the cursor to "PIT FMODE" and pull the roll stick to the right to turn