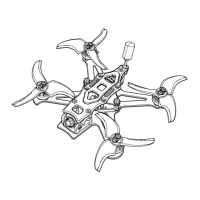
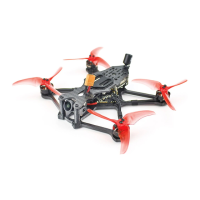
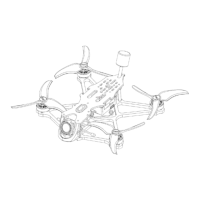
Tinyhawk III Plus
To start recording: While in DVR working mode, short-press the right-
side R button. A solid red dot will appear at the top-center of the screen,
and the DVR's red LED will remain lit. After a moment, the red dot on the
screen will begin blinking, and the DVR's red LED will also blink,
indicating recording mode has been activated.
To stop recording: While the DVR is recording, short-press the R button.
The red dot on the screen will disappear, and the DVR's red LED will turn
off.
Setting Recording Duration:
Access the Recording Parameter Settings by selecting "Loop Recording"
through the B/C buttons.
Short-press the B/C buttons to choose between 3 minutes, 5 minutes, 10
minutes, or "Off."
3.3.4 Recording Parameter Settings
Short-press the left-side M button to access the Screen/Recording
Parameter Settings menu (requires separate purchase of TF card).
Press the left-side M button again to select the Recording Parameter
Settings submenu. Each press of the M button cycles through the
submenu options.
Short-press the right-side B/C buttons to choose appropriate parameters.
3.3.5 Screen Parameter Settings
Press the single M button to open the menu, where you can adjust
brightness, contrast, saturation, and language settings.
In the menu, press the M button again to select the next menu option.
Highlight the current selection in the menu and use the B and C buttons
to adjust values up and down.
If no button input is detected, the menu will automatically close after 3
seconds.
3.3.6 Battery & Charging
Transporter II comes with an internal 1300mAh lithium battery. For
battery replacement, please contact us or visit our official website for
assistance. Do not open the back cover yourself to avoid damaging the
product.