EasyManua.ls Logo

Emerson 1F78 User Manual

Emerson 1F78
16 pages
To Next Page IconTo Next Page
Page #1 background imageLoading...
Page #1 background image
Failure to follow and read all instructions carefully
before installing or operating this control could cause
personal injury and/or property damage
Installation Instructions for
Heating & Air Conditioning
1F78
5/2 Day Programmable Thermostat
CONTENTS
Preparations .................................................. 1
Thermostat Details ........................................ 1
Removing Old Thermostat ............................. 1
Mounting and Wiring ...................................... 2
Check Thermostat Operation ......................... 3
Programming your Thermostat ...................... 4
Specifications ................................................ 6
Troubleshooting ............................................. 6
2
THERMOSTAT DETAILS
HAND OR POWER
DRILL WITH 3/16 INCH
DRILL BIT, IF NEEDED
FLAT BLADE SCREWDRIVER
WIRE CUTTER/STRIPPER
1
PREPARATIONS
To prevent electrical shock and/or equipment damage,
disconnect electrical power to the system at the main fuse
or circuit breaker until installation is complete.
CAUTION
!
Before removing wires from old thermostat’s switching subbase,
label each wire with the terminal designation it was removed
from.
1. Remove Old Thermostat: A standard heat/cool thermostat
consists of three basic parts:
a. The cover, which may be either a snap-on or hinge type.
b. The base, which is removed by loosening all captive screws.
c. The switching subbase, which is removed by unscrewing
the mounting screws that hold it on the wall or adaptor plate.
2. Shut off electricity at the main fuse box until installation is
complete. Ensure that electrical power is disconnected.
3. Remove the front cover of the old thermostat. With wires still
attached, remove wall plate from the wall. If the old thermostat
has a wall mounting plate, remove the thermostat and the wall
mounting plate as an assembly.
4. Identify each wire attached to the old thermostat.
5. Disconnect the wires from the old thermostat one at a time. DO
NOT LET WIRES FALL BACK INTO THE WALL.
6. Install new thermostat using the following procedures.
PART NO. 37-6614C
Replaces 37-6614B
1027
Assemble tools required below.
3
REMOVING OLD THERMOSTAT
Figure 1. Thermostat base
Mounting
hole
W903 Clip to
Disable EMR
Feature
W904 Clip for
Celsius Display
Mounting
hole
Electric/Gas
Switch
NOTE: Earlier models refer to 37-7006 for jumper locations.
W905 Clip for
Hydronic System
W
RH
BRC
G
O
Y
+
-
+
-
GAS
ELEC
W904
W905
W903
www.white-rodgers.com
www.emersonclimate.com
YOUR THERMOSTAT REPLACES
Typical System Compatibility Chart 1E78
Standard Heat Only Two Wire Gas or Oil Fired Systems (24 volt) Yes
Electronic Ignition Heat Only Two Wire Systems (24 volt) Yes
Electronic Ignition Heat Only Gas or Oil Fired Systems (24 volt) Yes
Standard Heat/Cool Systems (24 volt) Yes
Heat/Cool Systems Electric Heat (24 volt) Yes
Heat Only Electric Heat Systems (24 volt) Yes
Cool Only Systems (24 volt) Yes
Heat Pump Systems (No Aux. or Emergency Heat) Yes
Hot Water Zone Heat Only (Two Wire) Systems Yes
Hot Water Zone Heat Only (Three Wire) Systems No
Line Voltage Heating or Baseboard 110/240 Volt Systems No
Millivolt Systems Floor or Wall Furnaces Yes
12 VDC Mobile Home Application Yes
Multistage Systems No
Systems Exceeding 30VAC, 1.5 Amp No
Question and Answer IconNeed help?

Do you have a question about the Emerson 1F78 and is the answer not in the manual?

Emerson 1F78 Specifications

General IconGeneral
TypeNon-programmable
DisplayDigital
Temperature Range45°F to 90°F (7°C to 32°C)
Stages1 Heat/1 Cool
BacklightNo
Hold FeatureYes
Filter Change IndicatorNo
CompatibilitySingle Stage
Power SourceBattery (2 x AA)

Summary

Preparations

Thermostat Details

Removing Old Thermostat

Mounting and Wiring

Electric Heat or Single-Stage Heat Pump Systems

Configures the thermostat for forced-air systems, including electric heat.

Hydronic (Hot Water or Steam) Heating Systems

Explains how to set the thermostat for hydronic heating systems.

Energy Management Recovery (EMR)

Describes the EMR feature for early system startup to reach setpoint.

Battery Location

Details the location and replacement of batteries for thermostat operation.

Check Thermostat Operation

Fan Operation

Steps to verify the blower fan operates correctly with the thermostat.

Cooling System

Procedures to test the cooling function of the thermostat and system.

Heating System

Steps to test the heating function of the thermostat and system.

Temperature Override

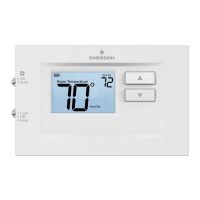
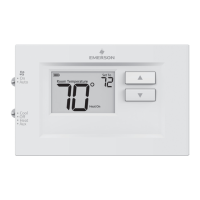
Allows manual adjustment of temperature, reverting to program later.

Hold Temperature

Maintains a set temperature indefinitely until RUN is pressed.

F/C Convertibility

Explains how to switch between Fahrenheit and Celsius temperature displays.

Low Battery Indicator

Describes the display notification for low batteries and its consequences.

Temperature Display Adjustment

Instructions for adjusting the displayed temperature within a range.

Programming Your Thermostat

Set Current Time and Day

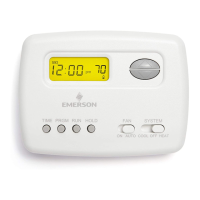
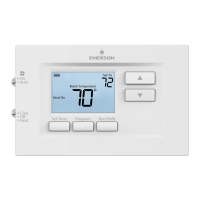
Guide to setting the current time and day on the thermostat.

Enter Heating Program

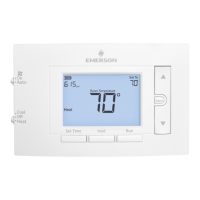
Steps to program heating periods and temperatures for weekdays and weekends.

Enter Cooling Program

Steps to program cooling periods and temperatures for weekdays and weekends.

Check Your Programming

Procedure to review the programmed heating and cooling schedules.

Specifications

Electrical Data

Details the electrical ratings and load capacity of the thermostat.

Thermal Data

Lists operating temperature, humidity, and shipping ranges.

Troubleshooting

Reset Operation

How to reset the thermostat after power spikes or erratic behavior.

Batteries

Recommendations for battery replacement for optimal performance.
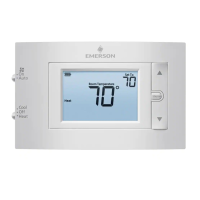
Related product manuals