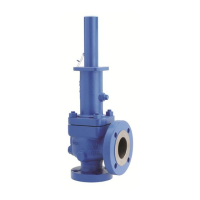
2. Orient valve in desired direction. Enardo
Models 860 and 861 require the pipe-away
connection ange to be properly oriented before
the base is bolted down.
3. After the valve has been properly aligned, install nuts
and bolts. Tighten the bolts down in a cross-hatched
pattern. Ensure the valve is securely fastened.
Installation
△
CAUTION
Ensure the tank is at atmospheric pressure
before opening. A pressure build-up inside
the tank can cause a spray to be emitted
from the valve if opened under pressure.
Springs are energy storage devices and
are dangerous if handled improperly.
Never loosen any nuts or cap screws
until all spring preload has been relieved.
Always use appropriate safety equipment
including safety glasses or shields any
time you are working with a spring-
loaded valve.
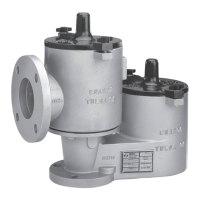
Installing Pressure/Vacuum Relief Valves
with Only Spring-Loaded Pallets
1. Attach the valve to the appropriate mating ange
using a proper gasket. To ensure proper function,
install the valves to a level horizontal surface
so the pallet will move vertically. For Enardo
Models 860, 960 and 962, the valve shipped from
factory has certain studs installed.
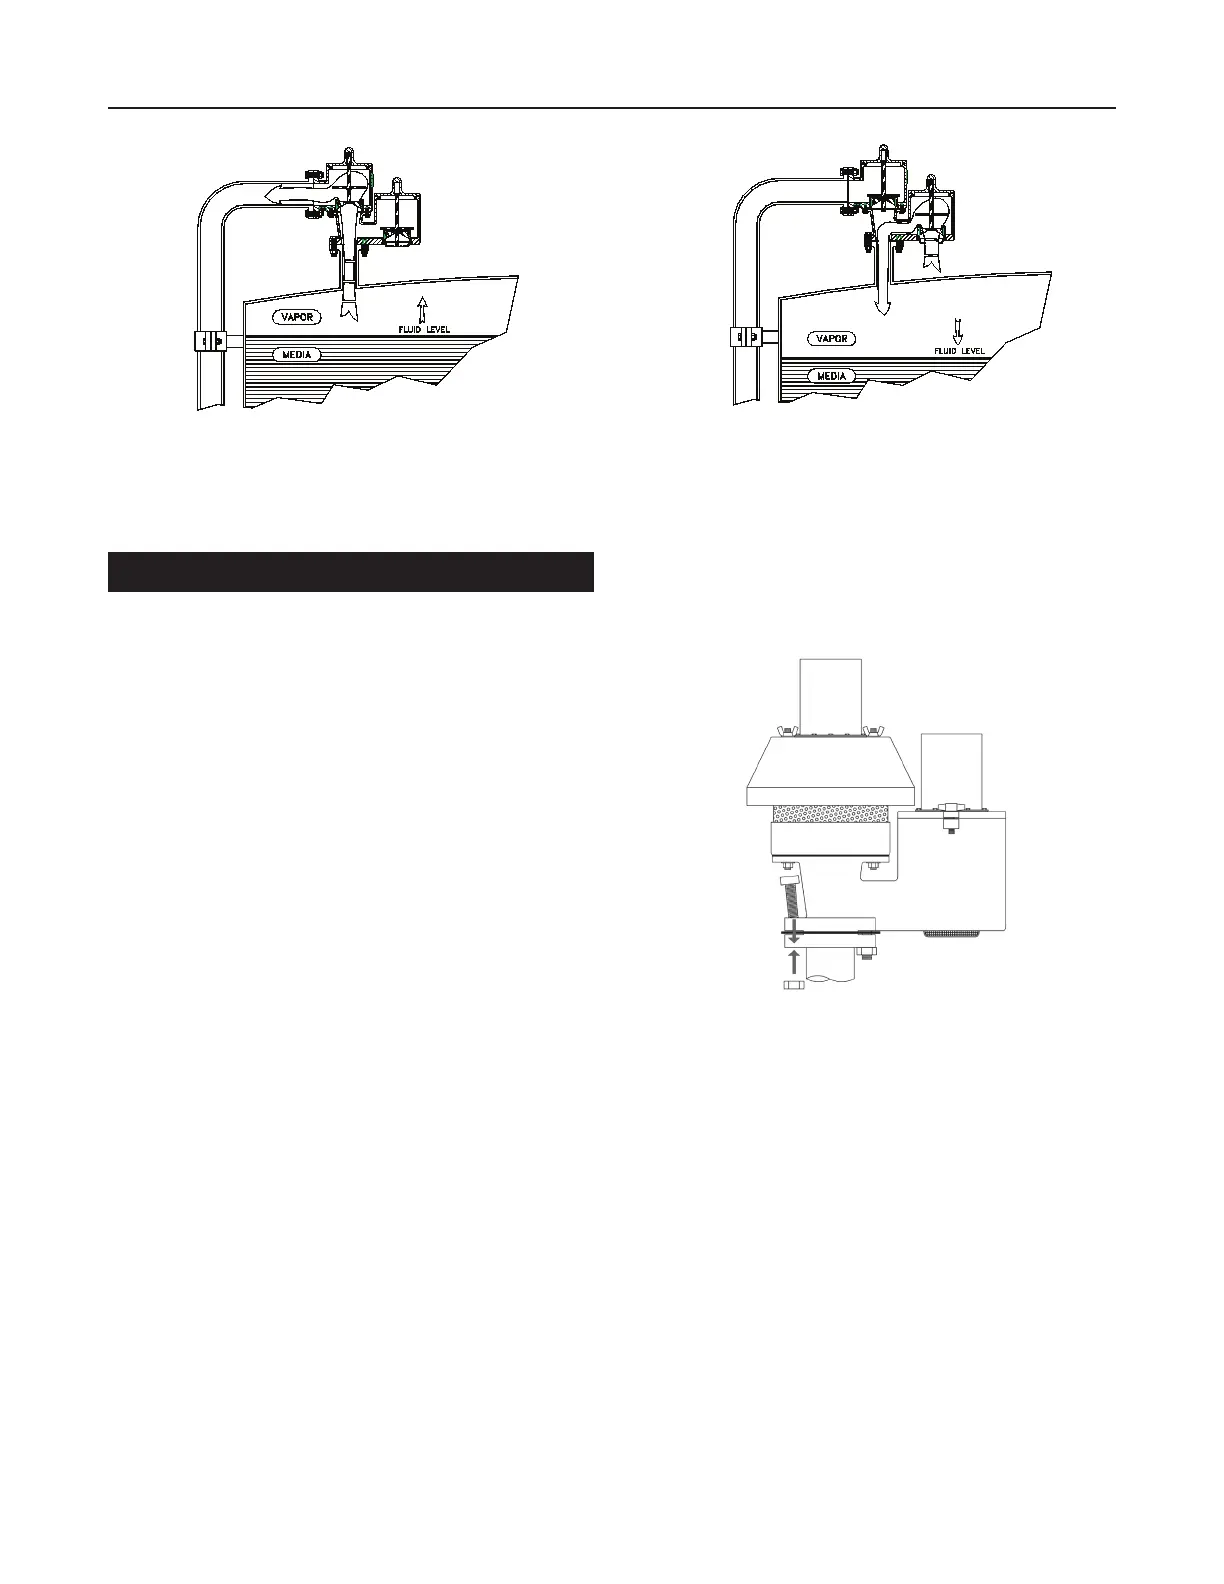
Figure 6. Pressure and Vacuum Flow
PRESSURE FLOW VACUUM FLOW
5
Enardo 860 and 960 Series
Outside North America Only
 Loading...