6
Mechanical integration
Installation of EJ-110 module
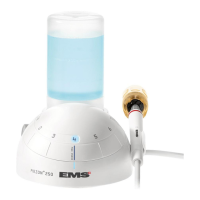
Place the ultrasonic module in a ventilated area and away from any heat source. The ultrasonic module must be installed in a dry zone as its
housing does not provide protection against water or liquids. The ultrasonic module has to be installed inside the unit considering a minimum
free space as indicated below, this to allow the necessary air circulation for cooling.
According to the EMC compliance, use of this equipment adjacent to or stacked with other equipment should be avoided because it
could result in improper operation. If such use is necessary, this equipment and the other equipment should be observed to verify that
they are operating normally.
For the mounting of the module, a set of screws and washers is supplied with the product.
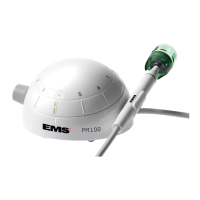
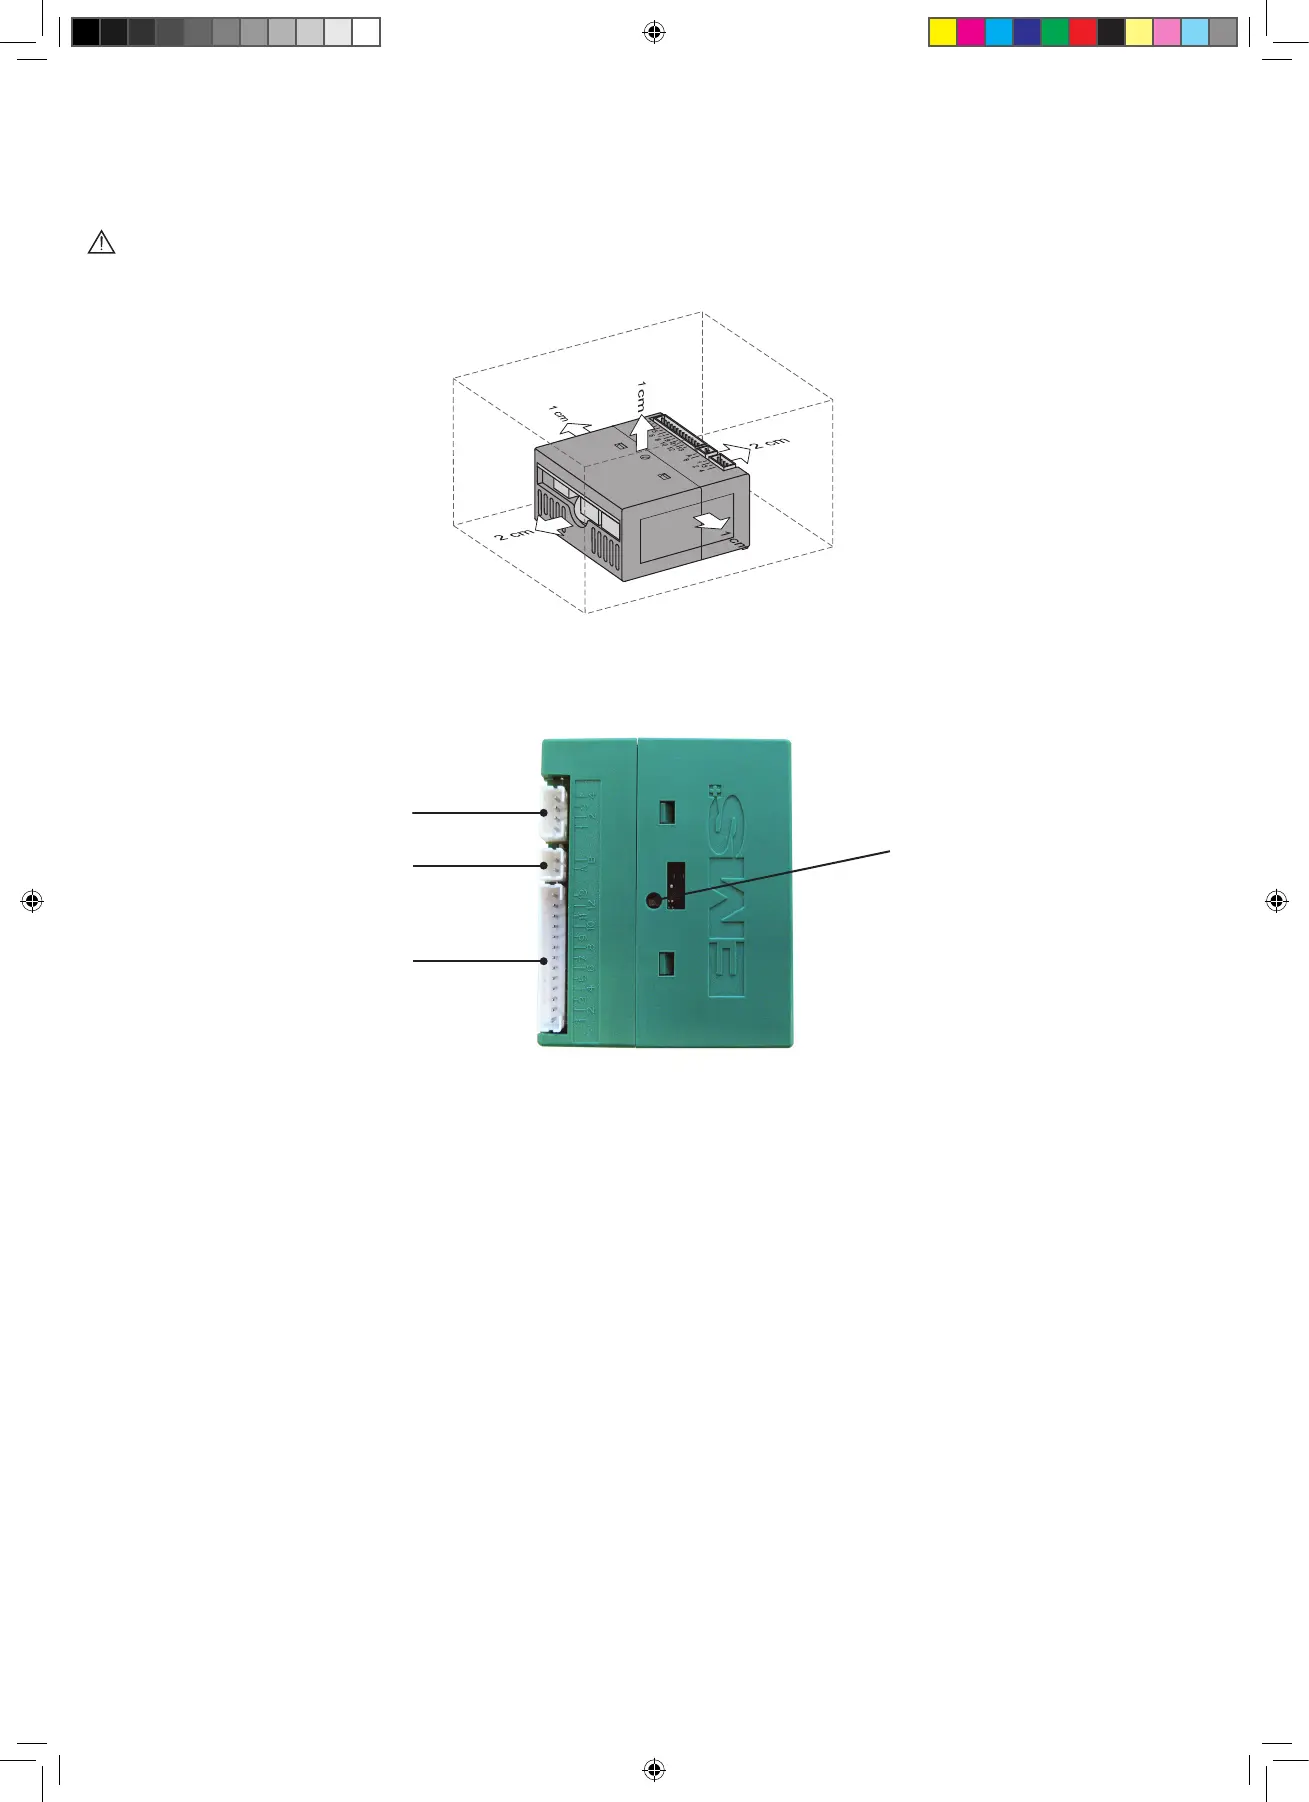
Description of EJ-110 ultrasonic module
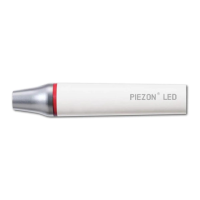
Handpiece cord
It is recommended to integrate a connector between the handpiece cord and the treatment unit. In that case, the strain relief wire must be
securely tied up to the connector.
If the cord is mounted to the unit without the use of a connector, the strain relief wire must be tightly attached to the unit frame.
SYMBOL HINT: It is recommended to always connect the 2-pin LED plug even if the current setup does not foresee a use with LED hand-
piece. This will allow the user to later upgrade its system with a handpiece that is equipped with LED.
Water irrigation
Connect the transparent handpiece cord tube to a cold water supply of 1 – 2 bars (100 – 200 kPa) and allowing an adjustable ow rate
between 0 to 50 ml/min ± 10.
LED error code display
4-pin plug to handpiece
(ultrasound)
2-pin plug to handpiece
(LED)
13-pin plug to dental unit
(Module control)
FB-609_KR_ed_2015_11_Installation manual PIEZON BUILT IN BIK.indd 6 01.04.2016 14:34:42
 Loading...