3
FIGURE 2 - SPECIFICATIONS
Used
with
cylinder
Usable Oil
Capacity
cm³
[in³]
Model
Number
Pressure Rating
bar [psi]
Oil Displacement
per Stroke
cm³ [in³]
Max.
Handle
Eort
kg
[lbs]
Piston
Stroke
mm
[inch]
kg
[lbs]
1
st
stage 2
nd
stage 1
st
stage 2
nd
stage
Single-
Acting
492
[30]
P-392FP
15
[220]
700
[10,000]
11,26
[.687]
2,47
[.151]
42
[93]
25,4
1,00
7,0
[15.4]
5.2 Using Two-Speed Pumps
These pumps provide 2-stage flow. Under no-load, the
pump operates in the high flow first stage for rapid
advance. When the load is contacted, the pump
automatically shifts to the second stage for building
pressure.
NOTE: For best performance, operate pump handle at
moderate speed during the high flow first stage. Rapid
handle speed in the first stage will prevent the pump from
delivering full volume of oil.
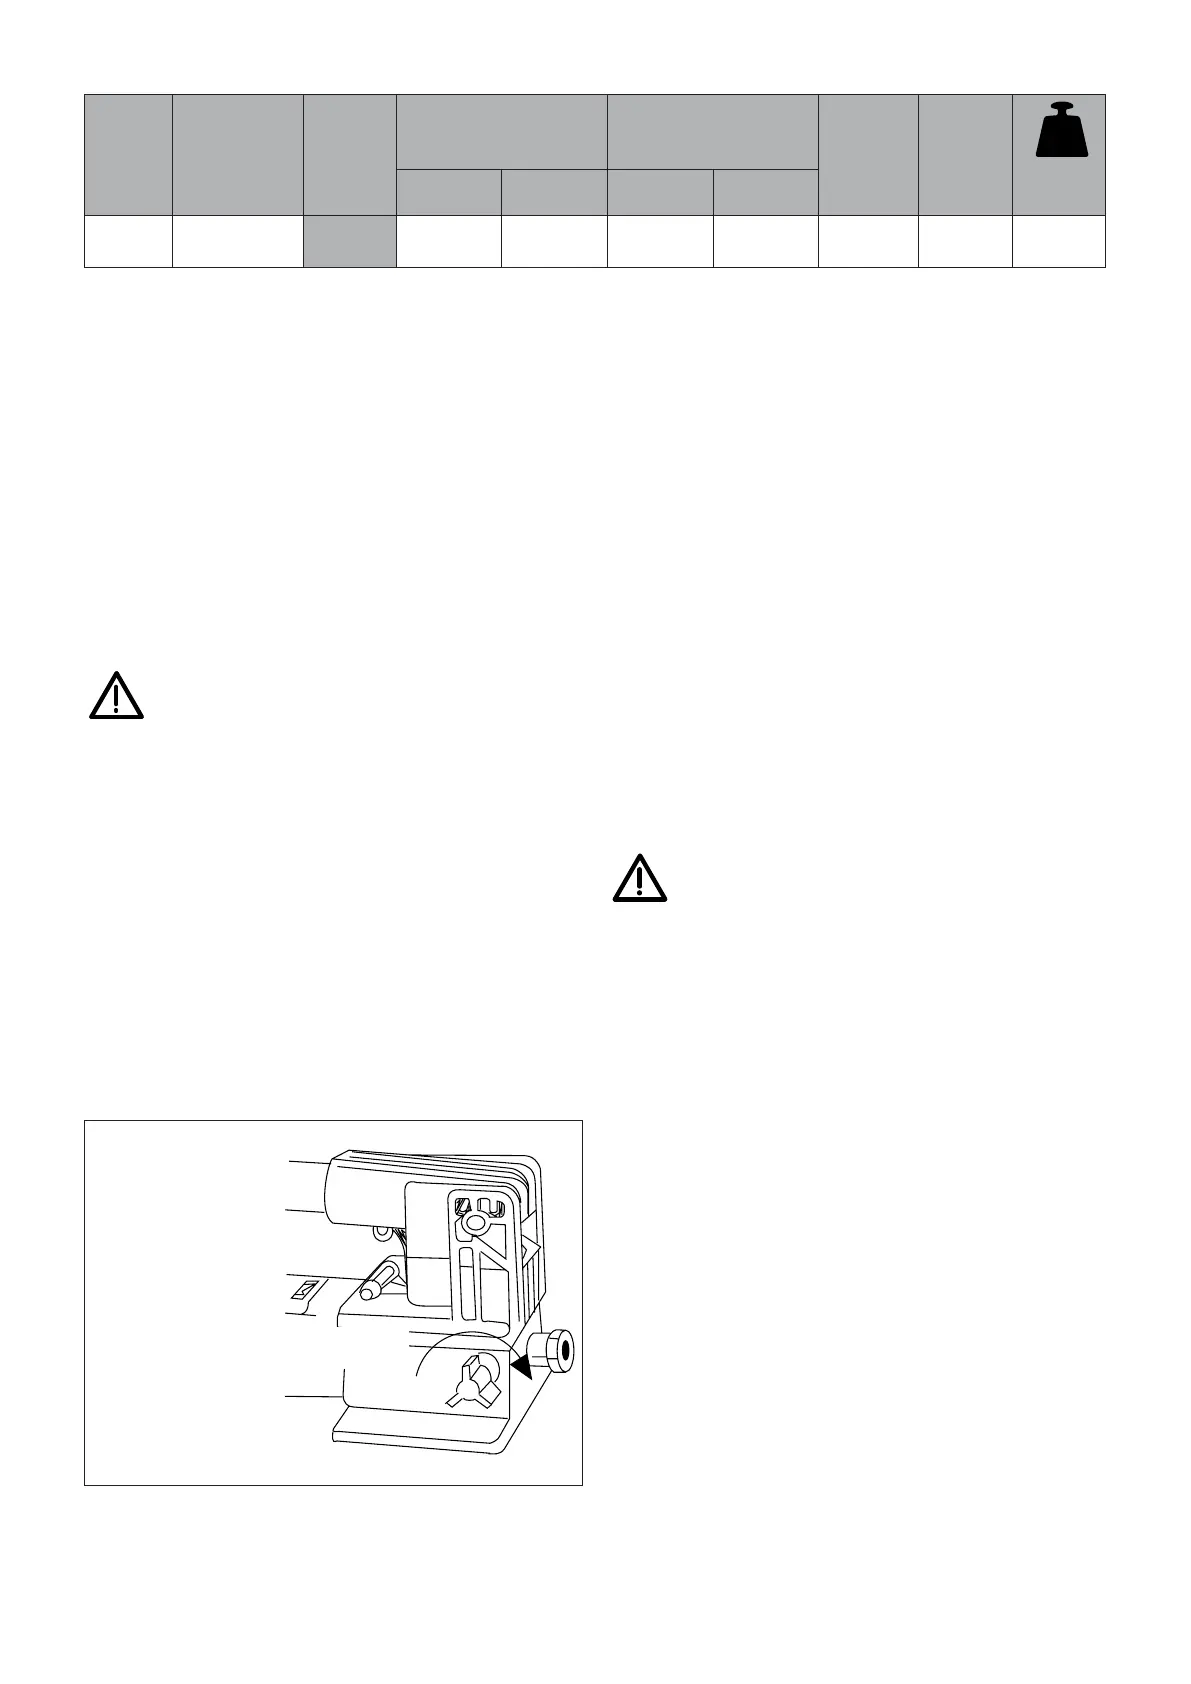
5.3 Single-Acting Applications with Release Valve
1. Close release valve by turning clockwise, as shown in
Figure 3.
CAUTION: Close release valve finger tight ONLY.
Using tools on release valve can damage it and
cause the pump to malfunction.
2. Operate pump handle to deliver hydraulic power to
system. Pressure will be maintained until release valve
is opened.
3. Open release valve (turn counter-clockwise) to release
pressure, allowing oil to flow back to the reservoir.
5.4 Relief Valve Adjustment
The pumps contains a factory set relief valve to prevent
overpressurization of the system. Lower pressure settings
can be obtained. Contact your Enerpac authorized service
center.
6.0 AIR REMOVAL
Removing air from the hydraulic system will help the
cylinder to advance and retract smoothly (see figure 4).
Release valve
Figure 3
6.1 Pump With Single-Acting Cylinder
1. Vent pump reservoir (for vented pumps only) and close
release valve.
2. Position pump at higher elevation than cylinder.
3. Position cylinder with the plunger end down (up if using
pull cylinder). See Figure 4.
4. Operate pump to fully extend the cylinder (retract if us-
ing pull cylinder).
5. Open release valve to retract cylinder (extend if a pull
cylinder). This will force the trapped air to move up to
the pump reservoir.
6. Repeat the above steps as necessary.
7. Add oil if necessary. See paragraph 7.1 (page 3).
8. Return vent/fill cap to operating position.
7.0 MAINTENANCE
Use only Enerpac hydraulic oil with these pumps to
promote long pump life and to protect your warranty. Viton
and EPR seal kits are available for some hand pumps.
Contact your Enerpac representative for more information
7.1 Adding oil to pump
Check oil level regularly.
WARNING: Always add oil with cylinders fully
retracted (extended if pull cylinders) or the
system will contain more oil than the reservoir
can hold.
1. Remove vent/fill cap from reservoir.
2. Fill reservoir only to level mark shown on pump.
3. Remove air from system if necessary. See page 3.
Recheck oil level after removing air.
4. Return vent/fill cap to proper position.
NOTE: Non-vented hand pumps require air in the reservoir
to function properly. If the reservoir is completely filled, a
vacuum will form, preventing oil from flowing out of the
pump.
7.2 Keeping Oil Lines Clean
When coupler halves are disconnected, always screw on
dust caps. Use every precaution to guard unit against
entrance of dirt because foreign matter may cause pump,
cylinder, or valve failure.
7.3 Lubricating the Pump
To extend pump life and improve performance, lubricate the
beam pin (A), cross pin (B), and piston head (C) regularly,
using roller bearing grease. See Figure 5 on page 4.
 Loading...